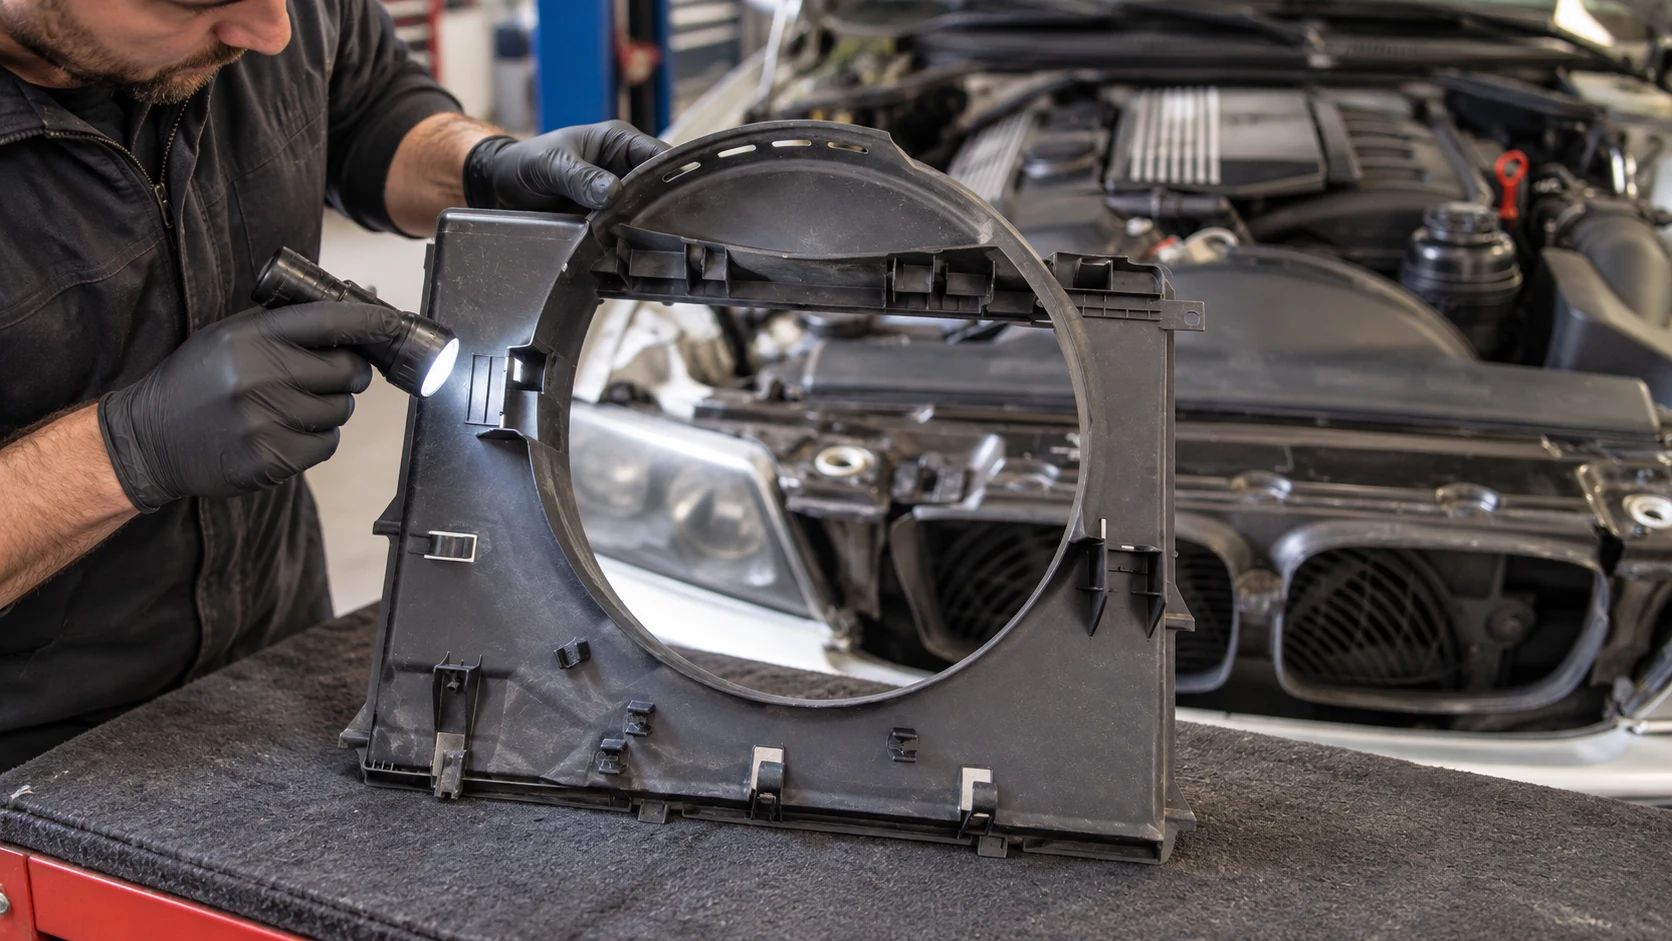
A BMW E39 fan rubbing against the shroud is a clearance problem that needs a cause, not just a new plastic surround. The shroud may be incorrectly seated, but a damaged blade, loose fan support or a shifted radiator assembly can also change the relationship between the rotating fan and the stationary opening.
Start with the contact evidence: locate matching marks on the shroud and fan, then check the shroud’s seating, the fan assembly and the parts supporting them. Stop operating a fan with visible blade contact, cracking or abnormal movement until the cause has been corrected.
This guide concerns factory-style mechanical-fan layouts on inline-six E39 models, with M52TU/M54 applications as the main context. Verify the actual engine, production date and cooling equipment first. V8, diesel and converted electric-fan installations need their own application-specific information.
Identify the Mechanical Fan and the Auxiliary Electric Fan
In the E39 layout covered here, the mechanical fan and viscous coupling are on the engine side of the radiator. The engine-driven assembly works inside the radiator shroud. The separate auxiliary electric pusher fan is at the front cooling-module side; it is a different assembly with different supports and control.
The photographed Beisan Systems E39 procedure shows the engine-side fan, shroud and their installed relationship. Use the correct layout before interpreting an online photograph or ordering a part.
Also separate scraping from a general roar or drone. BMW’s archived E39 auxiliary-fan service information addresses a howling or droning complaint. That does not establish mechanical blade contact in a different fan assembly.
BMW E39 Fan Rubbing: Quick Inspection Table
The pattern below helps decide where to look next. A mark or symptom is a clue; it does not prove that one named component has failed.
| Observation | Inspection priority | Question to resolve |
|---|---|---|
| Fresh scrape marks on one section of the shroud | Matching blade-tip marks and local shroud position | Is the opening displaced, or does one blade have a different path? |
| Contact began after cooling-system work | Lower shroud engagement, upper fasteners and attached hoses | Is the shroud fully seated without anything holding it out of position? |
| One blade is cracked, distorted or differently marked | Complete fan wheel and mounting interface | Is the rotating assembly damaged or incorrectly matched? |
| Fan or hub has abnormal movement | Coupling, mounting and water-pump support | Which interface is moving rather than simply assuming the clutch is faulty? |
| Radiator or shroud moves together | Radiator brackets, locating features and rubber supports | Is the cooling module secure in the correct installed position? |
| Contact occurs only during certain driving conditions | Static contact evidence and controlled workshop assessment of movement | Does engine or cooling-module movement change the clearance? |
| A replacement part changed the clearance | OE application, wheel geometry, coupling and shroud configuration | Has a mismatched component or installation stack changed the relationship? |
1. Locate the Contact Marks With the Engine Off
Begin with a cool engine, ignition off and the vehicle secured against unintended starting. Follow the isolation procedure for the fitted electric fan before working near it. Keep hands, lights and tools away from any fan that can start.
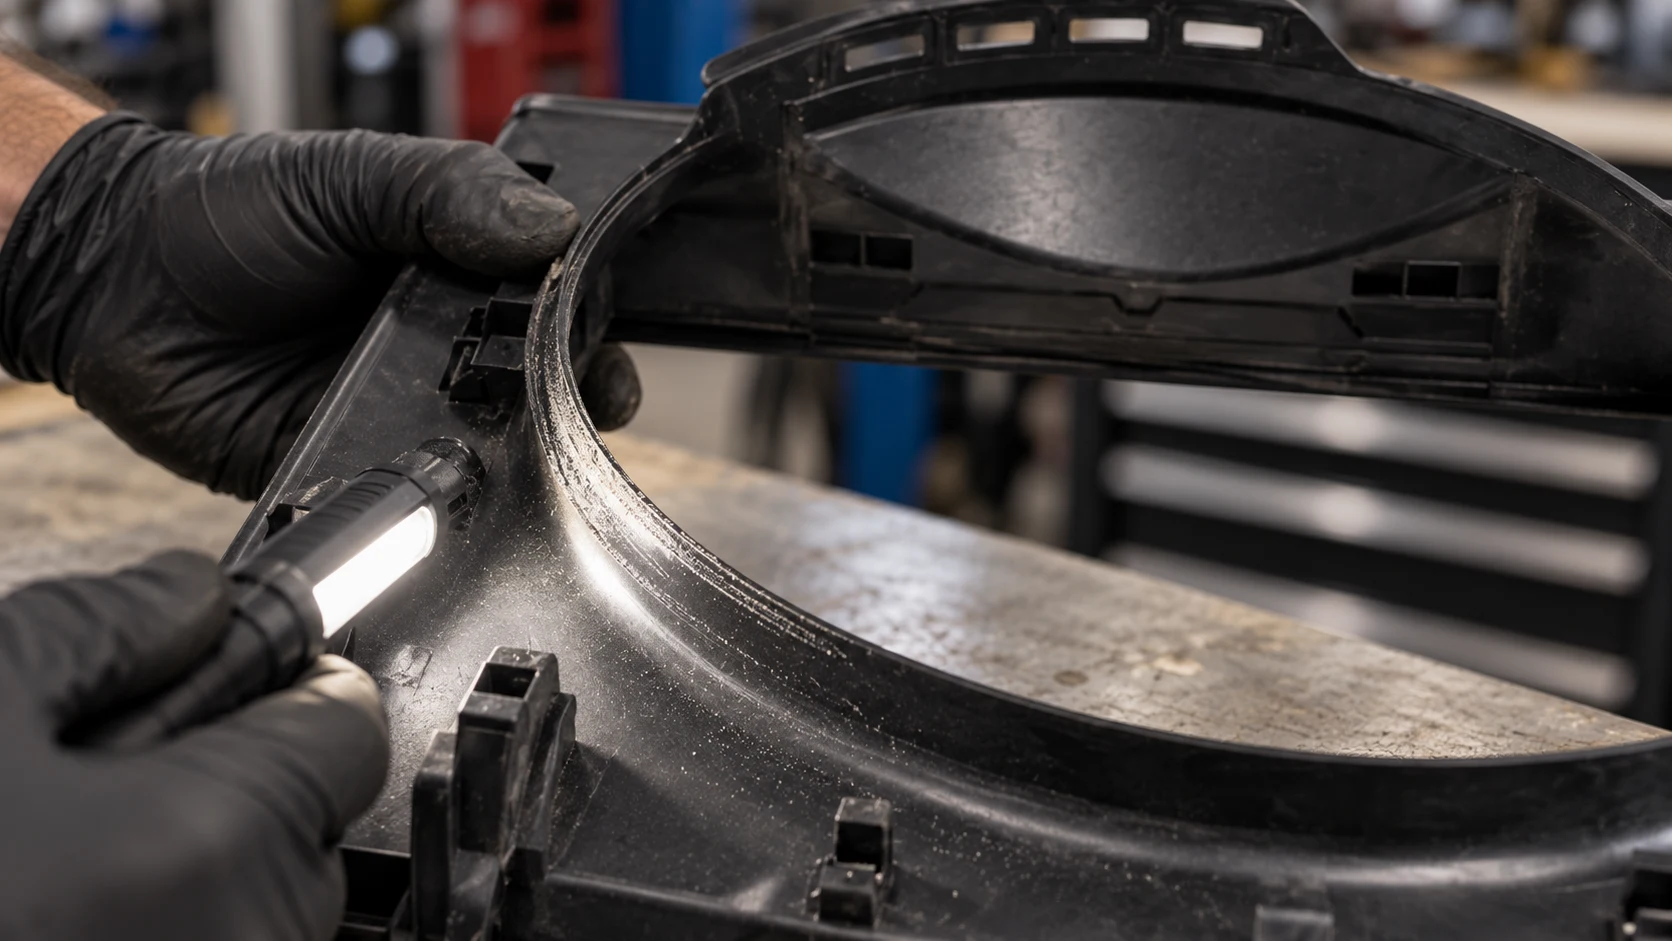
Photograph the shroud opening before cleaning it. Look for a polished arc, fresh plastic dust, chipped edges or a narrow groove. Inspect the blade tips for corresponding marks. If there is no physical evidence of contact, investigate other sources of the noise rather than treating the sound alone as proof.
Record the location relative to the vehicle, not merely the orientation of a removed shroud on a bench. This makes it easier to compare the contact sector with mounting points and the installed fan position.
2. Check Shroud Seating and Retention
A shroud can look correct from above while a lower locating feature is not engaged. Inspect the complete seating arrangement, including lower guides, side locations, upper retention and the sealing edge. Do not use the top fasteners to pull a mispositioned shroud into place.
The E39 installation photographs illustrate the shroud settling into lower frame slots and aligning with the surrounding structure. They also show why attached hoses and nearby hardware need attention when checking the final fit.
Inspect for broken mounting extensions, distorted plastic and a hose or wire trapped against the shroud. Confirm that the removed hardware has been refitted in the intended location. A fastener being present does not prove that the locating features below it are engaged.
3. Inspect the Fan Wheel, Not Just the Shroud
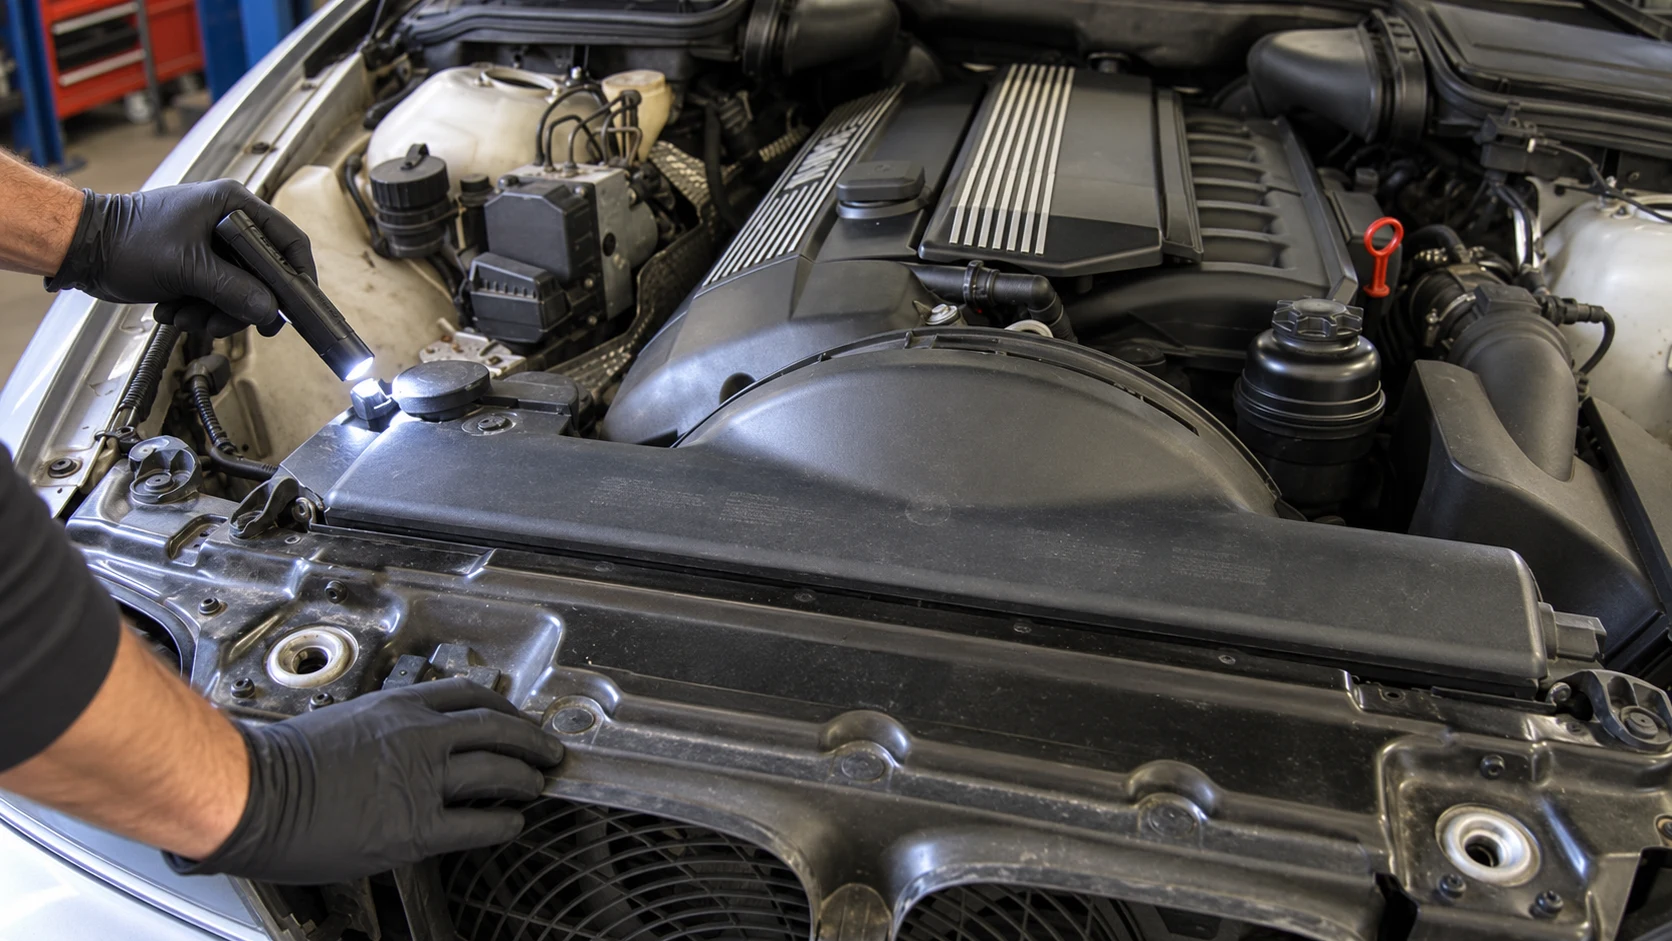
Examine every accessible blade and its root using the correct service access procedure. Look for cracks, chipped tips, distortion, missing material and signs that one blade has contacted a nearby part. A wheel that has already struck the shroud needs assessment even if the initial cause was incorrect shroud seating.
MAHLE’s vehicle-cooling guidance includes checking the fan wheel for damage and verifying the fan-to-coupling fastening when investigating a viscous-fan complaint.
Do not trim a blade, bend it into shape or remove material from the shroud to hide the interference. Confirm the correct fan wheel and mounting arrangement instead. Removing the witness mark does not restore the designed relationship between the parts.
4. Check Fan-Clutch Mounting and Water-Pump Support
The fan wheel, viscous coupling and supporting shaft form a connected assembly, so abnormal movement needs to be traced to its source. A technician should distinguish movement between the wheel and coupling from movement at the coupling mounting or water-pump support.
BMW-authored E39 M54 service information, reproduced in Operation CHARM, identifies the coupling attachment at the water pump and notes its left-hand thread. Use the correct counter-holding tools and current procedure if removal is required.
A clutch that roars is not automatically the cause of a scrape. Check for abnormal play, noise, leakage and insecure mounting using the appropriate procedure. Gates’ water-pump construction information explains that the bearing and shaft carry belt and, where fitted, fan-clutch loads. This is why pump support must not be ignored when the fan moves abnormally.
Do not use a hand, newspaper or tool to try to stop a running fan. A visual inspection of a stopped assembly and a properly controlled workshop diagnosis are the appropriate starting points.
5. Check Radiator Supports and Shroud Locating Features
The fan is attached to the engine-side drive, while the radiator and shroud are held by their own mounting arrangement. If the cooling module shifts, the fan opening can move relative to the rotating assembly even when the fan itself is correctly fitted.
Inspect radiator brackets, rubber supports, retainers and the shroud’s mounting extensions. Look for a support that is missing, displaced or not seated, and for damage following a radiator replacement or front-end repair. Compare the assembly with the vehicle-specific parts and service information.
Do not confuse an intentional rubber-supported installation with loose or damaged hardware. The question is whether the assembly is installed and retained as specified, not whether every component is completely rigid.
6. Consider Engine Movement When Static Clearance Looks Normal
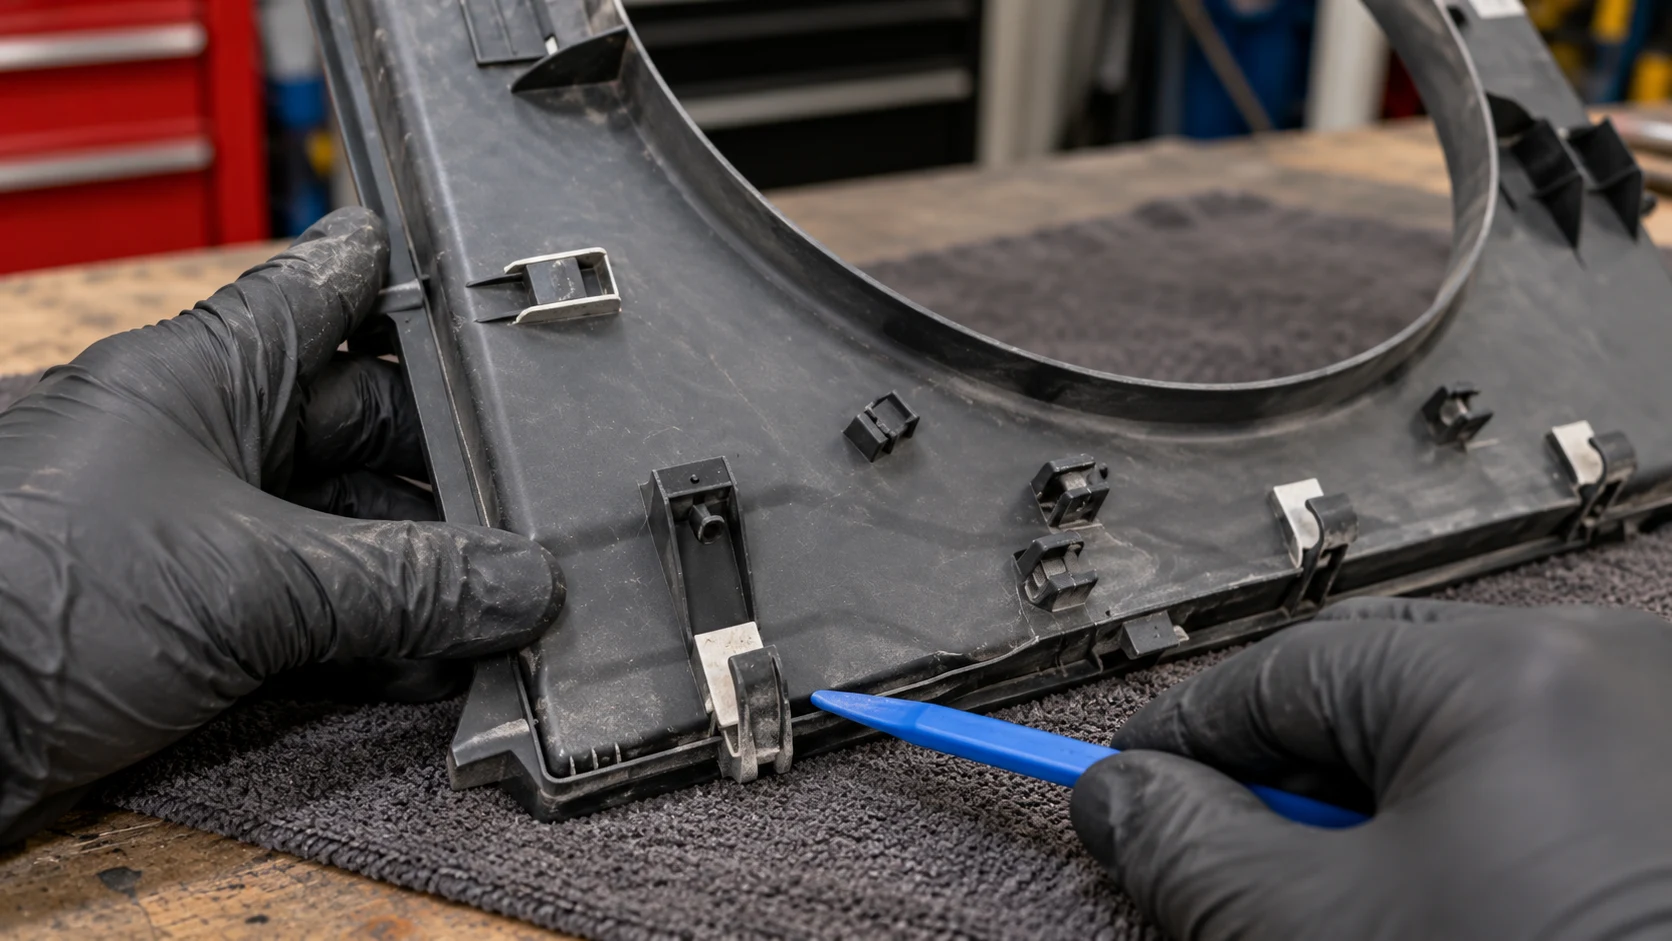
If the fan clears the shroud at rest but the reported contact occurs during particular driving conditions, the workshop needs to assess relative movement. Engine or transmission mounts, cooling-module supports and previous repairs are possible inspection areas.
This is a diagnostic direction, not proof that an engine mount has failed. Record the conditions under which the sound occurred and correlate them with physical marks. Any test involving engine movement should be performed by a qualified technician with people and equipment clear of the fan path.
A stationary clearance check alone cannot reproduce every operating condition. Conversely, a noise during acceleration does not by itself identify which support or rotating component is responsible.
7. Verify the Replacement Parts and Installed Relationship
When a problem starts after replacing the fan, clutch, radiator or shroud, compare the old and new configurations. Check the complete OE reference, production-date application, engine and cooling specification. Then compare the wheel profile, coupling interface, shroud opening, depth and locating features.
Yongshang Auto lists a 17101438457 radiator fan shroud for BMW, internal item BM01014-001. Use the listed reference and photographs for an application review. They do not establish fitment to every E39, or to a vehicle with a nonstandard radiator or fan conversion.

Send the original molding number, VIN or chassis details, engine, production date, photographs of both faces and the existing cooling layout with a quotation request. Resolve superseded-number questions using current catalog information. A familiar model badge or similar circular opening is not enough to approve the part.
Before Returning the Vehicle to Service
Correct the cause of contact and assess any parts damaged by it. With the assembly safely isolated, confirm the specified seating and freedom from interference using the applicable service procedure. Restore the required hoses, connectors, seals and fasteners before controlled operational checks.
There is no universal fan-to-shroud millimeter gap in this guide. The correct geometry depends on the particular installation. Do not add improvised spacers, leave out retention hardware or modify the blade path to make a mismatched assembly appear to fit.
Frequently Asked Questions
Does a rubbing E39 fan always mean the shroud is bad?
No. Confirm the contact marks, then inspect shroud seating, the rotating assembly and the supports that determine their relative position.
Can the water pump cause fan movement?
On the mechanical-fan arrangement discussed here, the coupling mounts at the water pump. Abnormal movement needs to be traced to the actual wheel, coupling, mounting or pump interface before deciding which part to replace.
Is a loud fan roar the same as blade contact?
No. Roaring, droning and scraping are different observations. Identify which fan is making the sound and look for physical contact evidence.
Can I cut the shroud to stop the rubbing?
Do not use cutting as a substitute for correcting the cause. It can remove evidence while leaving a damaged wheel, loose support or mismatched component in place.
Will shroud 17101438457 fit every BMW E39?
Do not assume universal fitment. Confirm the original reference, vehicle application, installed cooling components and physical interfaces before ordering.
Image note: These AI-generated workshop scenes use real E39 engine-bay and shroud photographs as references. They illustrate inspection tasks, not an actual service record, exact clearance measurement or package contents.