
A Honda Fit bumper popping out at the fender joint does not automatically mean the entire bumper cover needs replacement. The corner may have a damaged side bracket, missing hardware, a torn cover-side retaining edge or an alignment problem that keeps pulling it out of position.
Check both sides of the connection: the body-mounted bracket must hold securely, and the bumper cover’s mating tabs or slots must still be intact. A new bracket cannot restore a torn cover edge, while replacing the cover alone will not correct a loose bracket or distorted mounting point.
This guide focuses on the front bumper corner and uses the 2015 Honda Fit retention layout as an example. Other Fit and Jazz versions can use different covers, brackets and fasteners. Identify the year, destination market, bumper specification and required side before ordering parts.
What Holds the Honda Fit Bumper Corner in Place?
Three different things are often described online as “bumper clips”:
- The side bracket or spacer: a separate part fixed to the body that guides and retains the cover edge.
- The cover’s molded retaining features: tabs, slots or lips formed into the plastic bumper cover itself.
- Separate fasteners: clips and screws securing the cover, liner and related panels at their specified attachment points.
In Honda’s illustrated 2015 Fit procedure, pages 2–3, the bumper is released from side-spacer hooks at the wheel-arch area after the relevant screws and clips are removed. This identifies a retention interface worth inspecting. The bulletin concerns a bumper-beam product update; it is not evidence that a loose cover qualifies for that campaign.
When a corner clicks back into place but will not stay there, inspect the actual engagement surfaces rather than assuming that every part described as a clip is interchangeable.
Honda Fit Bumper Popping Out: Symptom and Inspection Table
| What you observe | Inspect first | What to establish before repair |
|---|---|---|
| Corner seats briefly, then springs back out | Bracket retainers, cover-side slots and panel preload | Whether the joint engages fully or another part is pushing the cover away. |
| The bracket moves against the body | Bracket fixings, locating features and mounting surface | Whether the bracket itself is cracked or its body attachment is loose or damaged. |
| Bracket looks intact, but the cover edge is split | The cover’s molded retaining lip or opening | Whether the damaged cover feature can be repaired under the applicable procedure. |
| Gap appeared after bumper removal | Correct bracket engagement, trapped liner and missing hardware | Whether the original parts were reinstalled and seated correctly. |
| Gap appeared after impact or a parking scrape | Cover, bracket, fender edge and adjacent supports | Whether damage extends beyond a replaceable plastic retainer. |
| The corner looks seated, but the liner is loose | Wheel-arch and lower attachment points | Whether the correct fasteners and their receiving holes remain serviceable. |
| The replacement bracket does not sit naturally | Part number, side, mounting pattern and vehicle specification | Whether the part matches before forcing it or altering any holes. |
1. Inspect the Gap Before Pushing the Corner Back In
Photograph the seam from the front and side before disturbing it. Record whether the problem began after an impact, bumper removal, headlamp work or a previous repair. Compare the height and contour with the opposite side, while remembering that left and right parts may be differently shaped.
Look for scraped paint, a shifted fender edge, an uneven headlamp-to-cover gap and loose wheel-arch trim. These observations help distinguish a local retaining problem from wider panel misalignment.
Repeatedly hitting or forcing the corner back into place can hide the cause and damage a marginal retaining edge. If the cover is loose enough to detach or contact the tire, arrange for it to be properly secured before driving.
2. Check the Side Bracket and Its Body Attachment
Once the corner has been released using the correct access procedure, inspect the bracket’s retaining features and mounting structures. Look for cracked plastic, rounded or missing engagement edges, stress whitening and a bracket that does not sit flat against its mounting surface.
Then inspect how it attaches to the body. A sound bracket can still fail to retain the corner if its fastener is loose, a locating feature is damaged or the surrounding mounting point has shifted. Replacing the bracket does not repair damage in the surface that supports it.
Keep the removed part for comparison. Check the replacement’s curvature, end profile, locator positions and fixing pattern before installation. Similar overall length is not enough to approve a match.

3. Inspect the Bumper Cover’s Retaining Tabs and Slots
The mating feature on the cover is just as important as the bracket. Inspect its inner edge for a split slot, missing material, stretched opening or a cracked tab root. Paint on the outside can look acceptable while the retaining feature behind it is damaged.
A useful question is: what feature will actually resist the cover moving outward once it is seated? If the bracket’s hook has nothing sound to engage, repeatedly installing new hardware will not restore that connection.
Support a removed cover on a padded stand. Honda’s illustrated procedure calls for an assistant while the bumper is being removed, including support while equipped fog-light connectors are disconnected. Avoid leaving the cover hanging from one corner or its wiring.
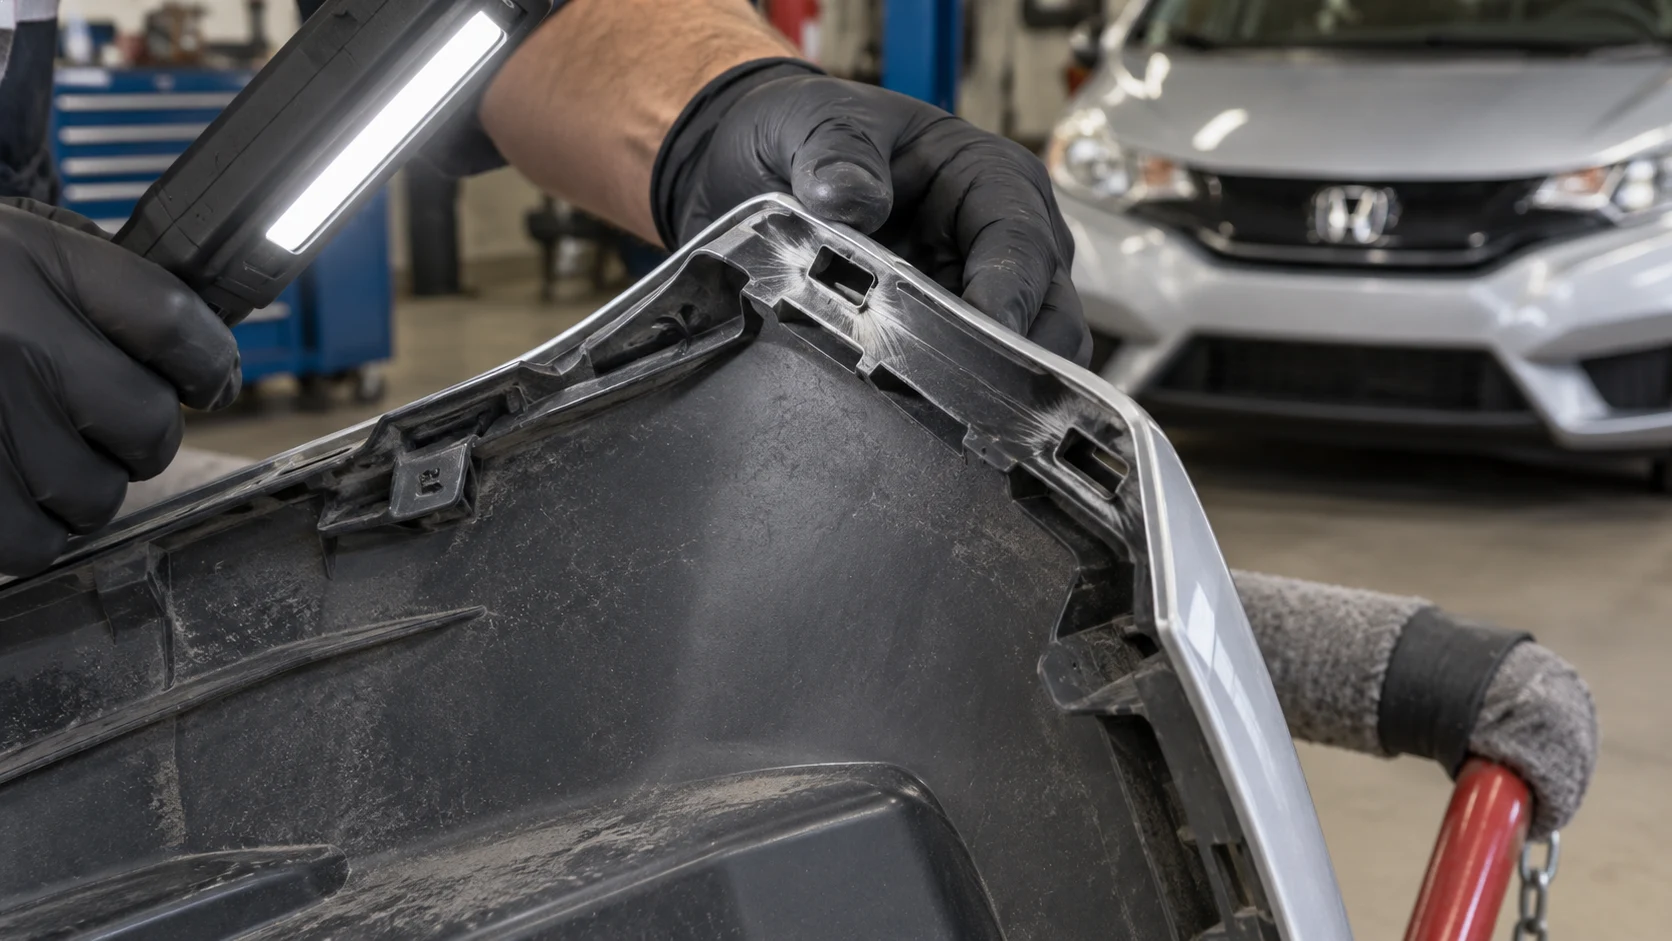
4. Check Separate Clips, Screws and the Wheel-Arch Liner
Check the fasteners associated with the affected area against the correct parts diagram. A loose push-type retainer can have a missing center pin or damaged legs. A screw can be present but fail to hold if its receiving feature is damaged. Inspect the mounting hole as well as the fastener.
Also check that the liner or lower panel has not been trapped behind the wrong edge. Misrouted wiring, an incorrectly positioned trim piece or another displaced panel can interfere with the cover as it is seated.
Replace failed hardware with the specified type. A larger screw, an improvised hole or an overtightened fastener can damage the plastic without correcting the engagement problem. Use the model-specific fastener locations and tightening information rather than a universal clip count.
5. Rule Out Alignment and Previous-Repair Problems
If the bracket and cover edge are both sound, look at the installed relationship between the cover, fender, lamp and neighboring supports. Check for a bent mounting point, an incorrect previous replacement part, excess material from an earlier repair or a cover that is being held under tension.
Loosening or replacing random parts until the seam closes is not a diagnosis. A body shop can compare the vehicle with the applicable repair information and determine which mounting point or panel needs correction.
For model-specific repair limits, consult Honda’s collision and body-repair information. Cosmetic alignment does not establish that impact damage has been repaired correctly.
Bracket Replacement, Tab Repair or a New Cover?
Replace the bracket when its retaining or mounting features are damaged and the cover-side connection and supporting body attachment are serviceable.
Consider a professional cover-tab repair when the damage is local and the applicable OEM procedure, plastic material and repair system permit it. 3M’s plastic-tab repair procedure includes preparation, reconstruction and restoration of the tab’s original geometry. It is a controlled repair process, not simply glue applied across a gap.
Consider replacing the cover when its retaining edge cannot be restored appropriately, several attachment areas are damaged, the cover is badly distorted or the relevant repair limits rule out the proposed repair. If a repaired area relates to fitted sensing equipment, the vehicle-specific restrictions also need review.
For broader damage assessment, see our front bumper repair-or-replace guide.
Ordering the Correct Honda Fit Bumper Bracket
Yongshang Auto lists 71198-T5A-000 as a front-left bumper bracket for the 2015 Honda Fit, internal item HD02007-098. Verify that reference against the original part and the vehicle application before approval.
Provide the VIN or chassis details where available, model year, market, bumper specification and required side. Left and right refer to the vehicle’s orientation when facing forward, not the side that appears on the left of a photograph. Do not assume a Jazz listing, a facelift cover or an opposite-side bracket uses the same geometry.

Useful comparison photos show both faces of the old bracket, its complete marking, the cover’s mating edge and the damaged body attachment. Confirm whether the quotation includes only the bracket or also any separate fasteners. Multiple catalog views do not establish the quantity supplied.
Verify Engagement After the Repair
Follow the correct installation procedure, support the cover and confirm that the retaining features engage without excessive force. Refit the specified hardware, liner and other removed parts. Check any disconnected lamps and confirm that wiring is properly routed.
Inspect the seam with the corner no longer held by hand. It should remain seated without an adjacent part pushing against it. Check the surrounding lamp and fender relationships and ensure the liner and lower attachments are secure. Use the applicable body specifications; there is no single millimeter gap value for every Fit.

Frequently Asked Questions
Why does my Honda Fit bumper pop back out after I push it in?
The joint may not be engaging fully, or the bracket, cover-side feature or supporting attachment may be damaged. Also check whether a liner or displaced panel is applying pressure to the corner.
Will new bumper clips fix every loose corner?
No. First identify whether “clip” means a separate fastener, the side bracket or a molded feature on the cover. Replacing one does not repair the others.
Can I glue the bumper corner to the fender?
Do not use glue across the visible seam as a substitute for diagnosing the retaining connection. An appropriate professional plastic-tab repair restores a specific feature under a defined procedure.
Do I need to replace the whole bumper cover?
Not necessarily. A damaged bracket or separate fastener may be replaceable on its own. A torn cover edge, distortion or additional impact damage changes the repair decision.
Does 71198-T5A-000 fit every Honda Fit or Jazz?
No universal fitment is established by that listing. Match the original reference, vehicle specification, side and physical interfaces before ordering.
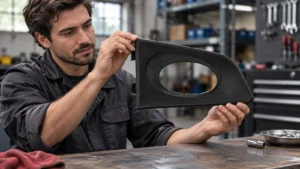
Image note: These AI-generated workshop illustrations use real Honda Fit exterior and bracket photographs plus Honda’s retention diagram as references. They illustrate inspection tasks and do not document an actual repair, exact panel-gap measurement or package contents.