A low coolant level and dried residue around the reservoir do not automatically mean you need a coolant expansion tank replacement. Coolant can escape through the cap seal, the tank shell or a hose connection, and it can dry somewhere other than where it started. Before ordering a part, identify where the leak begins and confirm how the reservoir is used on that vehicle.
This guide covers pressurized coolant expansion tanks, also called header tanks or degas bottles in some applications. A nonpressurized overflow bottle works differently: its lid may not be the cooling system’s pressure cap. Check the vehicle’s service information before using this guide to interpret a leak or match parts.
Safety: Inspect only with the engine off and fully cooled. Never remove a pressure cap from a hot cooling system. If you see steam, a temperature warning or rapid coolant loss while driving, pull over safely, switch off the engine and arrange service. Do not keep driving to reproduce the leak.
Coolant expansion tank leak: tank, cap or hose?
| Where fresh coolant appears | What to verify | What to order if confirmed |
|---|---|---|
| At a shell seam, crack or molded outlet | Trace it to the plastic itself, not a drip from the cap or a hose above. | Correct expansion tank; confirm included hardware. |
| Around the cap and filler neck | Inspect the cap seal and tank neck separately. A shop can test the cap against the specified rating. | Cap only if it fails and the neck is sound; tank if the molded neck is damaged. |
| At a hose clamp or quick connector | Check the hose end, clamp or connector seal and the molded tank nipple for damage. | The failed hose, clamp or serviceable seal; tank only if its integral nipple is damaged. |
| No confirmed external leak at the tank | Check fill history and look for leakage elsewhere. Investigate repeated venting or overheating. | Do not order from this symptom alone. |
1. Check the tank seam, filler neck and molded outlets
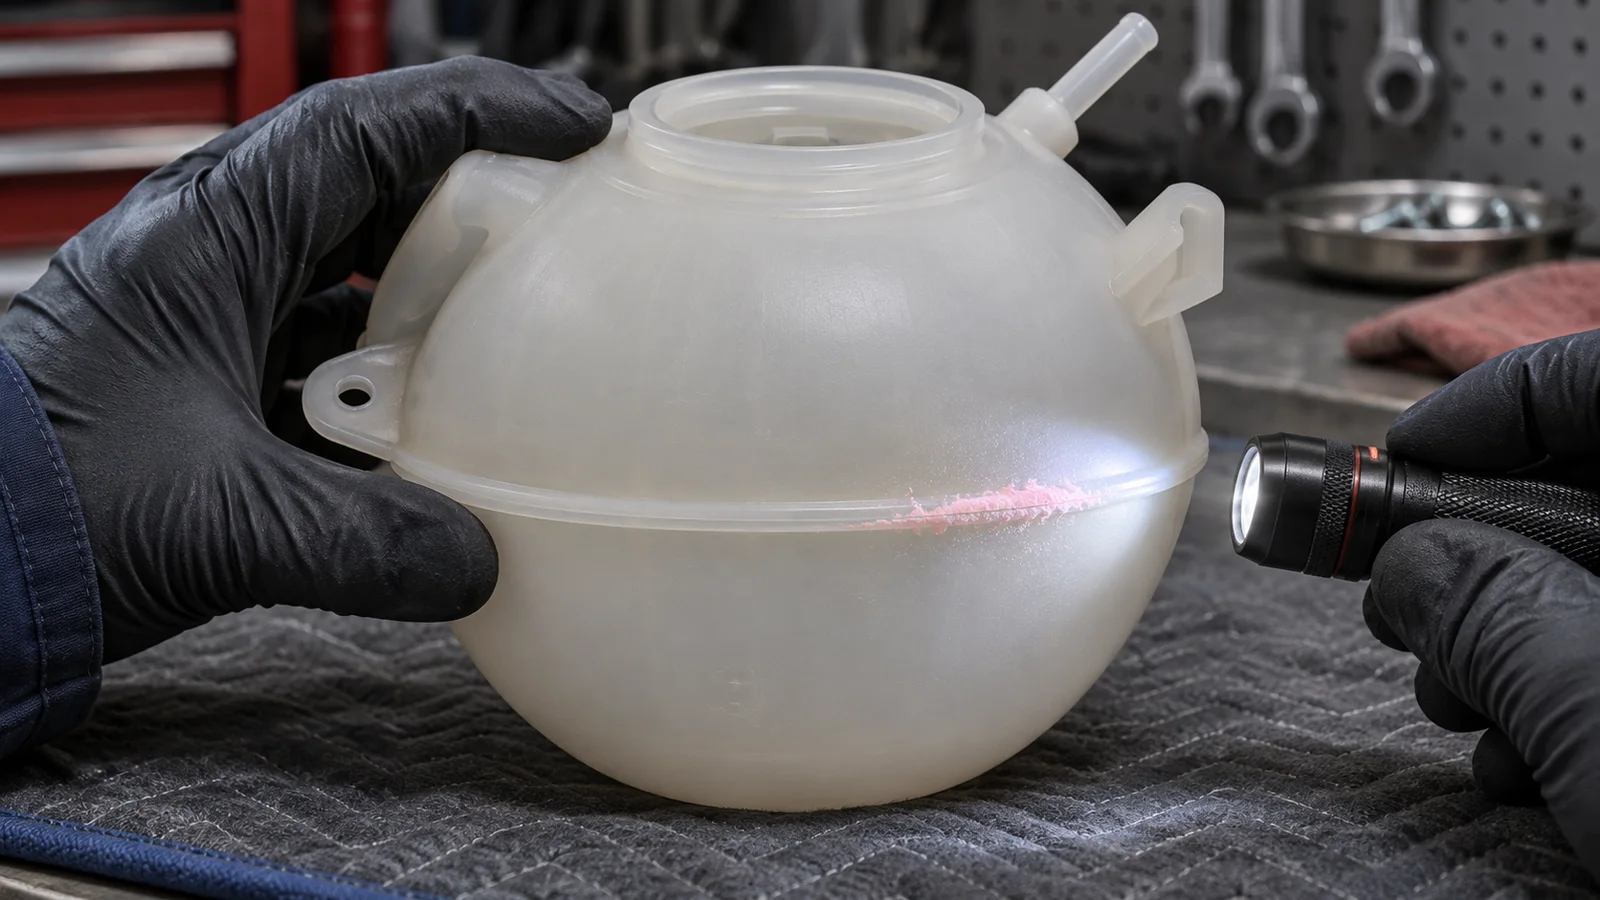
With the system cold, use a light to look along the shell seam, around the base of the filler neck and where the outlets meet the tank. A line of dried residue is a useful clue, especially at a seam, but look above it before calling the tank defective. Coolant spilled during a top-up can run along the outside and collect at the same seam.
Discolored plastic by itself does not confirm a leak. A crack, a damaged sealing surface or fresh coolant emerging from the shell during a correctly performed test is better evidence. If the leaking neck or nipple is molded into the tank, a new cap or clamp will not fix the damaged plastic.
2. Check the coolant expansion tank cap separately
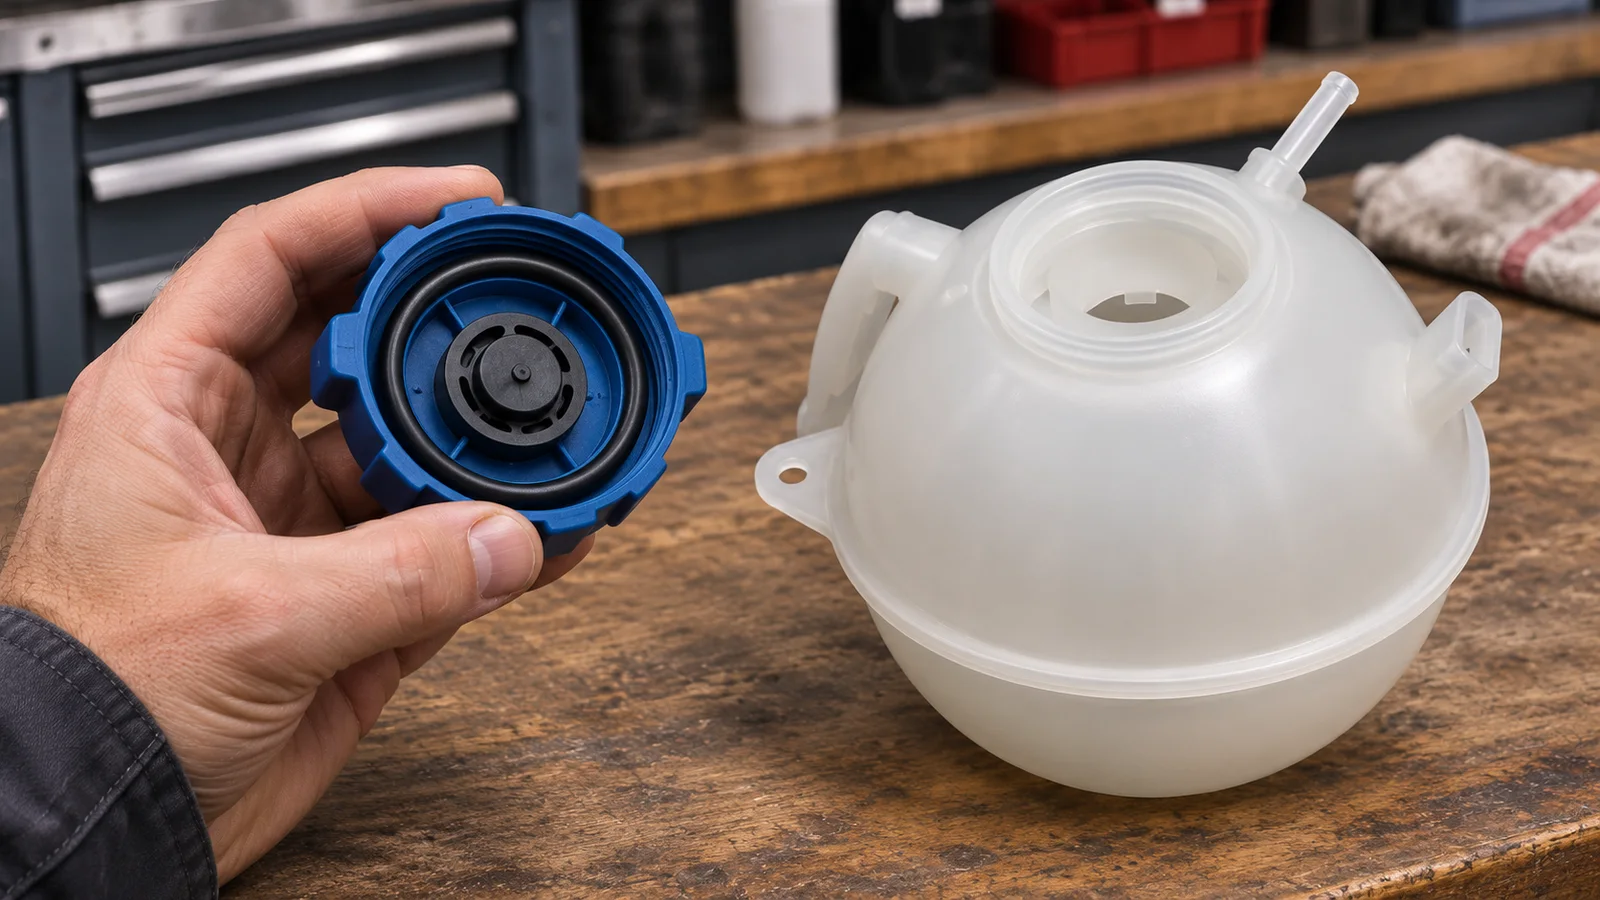
The cap’s seal and the tank neck form a pair. A cut or flattened seal is one clue, but even a cap that looks intact can have a faulty valve. A workshop can use the correct adapter to test the cap against the vehicle maker’s specification and assess the tank neck for cracks, distortion or damage to its sealing surface.
When the cap fails and the neck is sound, cap-only replacement may be appropriate. Match the specified pressure rating and part reference; a cap that screws on is not necessarily the right cap. Coolant repeatedly venting around a cap that tests correctly can point to overfilling, overheating or another cooling-system fault that needs diagnosis.
3. Separate a hose connection leak from a cracked tank nipple
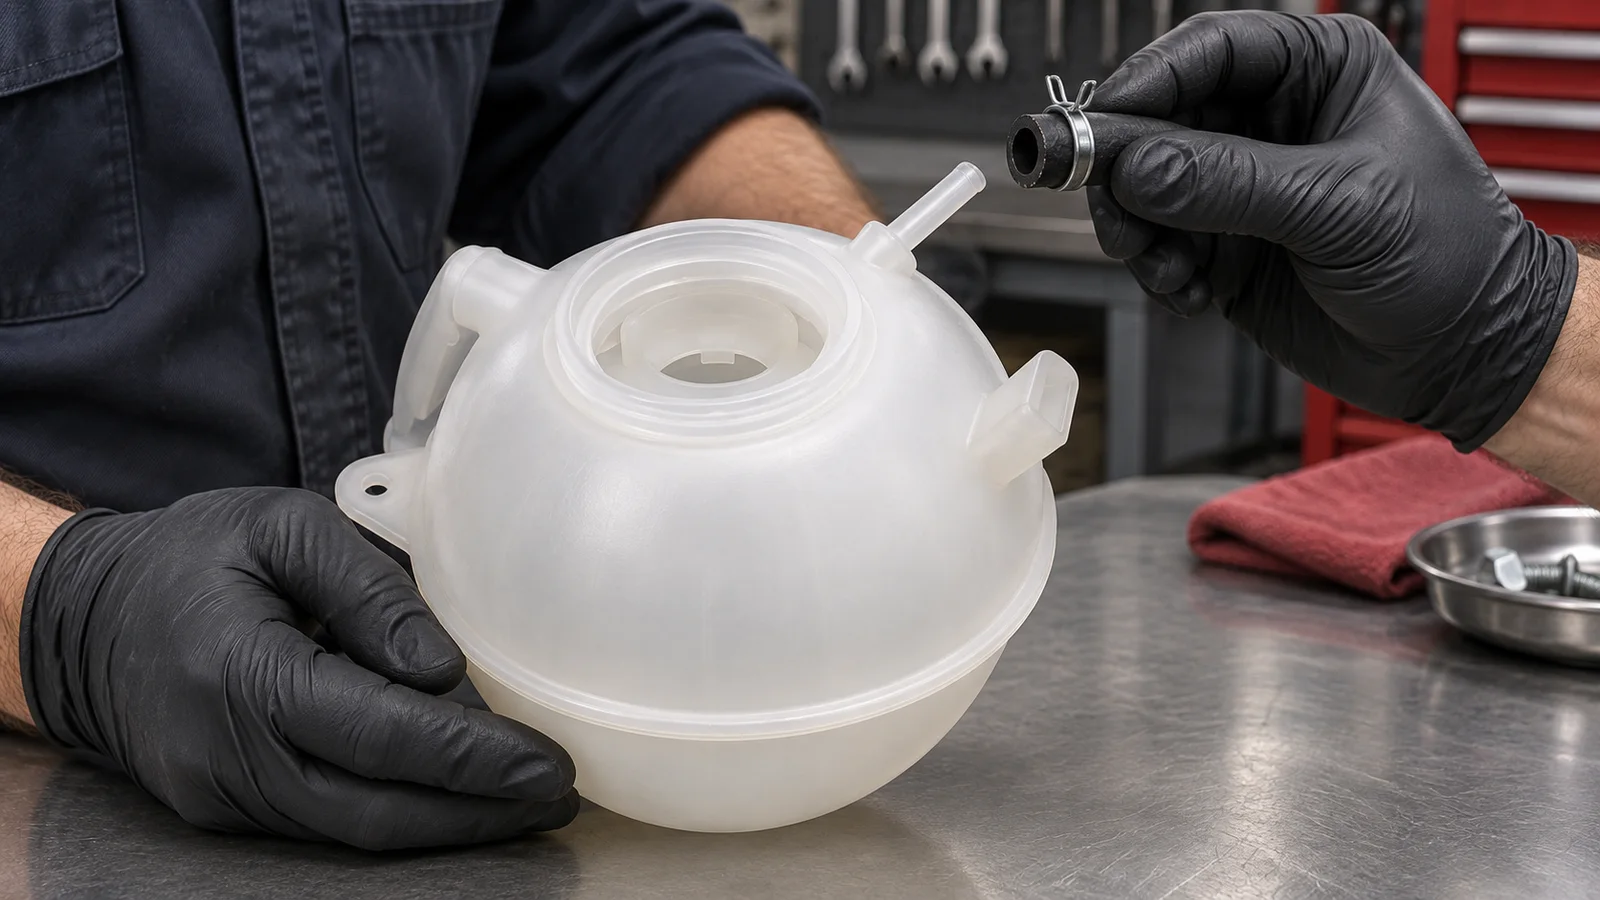
The hose and tank can look like one leaking part because the two surfaces meet at the same spot. Look for whether the fresh trace starts at the hose end or at the base of the molded nipple. Depending on the design, the joint may use a spring clamp, a quick connector or a seal inside the connector. Check which component is actually serviceable before quoting it.
If the source remains unclear, ask a technician for a cold cooling-system pressure test with the correct adapter and vehicle-specific pressure limit. A system test helps locate leaks under pressure; a separate cap test checks cap operation. One does not replace the other. Follow the vehicle-specific service procedure rather than a generic test pressure or bleeding sequence.
Before ordering: confirm the part number and what is included
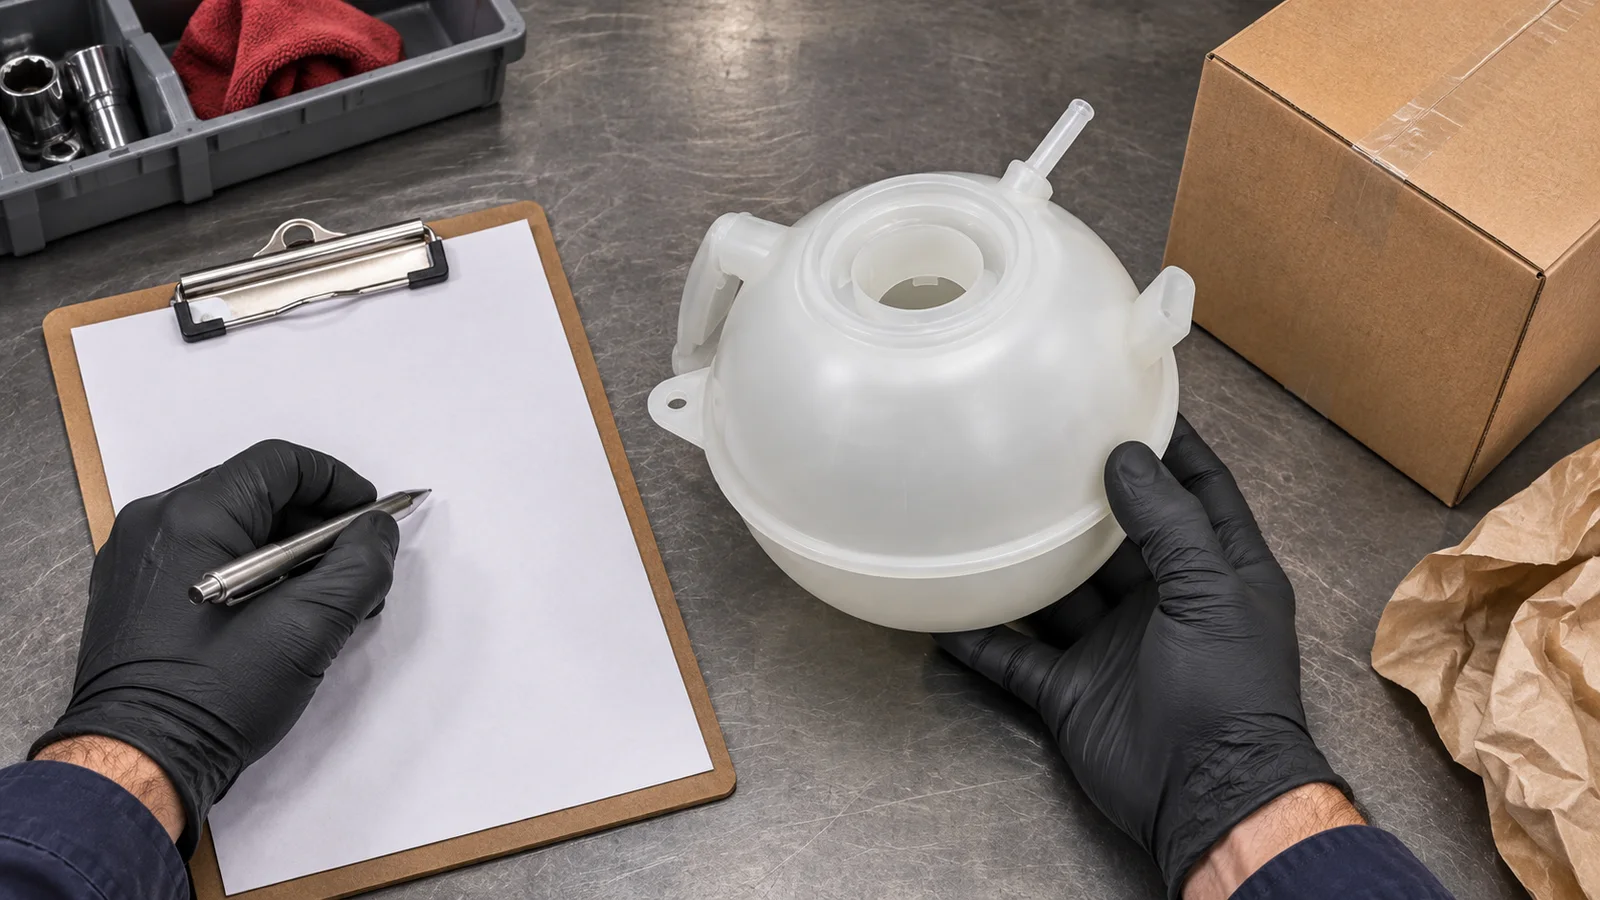
For a repair shop or distributor, the fastest useful inquiry is a part number plus clear photos. Use the full OE reference from the removed part or a vehicle-specific catalog, then compare the connection and mounting details. Do not use the bottle shape as the only fitment check.
- Tank: Compare the filler neck, hose port count and positions, mounting tabs and level-sensor provision.
- Cap: Confirm the cap OE reference, specified rating and sealing interface independently of the tank.
- Order contents: Confirm whether the cap, sensor, seals or mounting hardware are included or quoted separately.
- Wholesale inquiry: Send Yongshang Auto the OE number, vehicle details, photos of the neck, outlets and mounts, required quantity and destination market.
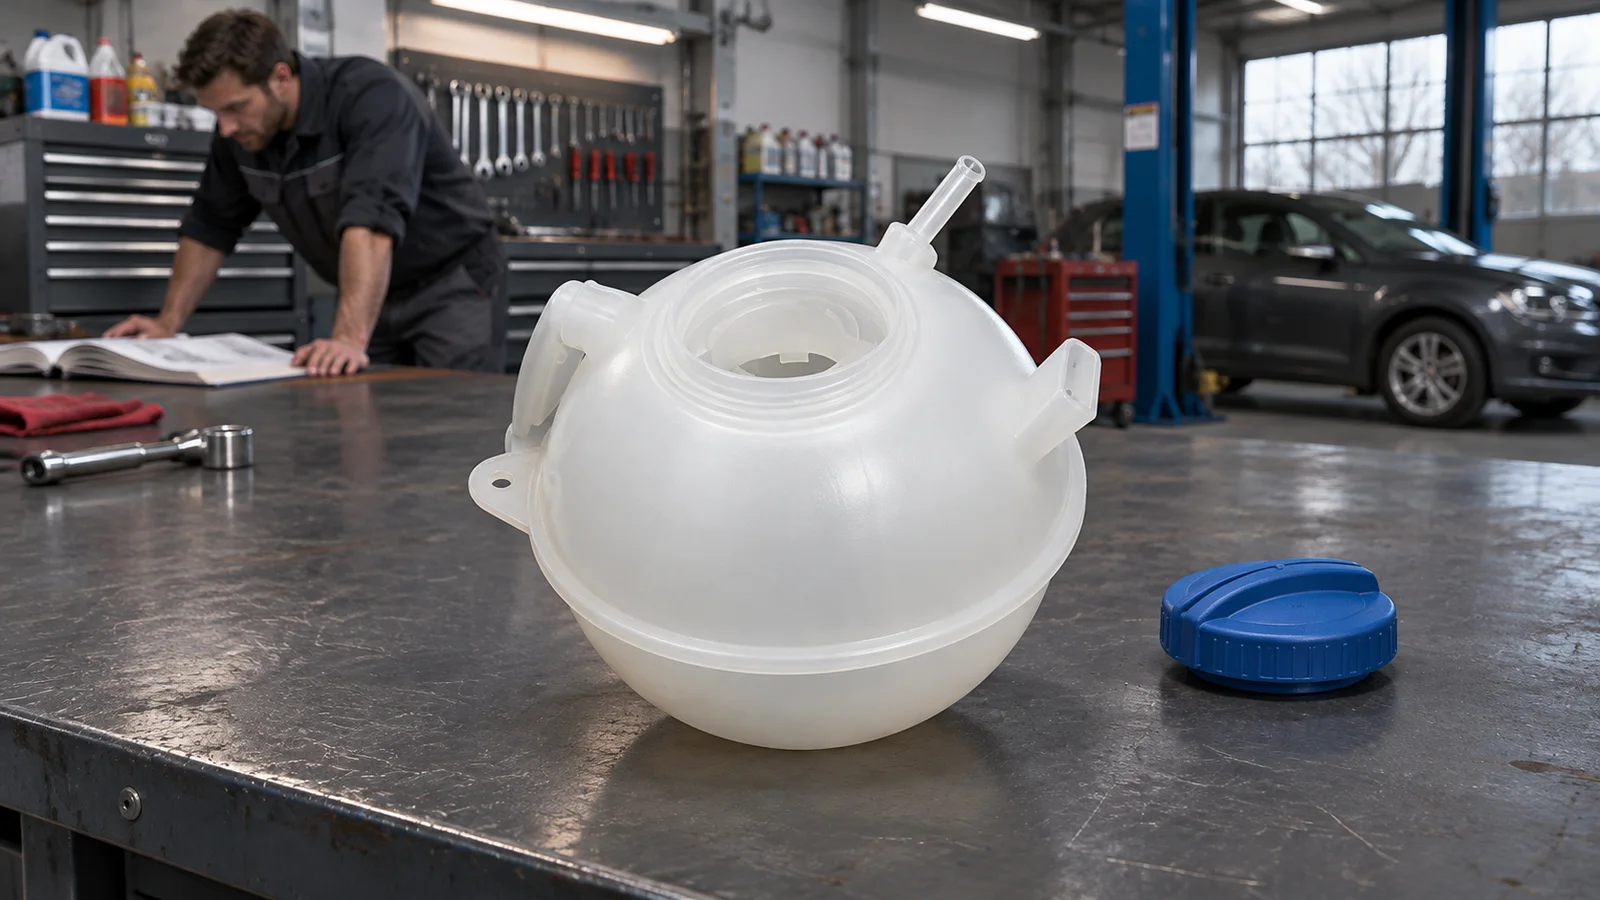
For a catalog example, see Yongshang Auto’s 1J0 121 403B coolant expansion tank listing. It shows why a round shell alone is not enough: buyers still need to match the original cap interface, hose layout and sensor provision.
Frequently Asked Questions
Can I replace just the coolant expansion tank cap?
Yes, when the cap is confirmed faulty and the tank neck, shell and connections are sound. Check the cap reference and pressure specification before fitting a replacement.
Does coolant around the cap always mean the cap is bad?
No. A damaged neck, recent spill, overfill or abnormal cooling-system operation can also leave residue there. Inspect the neck and test the cap separately before replacing either part.
Does a new expansion tank come with a cap or level sensor?
Not necessarily. Check the product listing or quote for the exact OE reference and confirm what is included. Similar-looking tanks may be sold with different components.
Can I choose a coolant reservoir using only the vehicle brand and model?
No. Production dates, engines and market variants may use different tanks. Verify against the correct vehicle catalog and compare the original part’s OE reference, ports, mounts and sensor connection.
Technical references: HELLA Tech World: cooling system checks and HELLA Tech World: leak testing and bleeding considerations. Always follow the applicable vehicle service information. Images are illustrative workshop recreations, not diagnostic or fitment evidence.