
Finding an oily film or dark sludge in your Audi’s coolant expansion tank can be alarming. However, an Audi oil in coolant complaint does not identify the failed component. An oil cooler, a sealing interface, an engine fault or contamination left after an earlier repair may require investigation.
Start with evidence, not a replacement part: confirm what entered the cooling system, identify the vehicle’s actual fluid-circuit layout and test the suspected source. Oil in the tank alone does not prove an oil-cooler or head-gasket failure.
This is a brand-level guide, not a service procedure for every Audi engine. Cooler construction, housing arrangements and access differ. Use the engine code, production date and current vehicle-specific workshop information before testing or ordering parts.
Can an Oil Cooler Cause Oil in the Coolant?
On engines equipped with a coolant-to-oil heat exchanger, engine oil and coolant pass through separate internal passages. A failure that connects those passages can allow the fluids to mix. Motorservice’s oil-cooler diagnostic guidance lists oil in the coolant among the symptoms relevant to cooler investigation.
That makes the cooler a possible source, not an automatic diagnosis. First establish whether the engine has the type of exchanger being discussed. An air-cooled oil radiator is not the same component as a coolant-to-oil exchanger.
Audi Oil in Coolant: What the Symptoms Do and Do Not Prove
| Observation | What needs investigation | What it does not prove |
|---|---|---|
| Oily film in the expansion tank | Identity and source of contamination | That the oil cooler is definitely faulty |
| Sludge after a previous repair | Remaining contamination versus renewed leakage | That the replacement part has failed |
| Falling coolant level | External and internal leakage paths | Which component is leaking |
| Rising oil level or suspected coolant in the oil | Possible lubricant contamination | That continued driving is safe |
| Overheating alongside contamination | Cooling performance and the underlying fault | That flushing alone will solve the problem |
| Contamination returns after cleaning | An unresolved source or incomplete cleanup | That the cylinder head must immediately be removed |
1. Confirm What the Contamination Actually Is
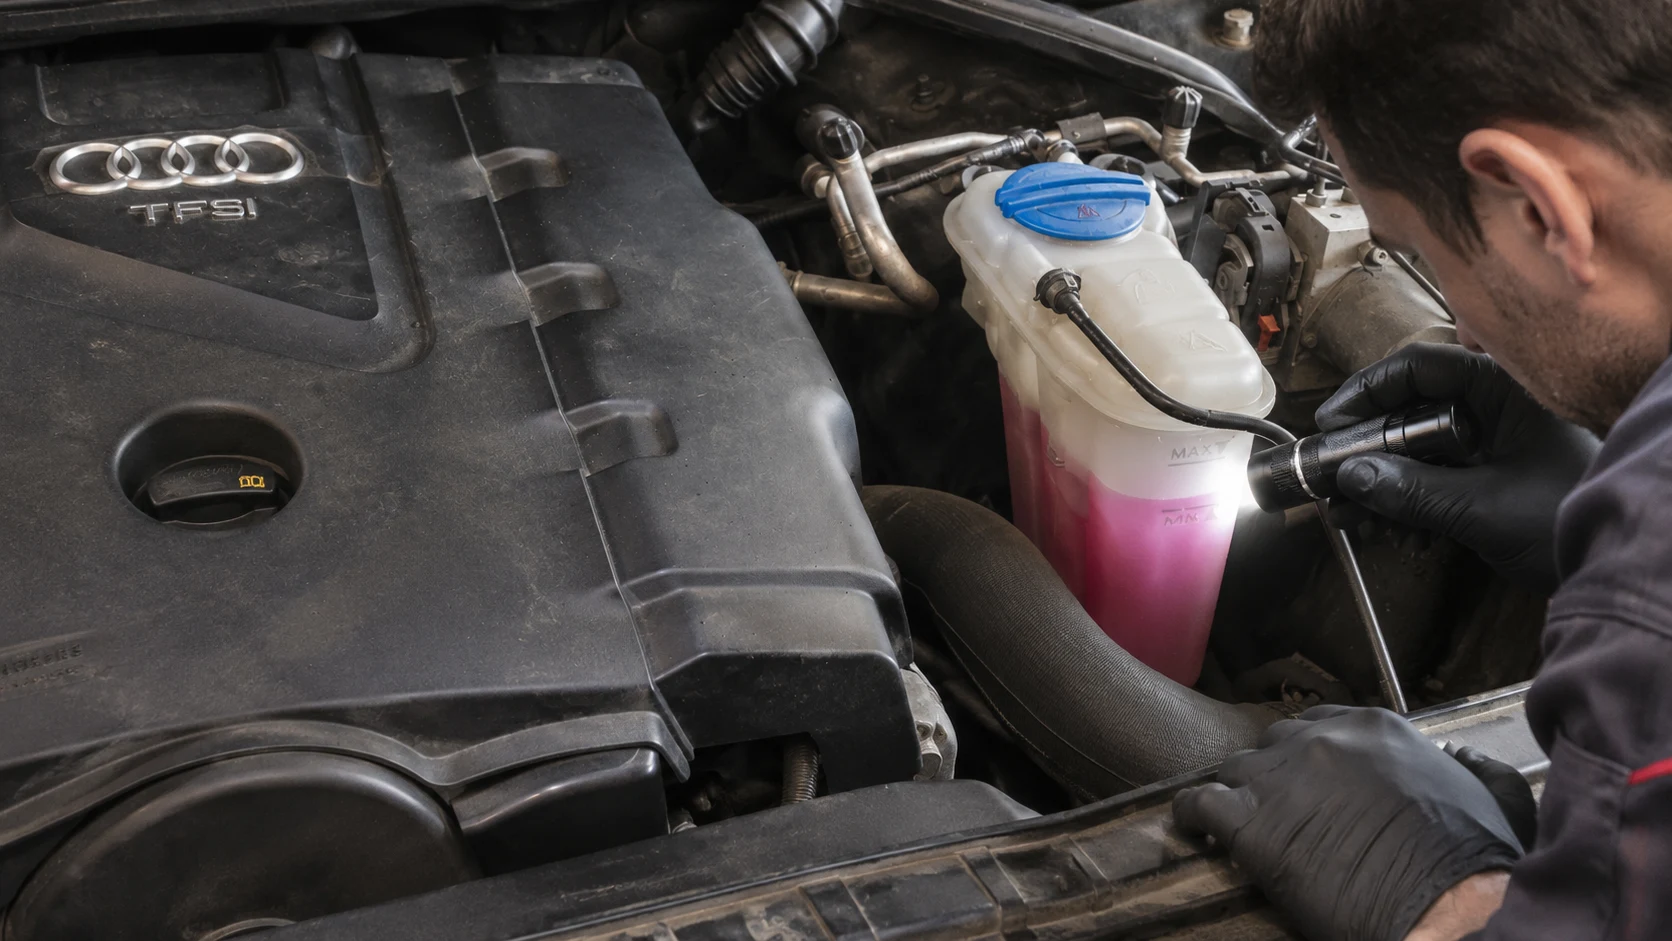
A brown expansion tank is not enough to establish that engine oil is entering the coolant. A workshop should distinguish fresh oily contamination from deposits, discoloration, an incorrect fluid added during maintenance or residue remaining after an earlier failure.
Photograph the condition before cleaning or draining the system. Record recent coolant additions, oil changes, cooling-system repairs and any previous contamination problem. An accurate repair history can prevent an old residue from being mistaken for a newly failed part.
If the fluid cannot be identified confidently, appropriate sampling or laboratory analysis may help. Compare like-for-like samples under suitable conditions; color alone is not a reliable basis for choosing a repair. Keep samples in suitable closed containers and record where they came from.

2. Assess Whether the Vehicle Should Be Operated
Do not continue driving simply because the engine still starts normally. An overheating warning, oil-pressure warning, substantial fluid loss or suspected coolant contamination of the engine oil calls for prompt professional assessment.
Coolant entering the lubrication system can cause serious engine damage, as explained by the Filter Manufacturers Council technical bulletin on coolant leaks into engine oil. The condition of both fluid circuits matters, not just the appearance of the reservoir.
Never remove the expansion-tank cap while the system is hot or pressurized. Allow the vehicle to cool and follow the applicable Audi owner’s manual and workshop safety procedures. Do not open the system merely to obtain a photograph for a parts enquiry.
3. Identify the Installed Heat Exchangers and Sealing Interfaces
Before testing the oil cooler, establish which components actually connect the relevant fluid circuits. The workshop should identify the engine oil cooler and its coolant connections, where fitted, along with the oil-filter housing and associated sealing interfaces.
Also establish whether a transmission-fluid heat exchanger is connected to the cooling system. This does not mean it is the source; it means the investigation should identify the possible fluid paths rather than assuming that every oily substance is engine oil.
Do not assume every Audi has an oil cooler in the same location, or that a visible external leak around a housing establishes an internal cross-leak. These are different faults. Check previous modifications, replacement housings and disturbed connections against the correct component layout.
4. Test the Cooler Without Guessing a Pressure or Procedure
The cooler should be investigated using the procedure and equipment appropriate to the exact assembly. Depending on the design, this may involve removal, isolation and controlled leak testing. A technician must establish the specified test medium, pressure, temperature conditions and acceptance criteria.
There is no universal pressure value suitable for every Audi oil cooler. Applying excessive pressure or using an improvised test can damage the component or produce misleading results. A static exterior inspection cannot, by itself, certify the integrity of internal passages.
Check the housing and sealing arrangement as well as the cooler itself. Do not assume replacing external seals will repair leakage through internal cooler passages. Keep the diagnosis tied to the actual connection between the affected circuits.

Keep other engine faults in the investigation
Oil in the coolant does not automatically mean a failed head gasket, but inspecting the oil cooler must not become a reason to ignore other evidence. If cooler testing does not establish the source, or additional symptoms point elsewhere, continue with the relevant engine diagnostic procedures.
The selected tests should follow the symptoms and engine-specific service information. A single negative test should not be treated as proof that every alternative leakage path has been excluded.
5. Plan the Cleanup Before Completing the Repair
Finding and repairing the source is only part of the job. The workshop also needs to assess the condition of the coolant, expansion tank, hoses and other affected components. The cleanup method should follow the applicable service procedure and use products compatible with the system.
Do not use household detergents or assume one drain-and-refill will remove all contamination. Cleaning the cooling system is also not the same as approving a suspect oil cooler for reuse. Follow the replacement requirements appropriate to the failure and the manufacturer’s instructions.
If coolant has entered the engine oil, the lubrication system requires its own assessment. Cleaning the coolant tank alone does not address contaminated lubricant or possible consequential damage. Include the required fluids, filters and affected components in the repair plan rather than considering only the cooler’s purchase price.
6. Verify the Repair Before Returning the Vehicle
After repair and cleanup, establish a documented baseline: correct fluid specifications and levels, no identified external leakage, correct filling and bleeding, and completion of the appropriate operational checks.
Plan a follow-up inspection for renewed contamination. A clean tank immediately after flushing is not, by itself, proof that the source has been eliminated. Equally, a small amount of remaining residue should not automatically trigger another parts replacement without investigation.
Photographs and recorded observations allow the workshop to compare changes with the post-repair baseline. If contamination returns, check the original diagnosis, cleanup completeness and repair work before deciding which component to replace next.
Choosing a Replacement Audi Oil Cooler
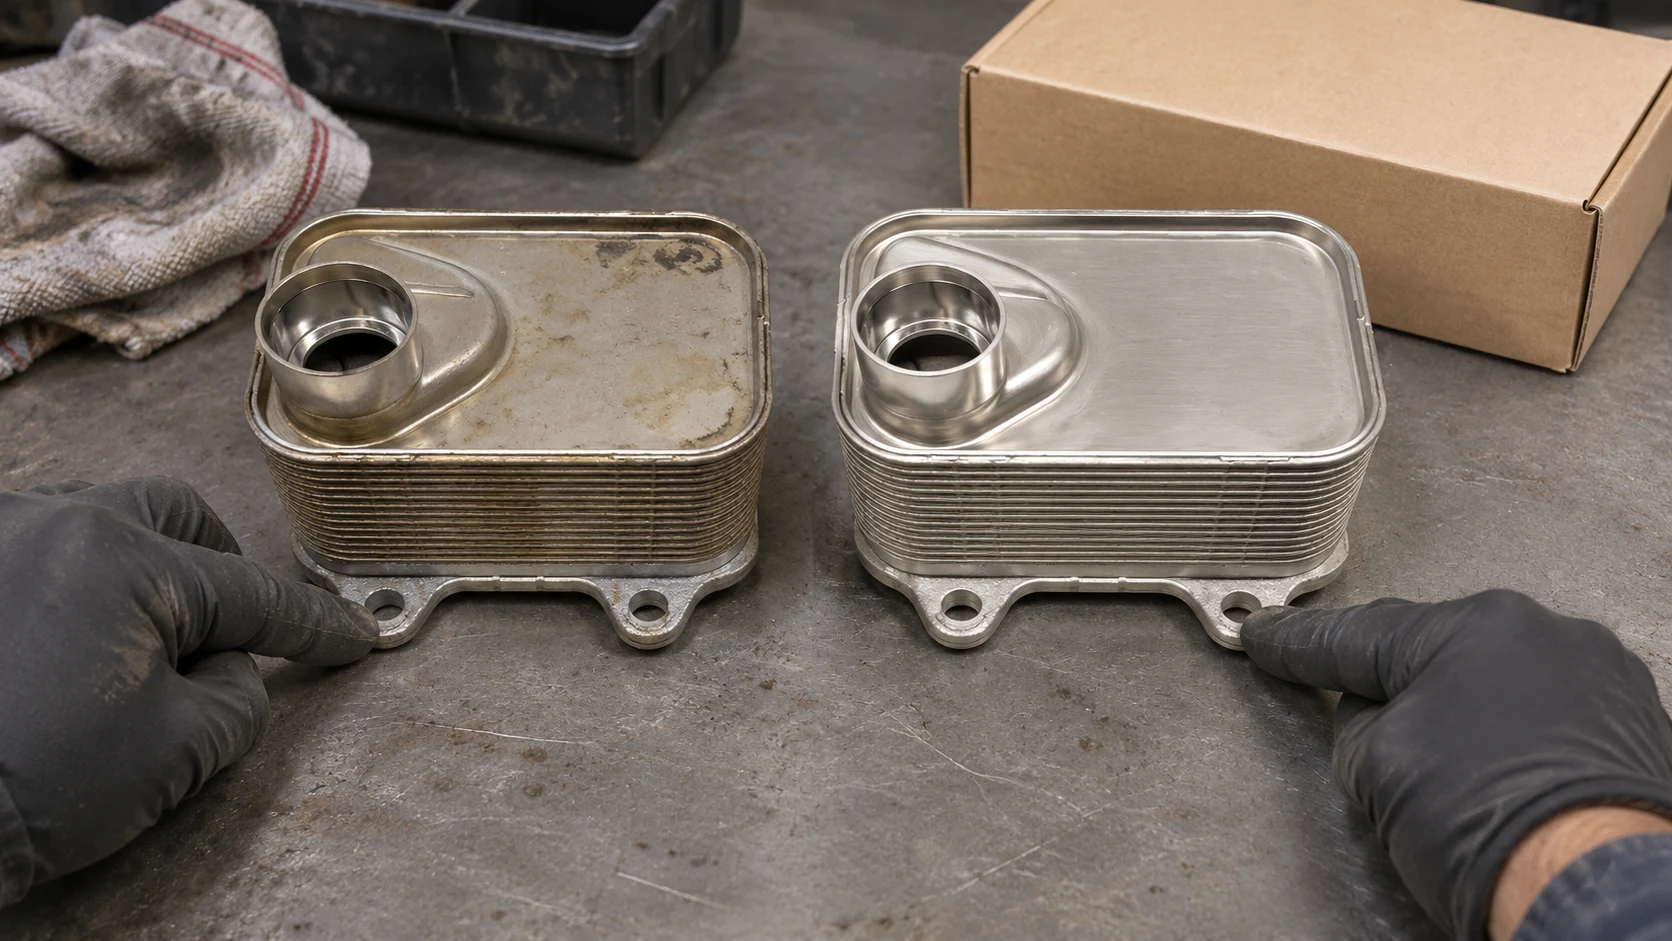
Once testing confirms that replacement is required, match the complete original reference rather than selecting by brand name or appearance alone. Check the engine application, production date, current supersession information, mounting interfaces, oil and coolant connections, and supplied seals.
A familiar stacked-plate shape does not establish compatibility. Compare the part’s interfaces and confirm whether the required supply includes the cooler alone or a larger housing assembly. Avoid assuming that an old reference and a visually similar replacement are interchangeable.
For sourcing, review the oil-cooling product category and, where relevant to the repair, the expansion tank category. Provide the original part number, engine details and clear photographs of the removed part and connections with your enquiry.
Fitment support helps select a compatible component; it does not replace workshop diagnosis of why the fluids mixed.
Frequently Asked Questions
Does oil in Audi coolant always mean a head-gasket failure?
No. The contamination source must be identified. An applicable oil cooler is one possible leakage path, but it should be tested rather than assumed faulty.
Can the engine oil look normal while the coolant is contaminated?
Normal-looking oil does not identify the contamination source or exclude every internal leak. Both fluid circuits need assessment.
Should the expansion tank be replaced first?
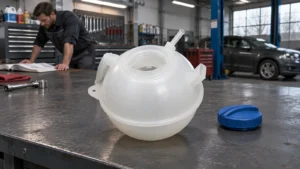
Replacing the tank does not repair the source. Its condition and cleanability should be considered as part of the complete repair plan.
Can I replace only the oil-cooler seals?
Only if diagnosis establishes that the relevant sealing interface is responsible and the service procedure permits that repair. New seals cannot correct a damaged internal cooler passage.
Why has oil appeared again after repair?
Possible explanations include remaining residue, incomplete cleaning or an unresolved leakage source. Compare the condition with the documented post-repair baseline before replacing more parts.
Image note: These AI-generated editorial scenes use real Audi engine-bay and oil-cooler photographs as structural references. They illustrate inspection tasks, not actual diagnostic results, universal component locations, fluid analysis or package contents.