Radiator fan assembly buying guide searches often begin with a vehicle model or OE number, but those two details do not always identify the correct replacement. The same vehicle family may use different fans according to engine, transmission, air-conditioning package, production date, destination market, or control strategy. A unit that looks correct in a catalogue photo may still have the wrong connector, rotation, mounting points, motor power, or integrated electronics.
This guide gives importers, distributors, repair networks, and professional parts buyers a practical specification checklist for comparing electric radiator fan assemblies before ordering. It focuses on the information that should be confirmed between the removed part, catalogue record, supplier quotation, pre-shipment inspection, and received goods.
What Is Included in a Radiator Fan Assembly?
“Radiator fan” can describe several different supply forms. One listing may contain only the blade and motor, while another includes the shroud, wiring, resistor, controller, mounting hardware, or a second fan. The first purchasing question should therefore be: what exactly is included?
| Supply Form | Typical Content | Main Purchasing Risk |
|---|---|---|
| Fan blade only | Plastic blade or fan wheel | Hub, diameter, pitch, offset, and rotation may differ |
| Cooling fan motor | Motor, sometimes with lead and connector | Mounting, shaft, speed control, and electrical interface may not match |
| Fan and motor | Balanced blade fitted to motor | Original shroud and electronics must still be compatible |
| Complete fan assembly | Blade, motor, shroud, wiring; module may be included | “Complete” does not always include the controller, resistor, or hardware |
| Dual-fan module | Two motors, two blades, shared shroud, wiring and possible controller | Left/right motor rating and staged-operation architecture may differ |
The 12 Specifications to Verify Before Ordering
1. OE Number and Supersession
Record the complete OE number from the original label, including every prefix, suffix, space, and revision character. Ask whether the quoted number is a direct OE cross, a supersession, or only a catalogue association. When several references are listed, confirm which physical configuration the supplier will ship.
2. Complete Vehicle and Production Data
Provide make, model, model year, engine code or displacement, transmission, body style, production date, and destination market. VIN data is valuable when accessible, but the original fan evidence should still be compared because previous repairs may have altered the installed assembly.
3. Assembly Scope
State whether the order requires a motor, blade, fan-and-motor unit, complete fan-and-shroud assembly, or complete module with controller. Request a written supplied-content list instead of relying on “assembly” in the product title.
4. Fan Count and Cooling Architecture
Confirm single fan, dual fan, main fan, auxiliary fan, or combined radiator/condenser module. For dual assemblies, identify whether the two motors are identical or use different sizes, power ratings, connectors, or control functions.
5. Installation Position and Airflow Direction
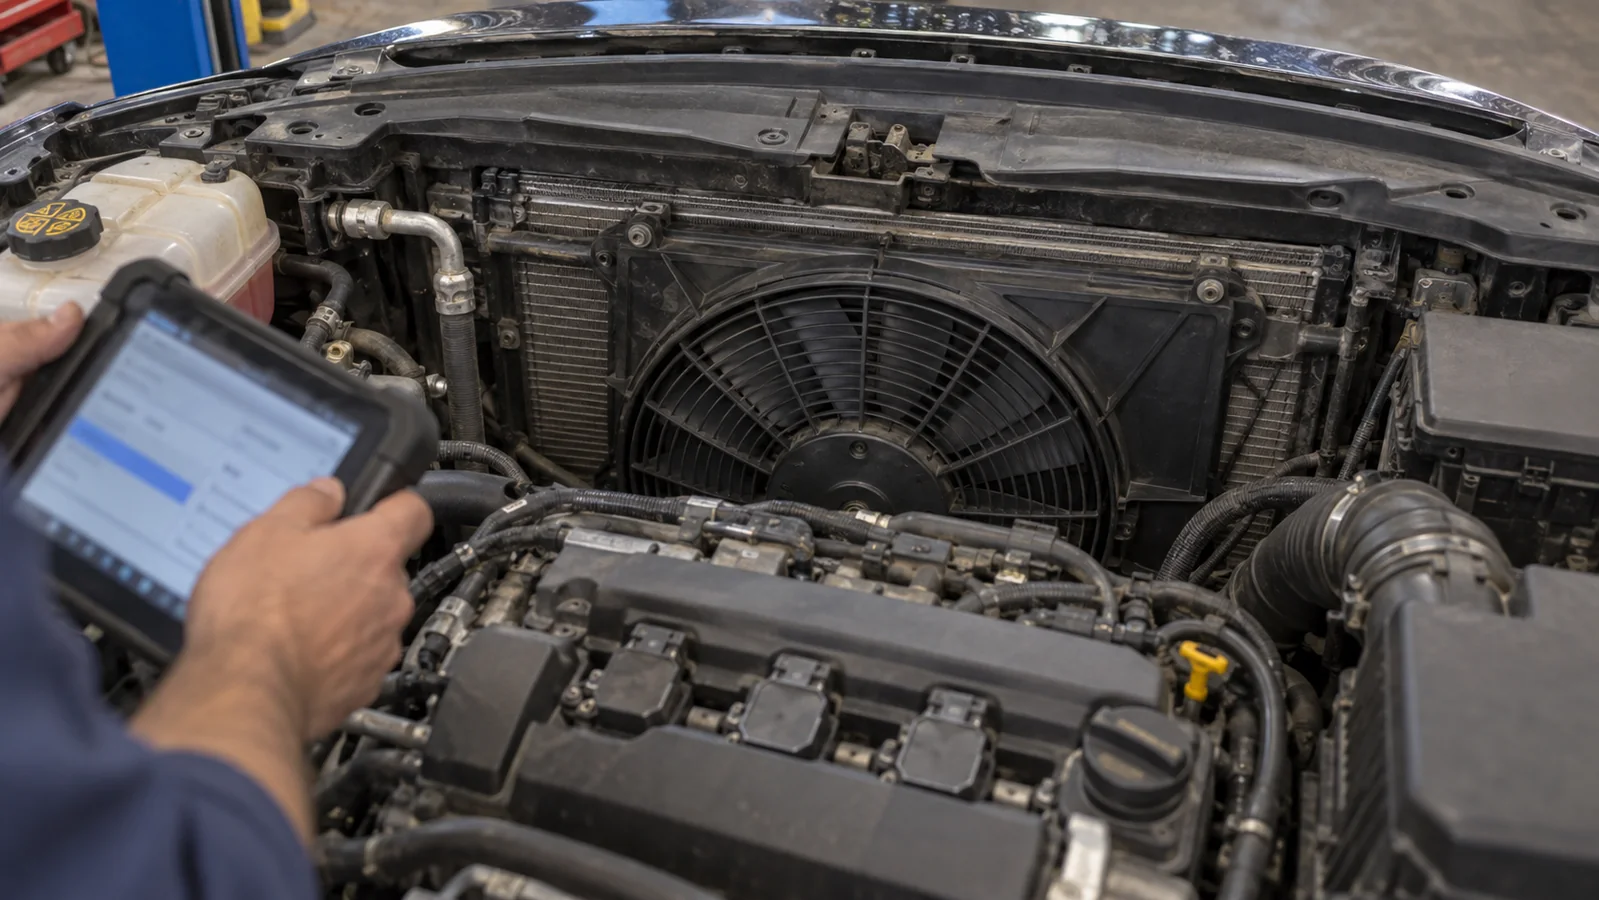
Electric cooling fans may be installed behind or in front of the radiator depending on the vehicle. A common transverse-engine passenger-car design uses a puller fan on the engine side behind the radiator; other applications use a front-mounted pusher or an auxiliary fan. Confirm original position, motor rotation, and intended airflow. Reversing polarity does not guarantee correct performance because blade curvature is optimized for a particular direction.
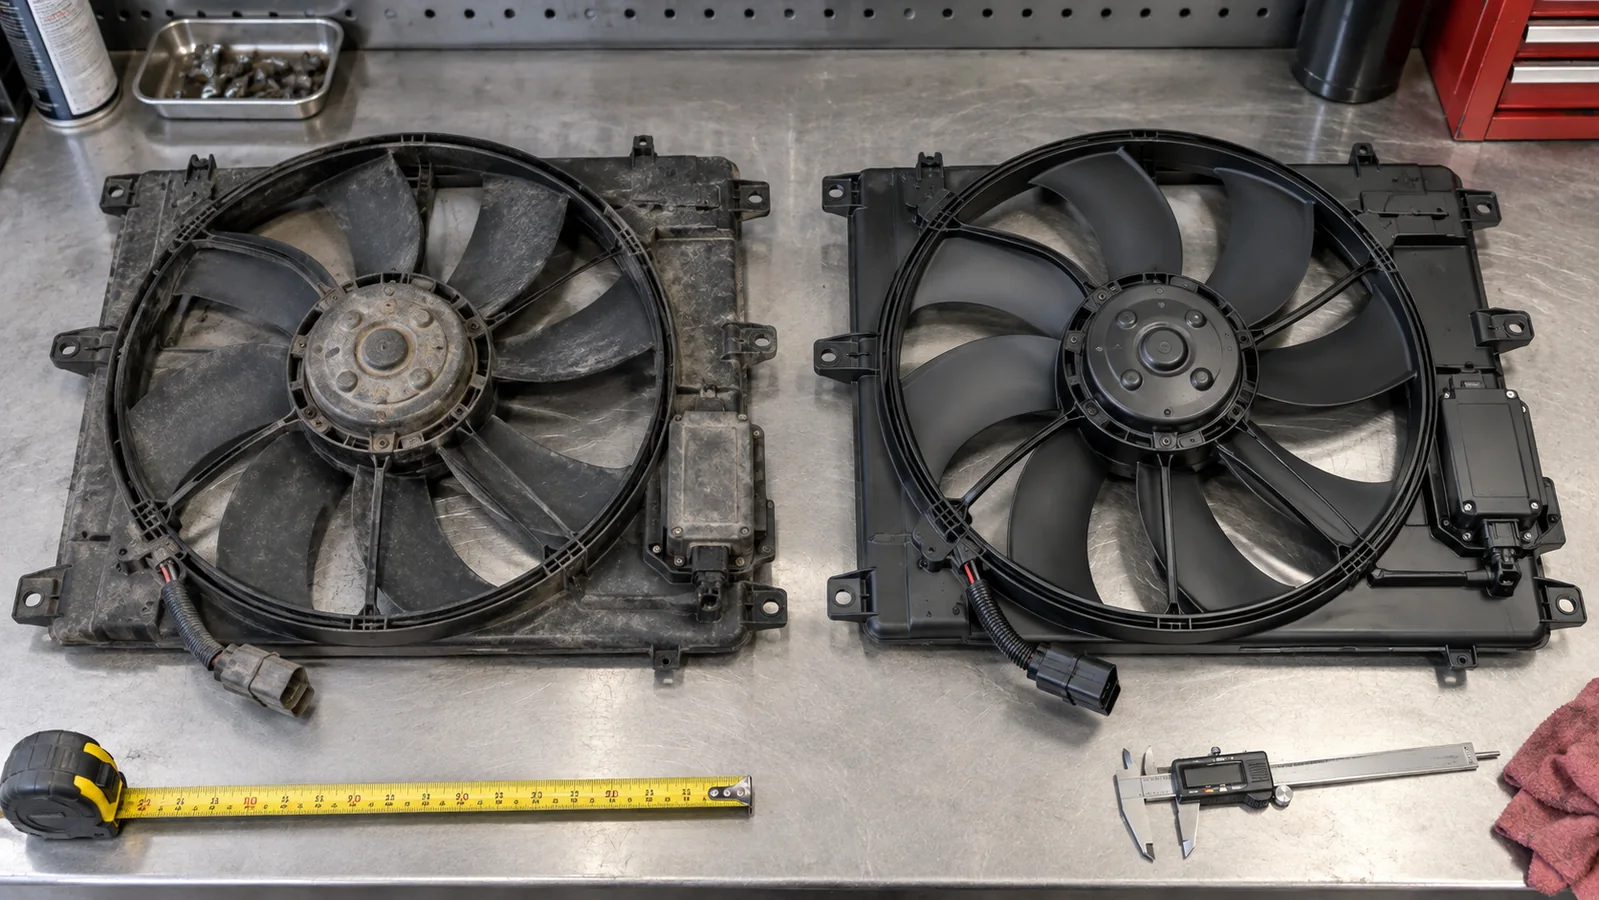
6. Shroud Outline and Overall Dimensions
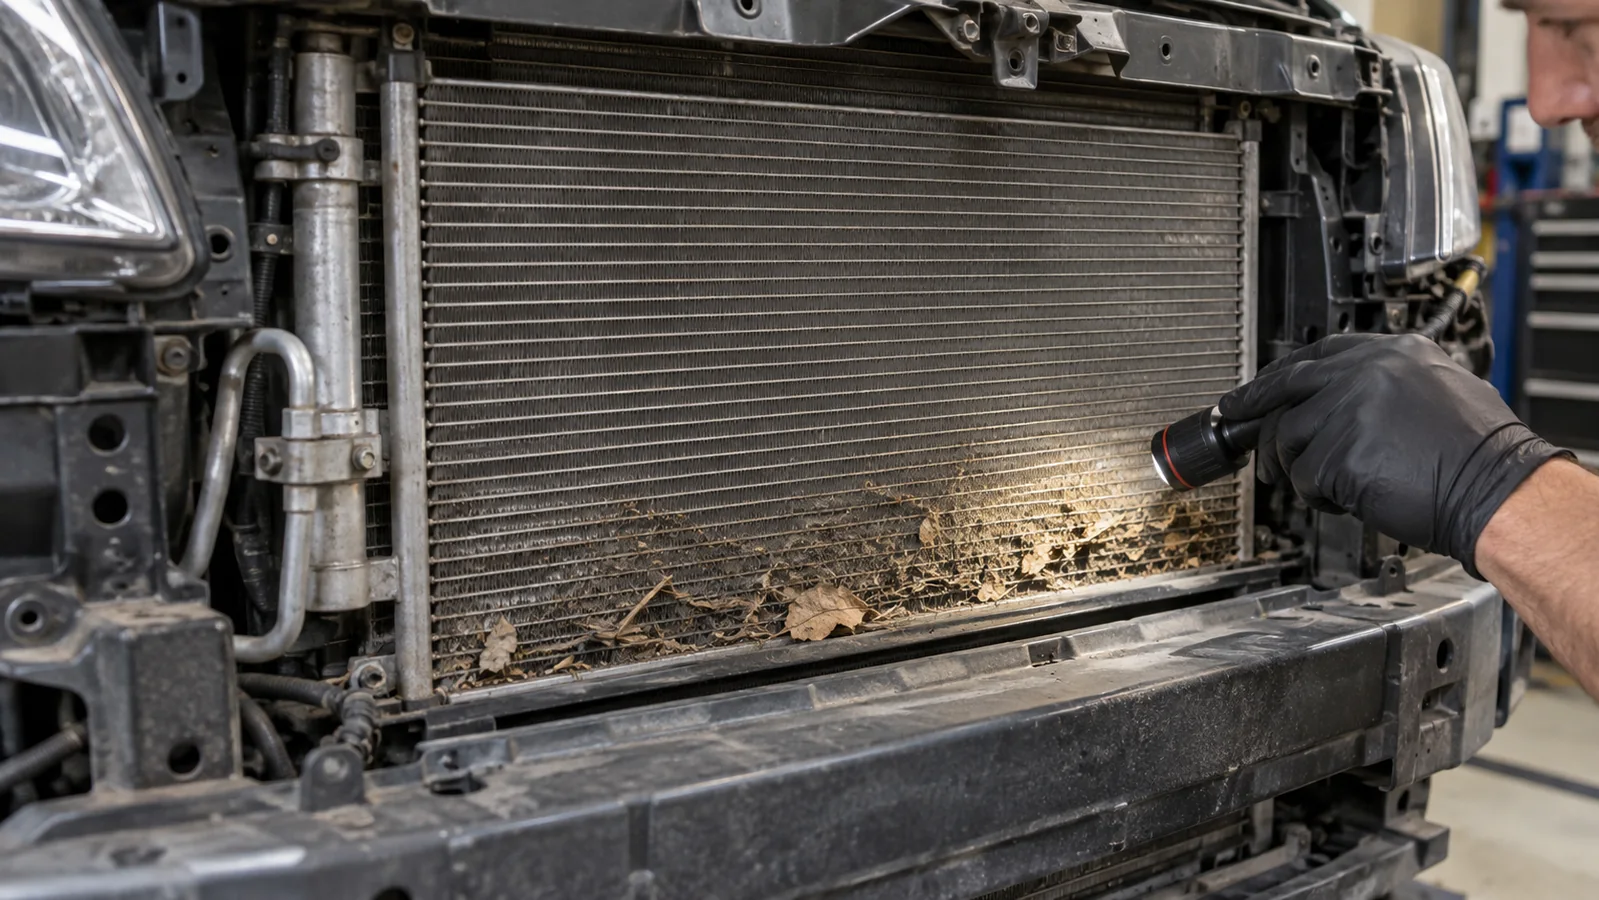
Measure total width, height, and depth at the same reference points on both parts. Compare every recess, duct, clip, locating pin, drain opening, and clearance area. Motor depth and connector projection can be as important as shroud width when the space between the radiator and engine is limited.
7. Mounting Points
Count the upper and lower mounting points and record hole diameter, slot shape, tab thickness, offset, and spacing. Photograph the assembly from both faces and square to the camera. A tilted photo can hide an offset that prevents installation.
8. Blade Diameter, Hub, Pitch, and Clearance
Compare blade count, outside diameter, hub style, blade curvature, rear offset, and clearance to the shroud. Diameter alone cannot confirm fitment. A different blade design can change airflow, load, noise, balance, and rotation requirements.
9. Motor Electrical Specification
Confirm operating voltage and the vehicle’s speed-control architecture: single speed, two speed, resistor controlled, relay staged, or electronically variable. Where the manufacturer provides test data, compare current consumption, speed, and operating response under the specified conditions. Do not treat an unloaded spin test as proof of installed performance.
10. Connector, Pin Count, and Harness Routing
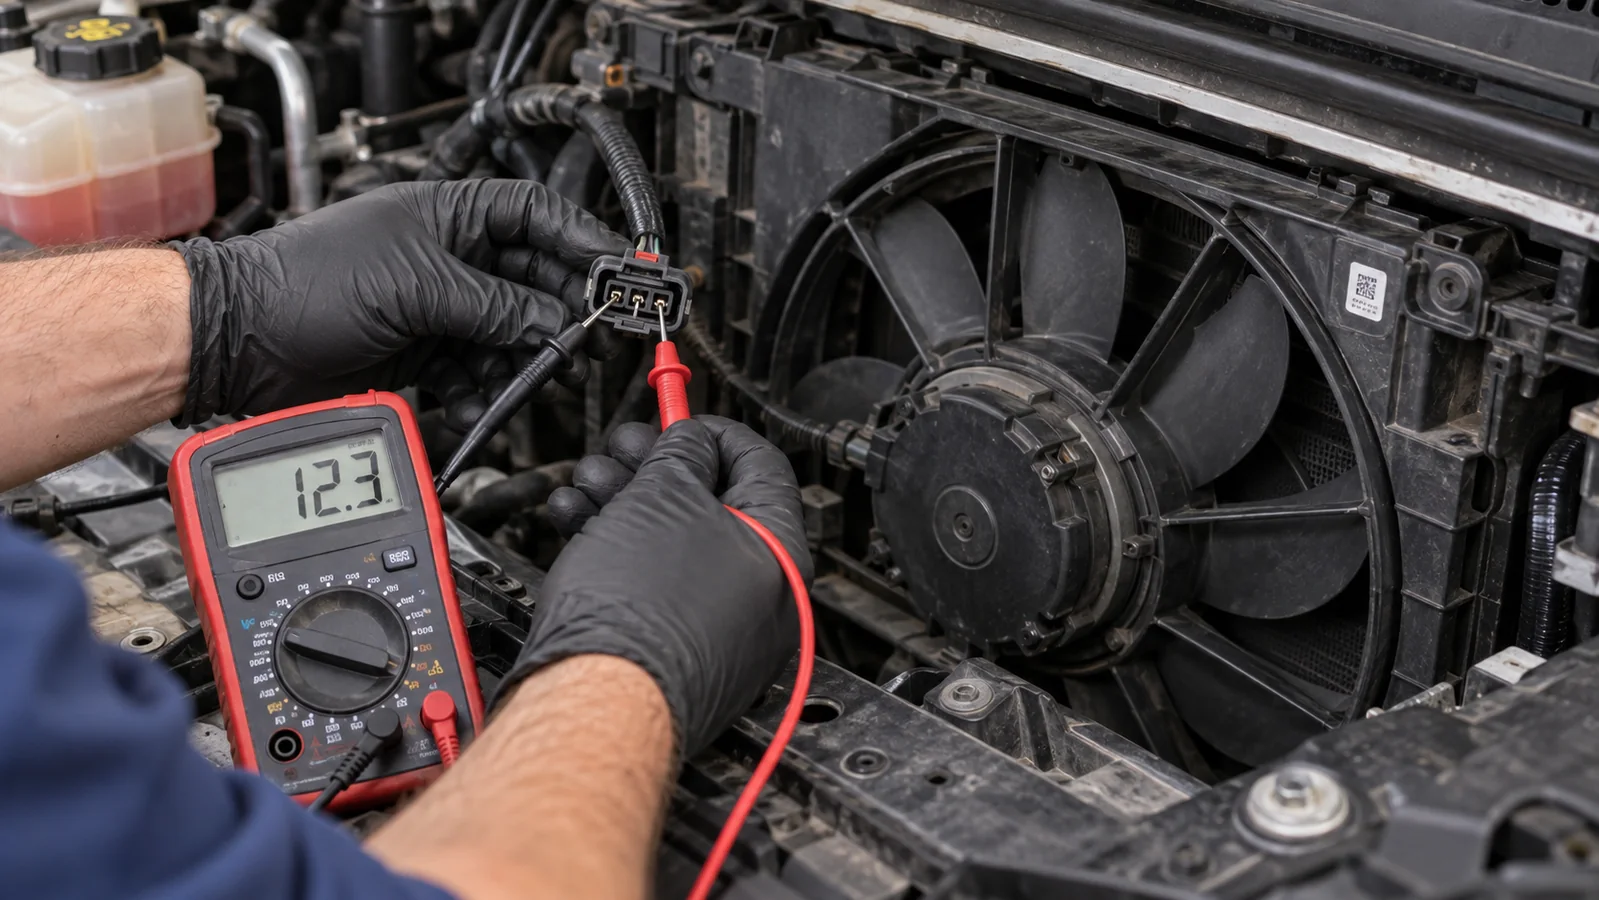
Compare connector housing shape, keying, lock, pin count, terminal size, sealing, cable length, and wire exit direction. Two plugs can appear similar while using different terminal functions. Ask for a sharp connector-face photograph and never approve a multi-pin fan from wire colors alone.
11. Resistor or Fan Control Module
Determine whether the original uses a separate resistor, relay pack, integrated controller, or external radiator fan control module. Confirm whether this component is supplied, transferred from the old unit, or ordered separately. Similar controller housings may contain different electronics or calibrations.
12. Application Notes and Supplied Hardware
Read every catalogue qualifier. Notes such as “with towing package,” “without heavy-duty cooling,” “from production date,” “with integrated controller,” or “manual transmission only” can separate physically different assemblies. Confirm whether clips, screws, isolators, seals, brackets, and adapter harnesses are included.
Why an OE Number Match May Still Need Physical Verification
OE references are the strongest search key, but they are not a substitute for comparison. Labels can be unreadable, databases can combine supersessions, previous repairs can install aftermarket assemblies, and one reference family can contain market or production changes. A robust approval process combines:
- Complete OE and cross-reference data.
- Vehicle and production information.
- Front, rear, connector, label, and mounting photographs.
- Measurements taken from defined points.
- Written confirmation of supplied components.
A Practical Supplier Enquiry Template
A complete first enquiry reduces unnecessary messages and incorrect quotations. Send the following in one package:
- Primary OE number and all known cross references.
- Required component form and quantity.
- Vehicle make, model, year, engine, transmission, production date, and market.
- VIN where appropriate and permitted.
- Clear photos of the label, both faces, connector, module, and every mounting point.
- Overall dimensions and blade diameter with measurement points visible.
- Required packaging, destination country, and requested delivery schedule.
- Any known sample-approval or testing requirement.
For mixed orders, use one line per application. Do not combine several vehicle variants under a single model description unless the interchange has already been verified.
Pre-Shipment Quality Checks for Radiator Fan Assemblies
Fitment data confirms which part should be supplied; inspection confirms the part is in suitable condition for dispatch. A practical exterior and operational review may include:
- Shroud flatness, cracks, molding damage, and mounting-tab condition.
- Blade cracks, deformation, hub seating, and free clearance.
- Motor mounting security and abnormal axial or radial movement.
- Connector housing, terminal alignment, seal, lock, and wire strain relief.
- Control-module or resistor identity when included.
- Rotation response, unusual noise, rubbing, and vibration under the approved test method.
- Visible consistency with the confirmed reference and quotation images.
Incoming Inspection After Delivery
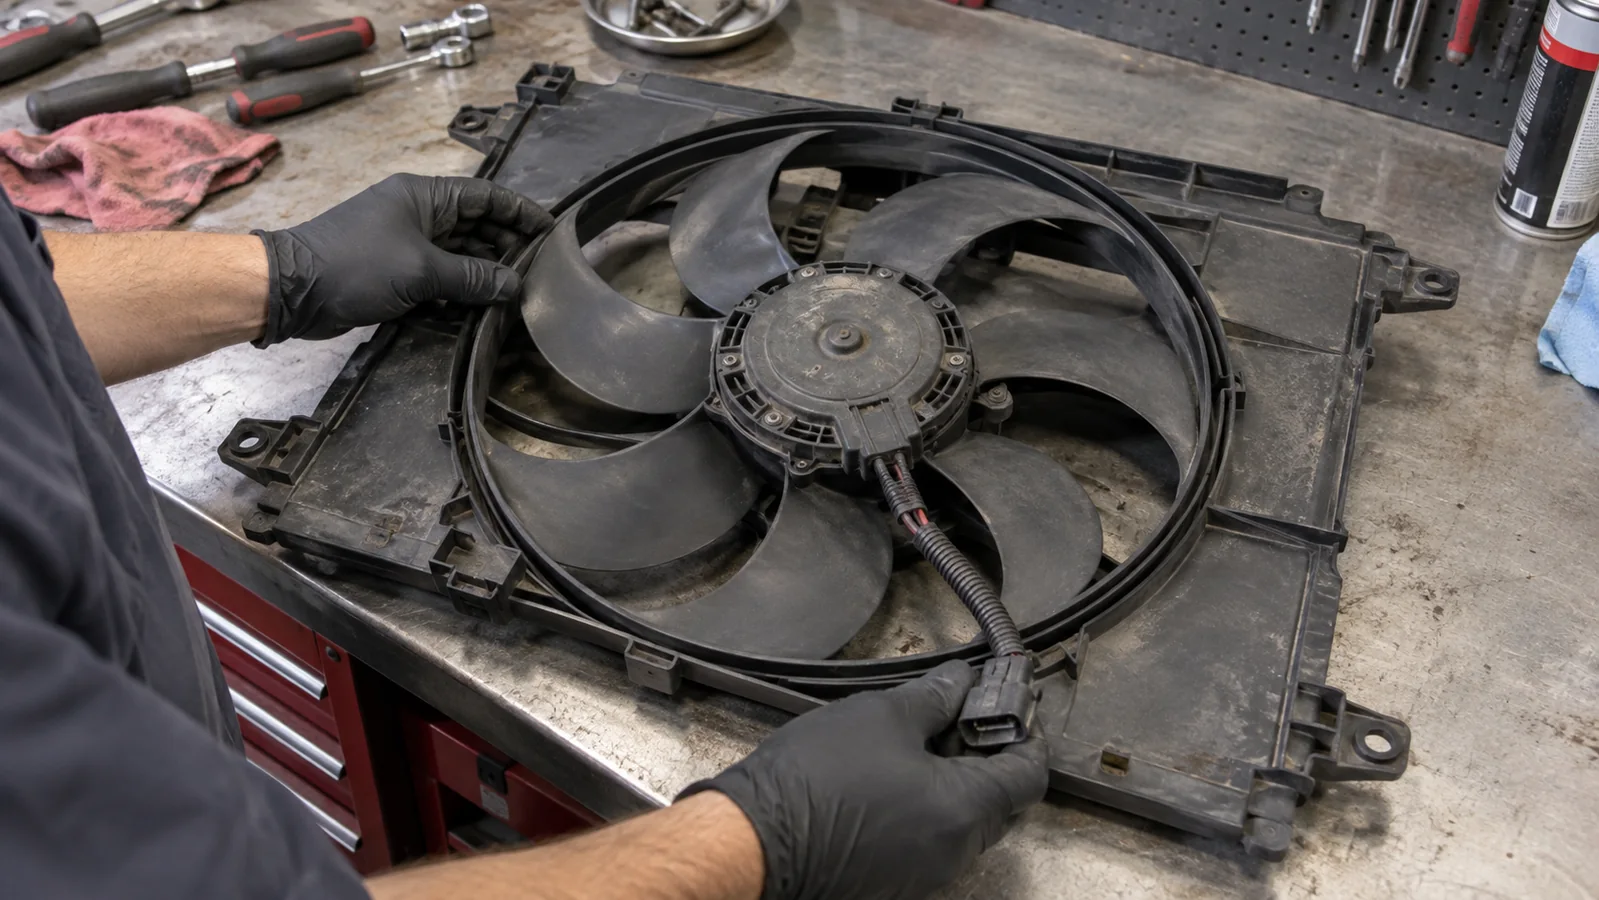
Receiving teams should compare the carton label, part label, and purchase-order reference before installation. Inspect packaging for impact or compression, then check the shroud and tabs on a flat surface. Rotate the blade only as permitted to confirm free movement and clearance. Quarantine any unit with cracked blades, distorted frames, loose motors, damaged terminals, or an inconsistent configuration.
For larger orders, record the inspection result by batch or carton. This creates traceability if a fitment or transport issue appears later and helps distinguish isolated handling damage from a repeated specification mismatch.
Installation and Functional Validation
Before installation, compare the replacement with the removed assembly once more. Route wiring through the intended clips and keep it clear of the blade, belts, exhaust heat, and sharp edges. Reinstall the original air guides and seals because the shroud and ducting influence airflow distribution.
After installation, follow the vehicle procedure to operate each commanded fan stage. Confirm quiet rotation, correct airflow direction, stable mounting, no rubbing, and expected response to scan-tool commands or vehicle operating conditions. A correct physical fit is not complete until the electrical and control functions have also been verified.
Competitor Content Gap: What Buyers Still Need
Large aftermarket retailers commonly organize radiator fans by year, make, and model, while manufacturer pages emphasize direct fit, OE references, connector details, fan quantity, motor type, and supplied content. Those elements are useful, but international trade buyers also need a repeatable evidence package, defined measurement points, module inclusion, packaging protection, batch inspection, and a clear approval record.
This is why a professional purchasing specification should connect catalogue fitment with physical comparison and supply-chain control. The goal is not merely to find a fan that looks similar; it is to order the same confirmed configuration consistently.
Frequently Asked Questions
Is the radiator fan motor normally included with the assembly?
Often yes, but not universally. Confirm whether the quotation includes the motor, blade, shroud, wiring, resistor, controller, and mounting hardware.
Can two fans with the same diameter be interchangeable?
No. Connector, motor rating, blade pitch, rotation, hub offset, shroud geometry, mounting pattern, and control method can all differ.
Is a puller fan always mounted behind the radiator?
A puller is normally installed downstream on the engine side so it draws air through the heat exchangers. Vehicle designs vary, so confirm the original layout and service information rather than using a universal assumption.
Should the control module be replaced with the fan?
Only when the application supplies it as part of the assembly or testing shows that replacement is required. Confirm module inclusion and check that an overloaded or seized motor has not damaged the control circuit.
What is the best evidence for a wholesale fitment check?
Use the complete OE label, vehicle and production data, sharp front and rear photos, connector and module close-ups, mounting images, and measurements taken from visible reference points.
Source the Correct Radiator Fan Configuration
Yongshang Auto supplies application-specific radiator fan assemblies, cooling fan motors, and control components for global parts buyers. Send your OE reference, original-part photos, vehicle details, quantity, and destination so the configuration can be reviewed before quotation.
Technical references: DENSO cooling-fan and radiator guidance; HELLA radiator-fan and engine-cooling guidance; manufacturer and aftermarket catalogue specification practices. Always confirm the exact vehicle application and supplied configuration.