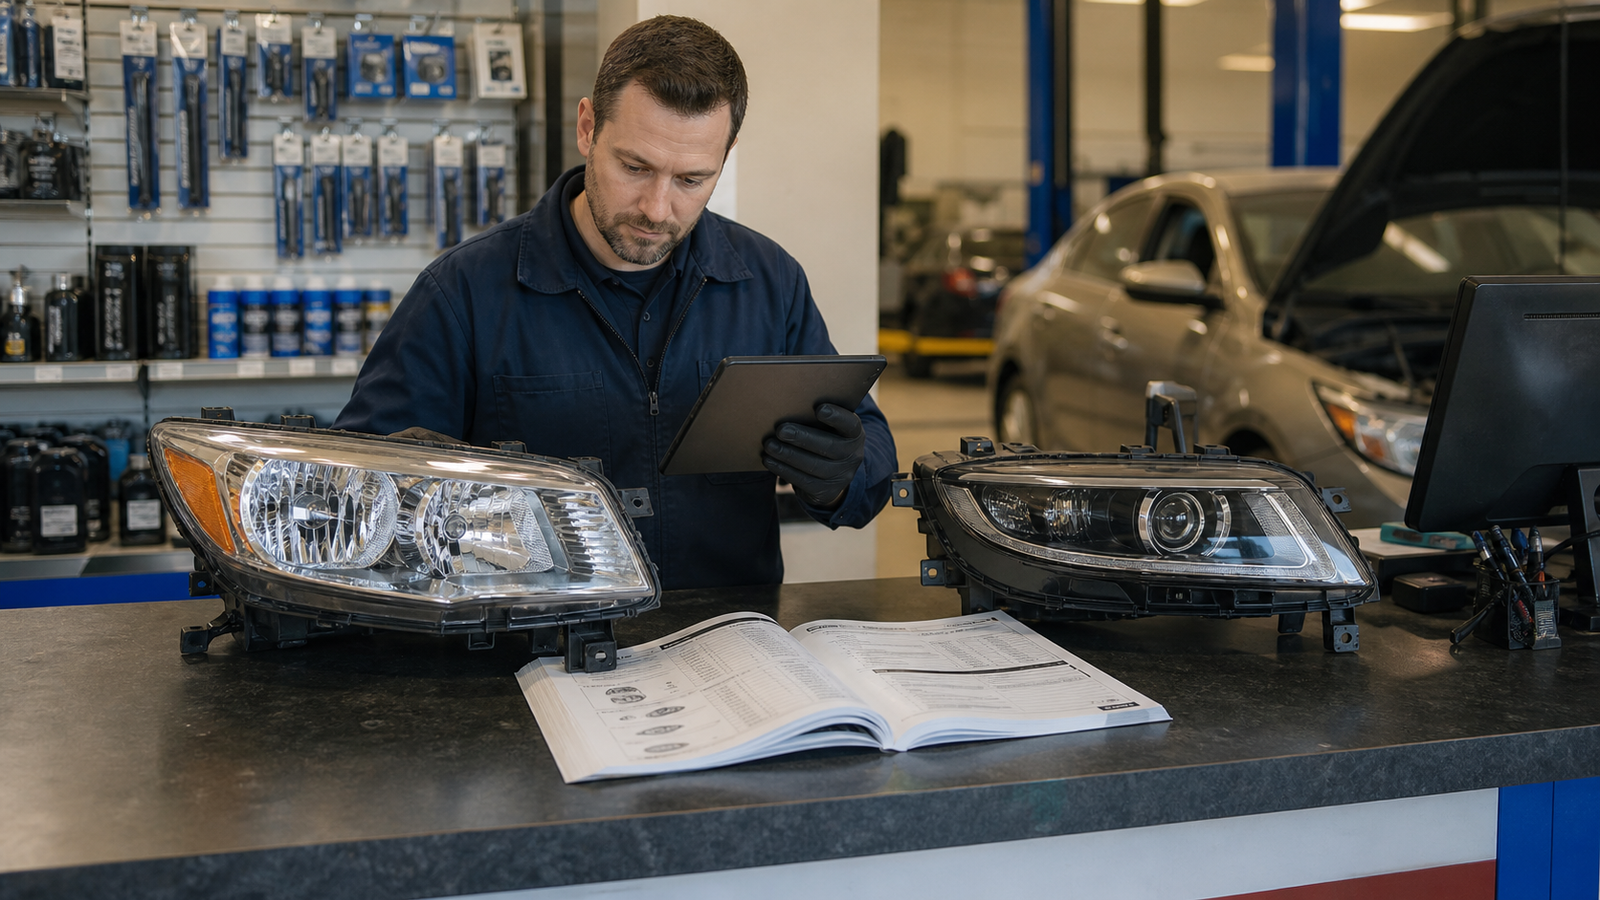
Choosing the correct replacement headlight assembly involves much more than matching the vehicle name and model year. Two headlamps can share almost the same outer shape yet use different light sources, wiring connectors, control modules, leveling systems, beam patterns, or mounting points. If one detail is wrong, the lamp may bolt into place but still fail to operate correctly—or it may produce an unsafe beam.
This guide explains how to identify the right assembly before ordering. It covers halogen, HID/xenon, LED, AFS and related fitment details so buyers, repair shops and parts distributors can compare a replacement lamp systematically.
Start With the Exact Vehicle, Not the Lamp Shape
The correct search begins with the VIN, production date, market and original equipment number. A model-year listing alone may be too broad because a manufacturer can change the lamp during a facelift, split a production year, or offer several lighting packages on the same trim.
Record the following before comparing parts:
- VIN and production month/year
- Vehicle make, model, body style and trim level
- Left-hand or right-hand lamp position on the vehicle
- Country or destination market
- OE number and supplier number from the original housing
- Original light source: halogen, HID/xenon or LED
- Presence of AFS, automatic leveling, adaptive high beam or headlamp washers
The U.S. lighting standard, FMVSS No. 108, covers original and replacement lamps, reflective devices and associated equipment. Other markets apply their own requirements. This is why a lamp that physically resembles the original is not automatically correct for every destination.
Halogen, HID and LED Are Different Systems
The light source affects the housing, optics, wiring and electronics. Do not assume that a lamp can be converted simply by installing a different bulb.
| System | Typical components | Fitment points to verify |
|---|---|---|
| Halogen | Replaceable bulb, reflector or projector, manual/electric adjuster | Bulb type, socket, wiring plug, leveling motor and beam pattern |
| HID/xenon | Discharge bulb, ballast, igniter and projector/reflector optics | Ballast location, igniter, bulb specification, leveling and washer requirements |
| LED | LED modules, drivers/control units, heat sinks or fans and dedicated optics | Module version, cooling design, connector, coding and included electronics |
| AFS/adaptive | Movable optics or segmented LEDs, control units and vehicle sensor inputs | AFS function, module compatibility, steering/level inputs, coding and calibration |
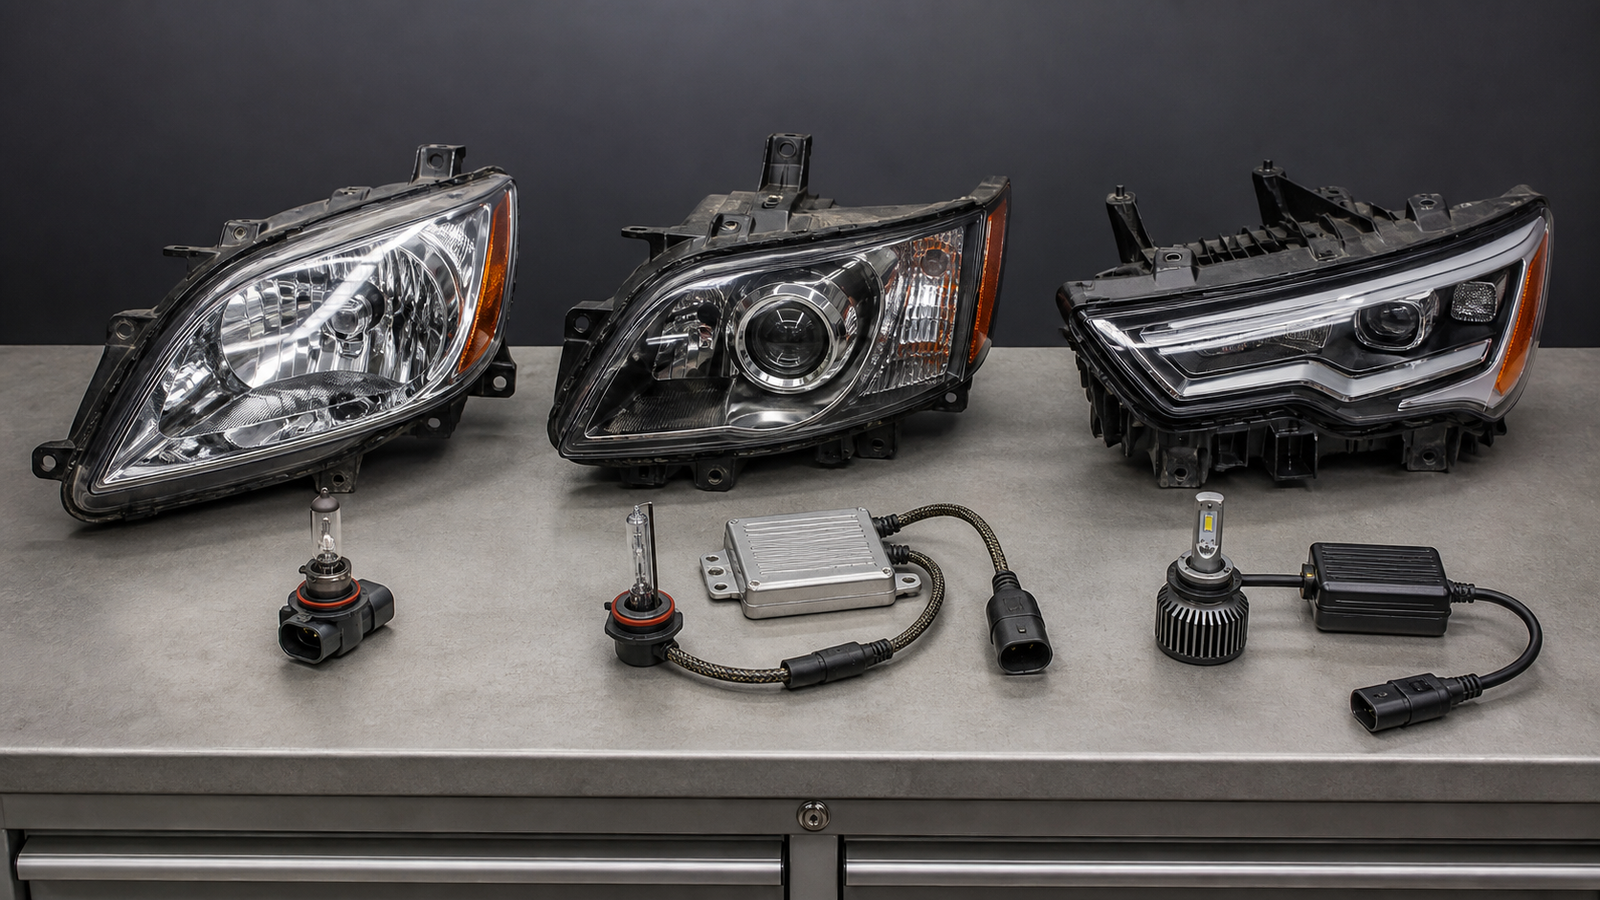
Halogen headlamps
Halogen assemblies are often the simplest configuration, but there can still be important differences. Confirm the bulb designation, the number of bulbs, the parking or daytime-running-light arrangement, and whether the housing uses manual adjustment or an electric leveling motor. A projector does not automatically mean HID; many halogen systems also use projector optics.
HID or xenon headlamps
A xenon system needs more than a discharge bulb. It normally includes a ballast and may use a separate igniter. HELLA’s xenon technical guide describes the gas-discharge lamp, ballast and reflector/projector system as an integrated arrangement. A bi-xenon projector can produce both low and high beam by moving a shield inside the module.
Before ordering, establish whether the ballast, igniter and bulb are supplied with the assembly or must be transferred. Also verify automatic leveling and washer-system requirements for the applicable vehicle and market. Installing an HID bulb in optics designed for halogen is not an acceptable substitute for the correct complete system.
LED headlamps
LED assemblies may contain dedicated drivers, control modules, heat sinks, fans and several optical segments. Some LEDs are replaceable modules; others are integrated into the lamp. According to HELLA’s LED headlamp overview, correct testing and adjustment remain important even though the light source and control technology differ from conventional bulbs.
Ask exactly what is included. A bare housing without control units can look complete in a product photo but require expensive components from the original lamp. Match the module numbers and software/coding requirements—not just the lens design.
Check Every Lighting Function
A modern headlamp can combine low beam, high beam, daytime running light, parking light, front position light, turn signal, side marker and cornering light. Different trims can use the same basic body shape while arranging these functions differently.
Compare the original and replacement lamp function by function. Look through the clear lens and identify each reflector, projector and light guide. Then compare the housing openings, bulb covers, module locations and connector count. Do not rely on a single front-view photo.
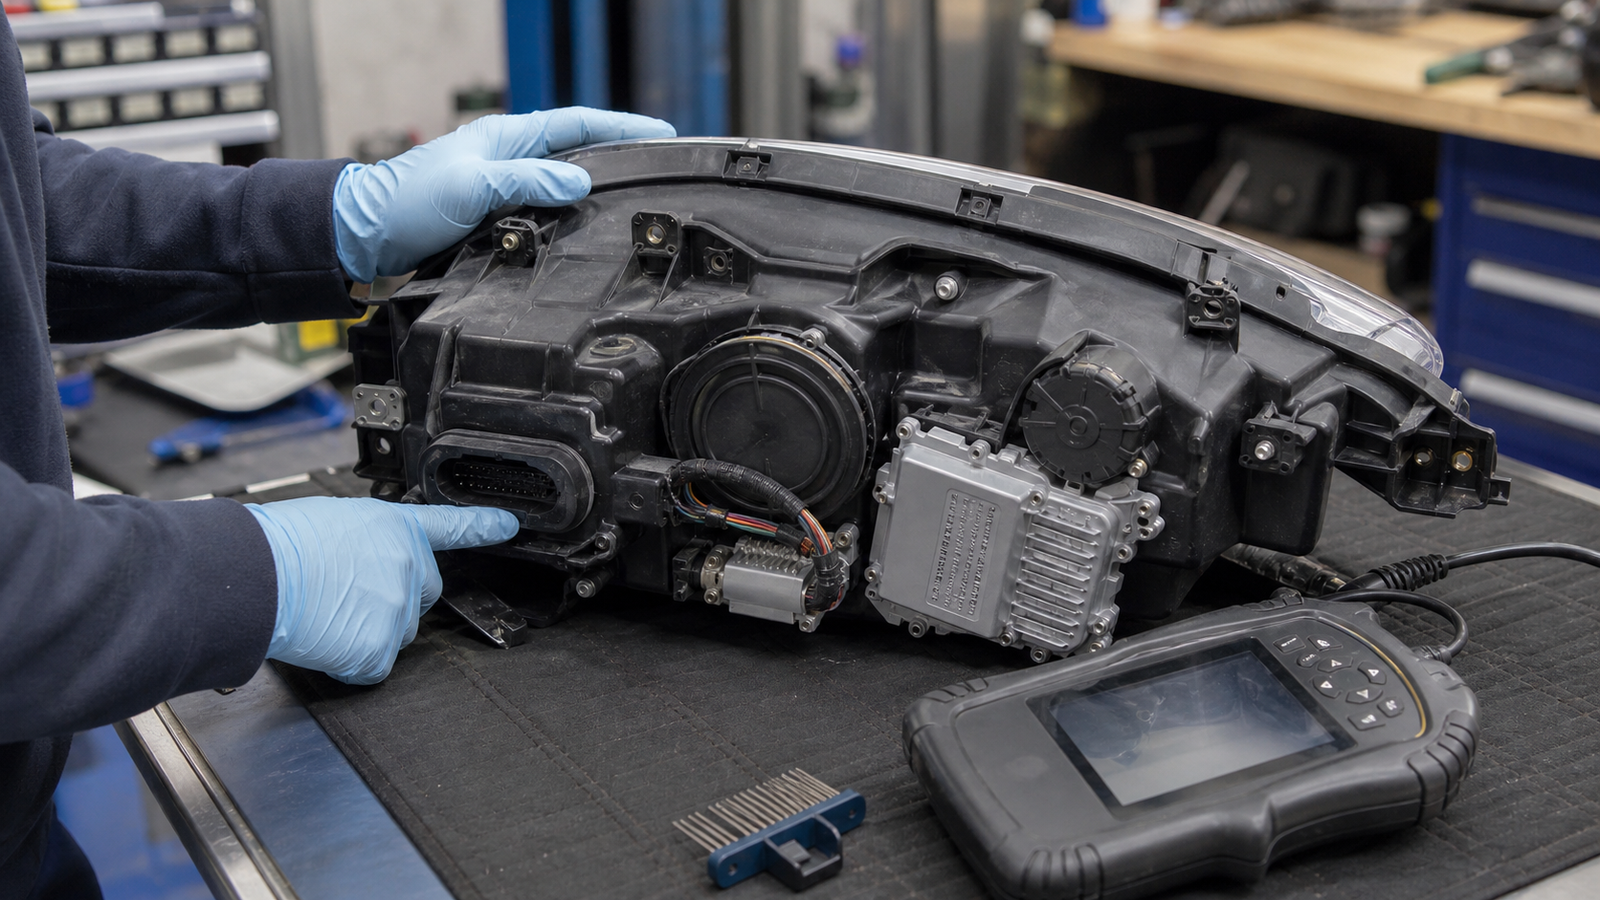
Understand AFS, Leveling and Adaptive Features
AFS means that the light distribution can change with driving conditions. Depending on the vehicle, the system may alter the beam for curves, urban roads, highways or poor weather. Other systems swivel a projector, raise or lower the beam, or control individual LED segments.
HELLA’s AFS explanation shows why adaptive lighting is a complete system rather than a cosmetic feature. The headlamp works with control electronics and vehicle inputs, so a non-AFS housing should not replace an AFS unit merely because the outer lens fits.
Check for:
- AFS or adaptive-light identification on the original unit
- Leveling motor or internal actuator
- Separate LED, ballast or AFS control modules
- Matching connector shape, pin count and locking mechanism
- Required initialization, coding, basic setting or calibration
A warning message after installation may indicate an incompatible module, disconnected leveling sensor, incorrect coding or an uninitialized system. Do not assume that manual screw adjustment will solve an electronic control fault.
Confirm the Beam Pattern and Destination Market
Low-beam optics are designed to illuminate the road while controlling glare. Headlamps for left-hand-traffic and right-hand-traffic markets can use different asymmetric beam patterns. The correct choice depends on where the vehicle is operated, not which side the steering wheel happens to be on in a product photograph.
Look for applicable approval and function markings on the original and replacement units, then confirm the supplier’s market specification. Do not use a tourist-mode setting as proof that a lamp is permanently suitable for another market.
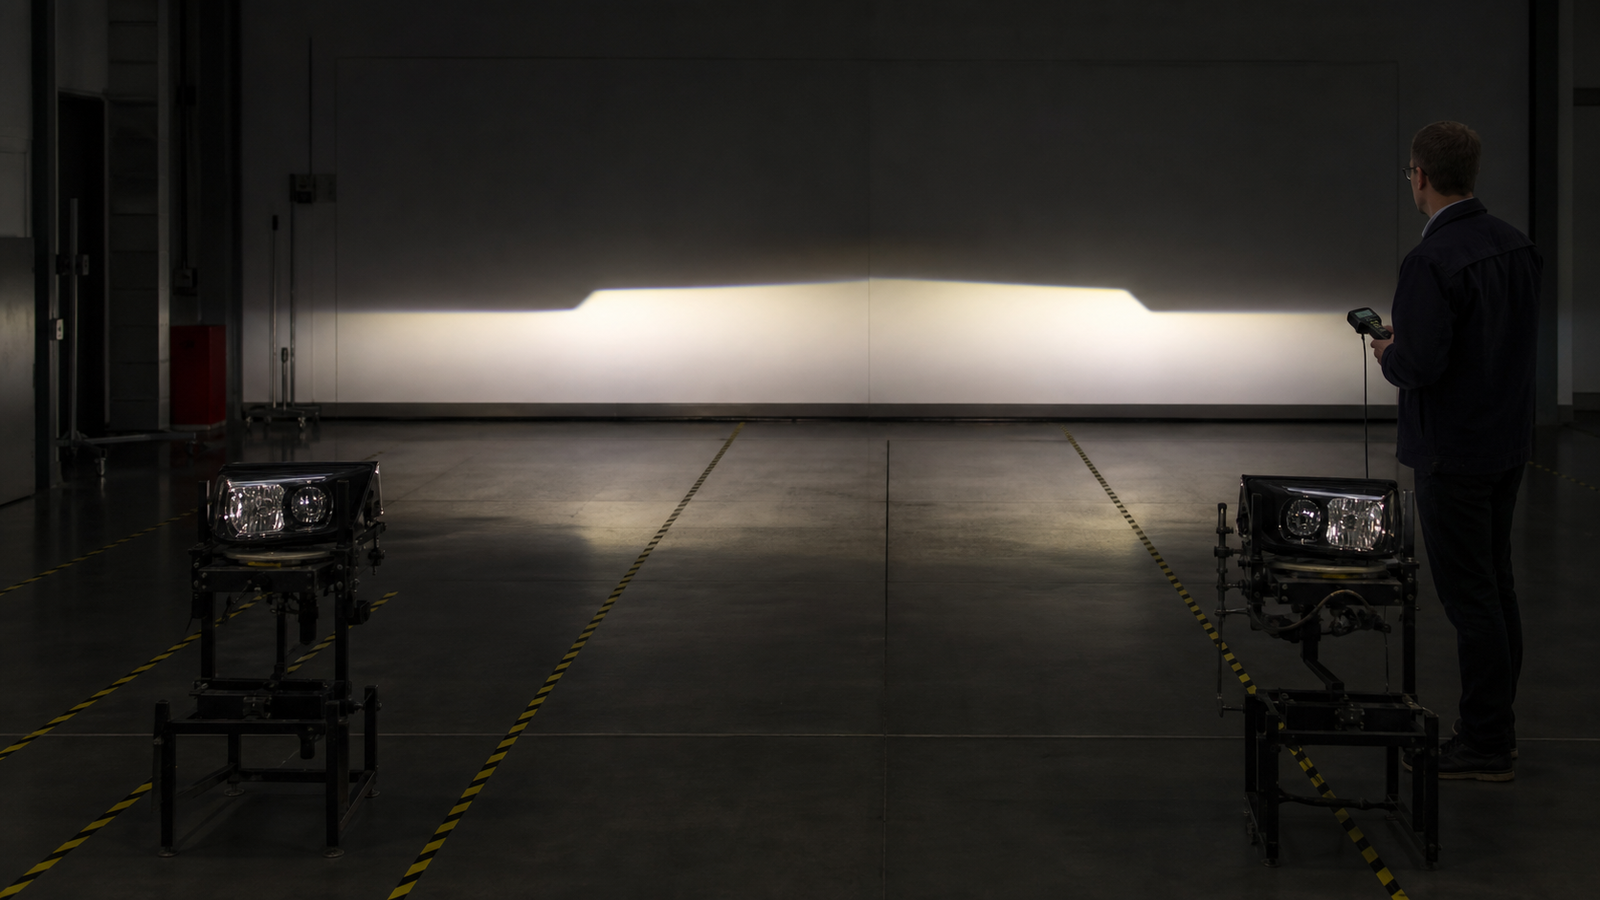
HELLA’s headlamp adjustment guide explains that lamps set too low restrict the driver’s field of vision, while lamps set too high can dazzle other road users. Follow the correct procedure and vehicle preparation conditions after replacement.
Inspect Connectors, Modules and Included Parts
Ask the seller for clear photos of the back of the housing whenever possible. Compare the main connector, secondary connectors, locating keys, seals and pin count. A plug with the same outer shape can still have a different terminal arrangement.
Clarify whether the following are included:
- Bulbs or LED modules
- Ballast and igniter
- LED driver or control unit
- Leveling or AFS motor
- Rear dust covers and seals
- Wiring pigtails, brackets and mounting hardware
When modules are transferred from the old lamp, inspect them for water damage and verify that their seals are reusable. Never connect or disconnect HID high-voltage components with the system energized.
Match the Housing, Mounting Tabs and Body Version
Compare the complete outline of the lamp and every mounting ear. Pay attention to the upper radiator support mount, fender-side guide, bumper-side tab and lower bracket. A sedan, hatchback, wagon or regional facelift can use different mounts even when the front styling appears similar.
Inspect the vehicle mounting points too. A new lamp will not align correctly if the radiator support, fender bracket or bumper guide is bent from a previous impact. Do not enlarge mounting holes or force tabs into position to make an incorrect part fit.
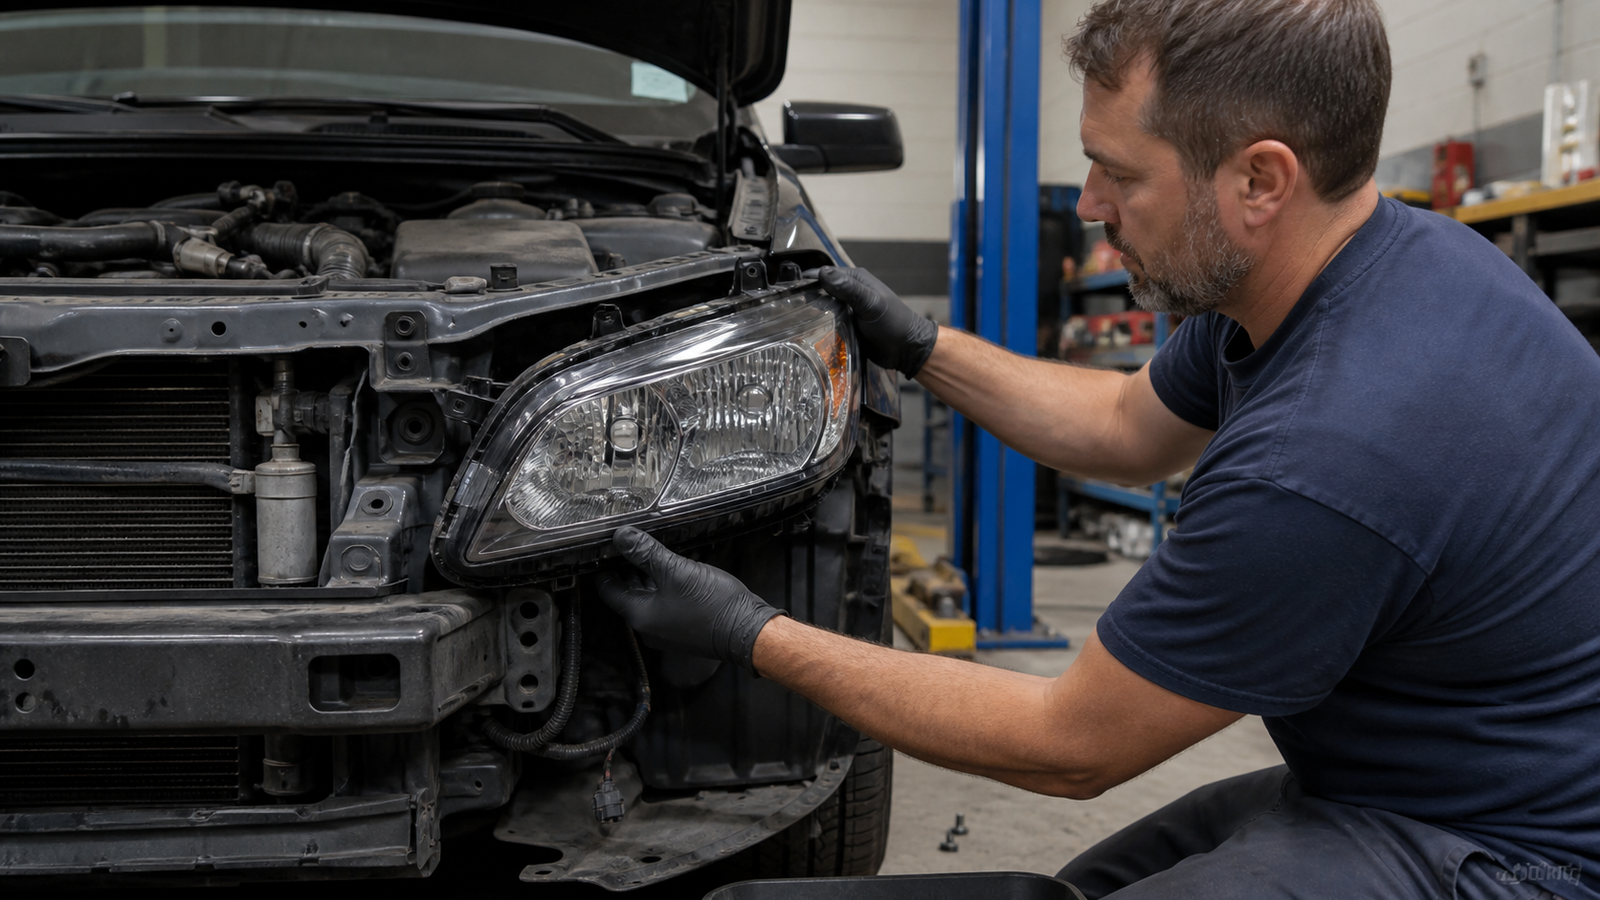
Replacement Headlight Fitment Checklist
- Decode the vehicle. Confirm VIN, production date, model, body style, trim and destination market.
- Record the original lamp. Photograph the front, rear, labels, connectors, modules and all mounting points.
- Match the side. Verify left or right position from the driver’s seated perspective.
- Match the technology. Halogen, HID/xenon and LED systems are not interchangeable by shape alone.
- Match every function. Check DRL, turn signal, side marker, cornering light, high beam and low beam.
- Verify adaptive equipment. Confirm AFS, leveling, high-beam assist and required control modules.
- Compare connectors and mounts. Check pin count, locks, tabs, brackets and housing shape.
- Confirm what is included. Establish whether bulbs, ballasts, drivers, motors and covers come with the lamp.
- Test-fit before final assembly. Correct any vehicle-side damage rather than forcing the housing.
- Aim and calibrate. Perform the required adjustment, coding and functional checks.
Frequently Asked Questions
Can I replace a halogen headlight with an LED assembly?
Only when a complete, approved conversion is available for the exact vehicle and market. The optics, wiring, control electronics and regulatory approval must all be compatible. An LED bulb placed in a halogen housing is not the same as a correctly engineered LED headlamp assembly.
Does a replacement LED headlight need programming?
Some do. The requirement depends on the vehicle and whether control modules are new, transferred or integrated. A replacement may need coding, initialization, basic settings or calibration. Check the manufacturer’s service procedure before installation.
Can I reuse the ballast or control module from my old headlight?
Often it can be transferred when the part number and condition are correct, but this is not universal. Water intrusion, corrosion, collision damage or an incompatible software version can make reuse unsuitable. Replace seals as specified.
Why does a replacement headlight fit but the beam looks wrong?
Possible causes include the wrong market beam pattern, incorrect bulb seating, mismatched optics, a damaged adjuster, vehicle-side mounting distortion or incomplete aiming. Stop using the lamp if it creates glare and have the installation checked professionally.
Find the Correct Headlight Assembly
Accurate fitment comes from matching the complete lighting system, not only the lens shape. Send the VIN, OE number, original lamp photos and required functions when requesting a quotation. That information helps confirm the correct housing, technology, modules, beam pattern and mounting layout before shipping.