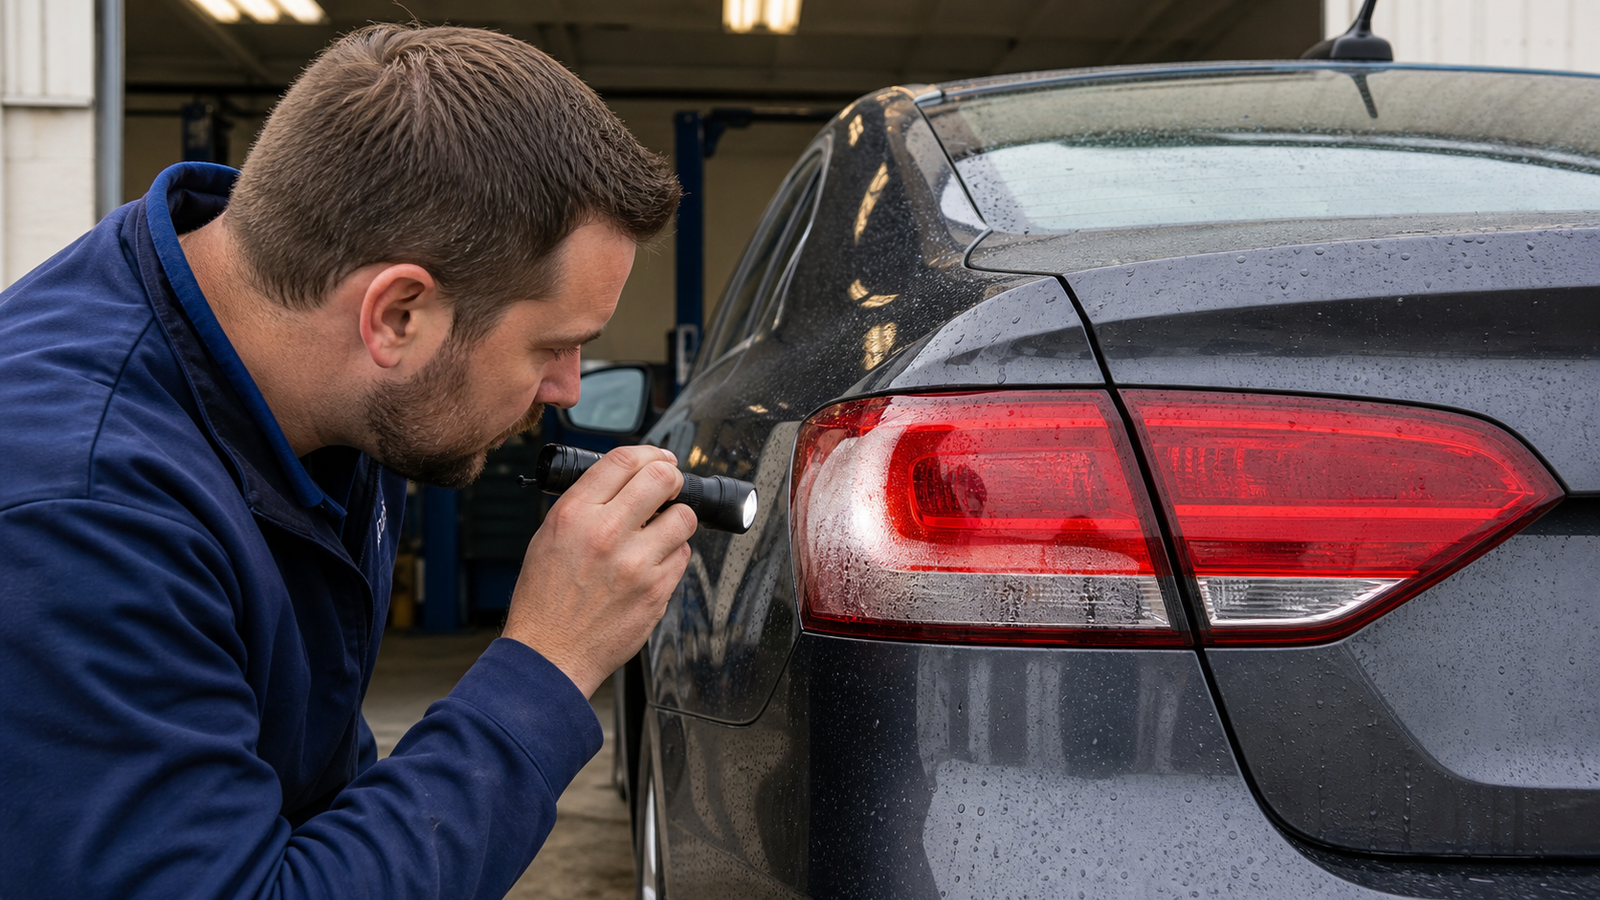
Finding moisture inside a tail light does not always mean that the lamp has failed. A light haze can be a temporary result of temperature and humidity changes, while large droplets, standing water or repeated electrical faults usually point to a leak or ventilation problem. The important step is to identify which condition is present before repairing or replacing the assembly.
This guide explains why tail lights fog up, how vented lamp housings work, where water commonly enters, how a workshop can diagnose the source, and when replacement is safer than an attempted repair.
Why Can a Tail Light Fog Up Even When It Is Not Broken?
Most modern exterior lamps are not vacuum-sealed containers. They use vents or membrane breathers to equalize pressure as the air inside the housing heats and cools. Warm air expands and leaves through the ventilation path. When the lamp cools, outside air can enter. If that air contains enough moisture and the lens is colder than the air inside, a fine film of condensation can form.
HELLA’s technical explanation of lamp condensation notes that this physical process can affect rear combination lamps as well as headlamps. The same source also warns that heavy droplets or water collecting in the bottom of the housing require a seal, vent and housing inspection.
Weather and vehicle use influence how quickly the moisture disappears. Fogging is more likely after rain, a car wash, a cold night, a sudden temperature drop or a short journey in humid conditions. A vented housing may need time, airflow and normal lamp operation to exchange the moist air.
Normal Condensation or a Water Leak?
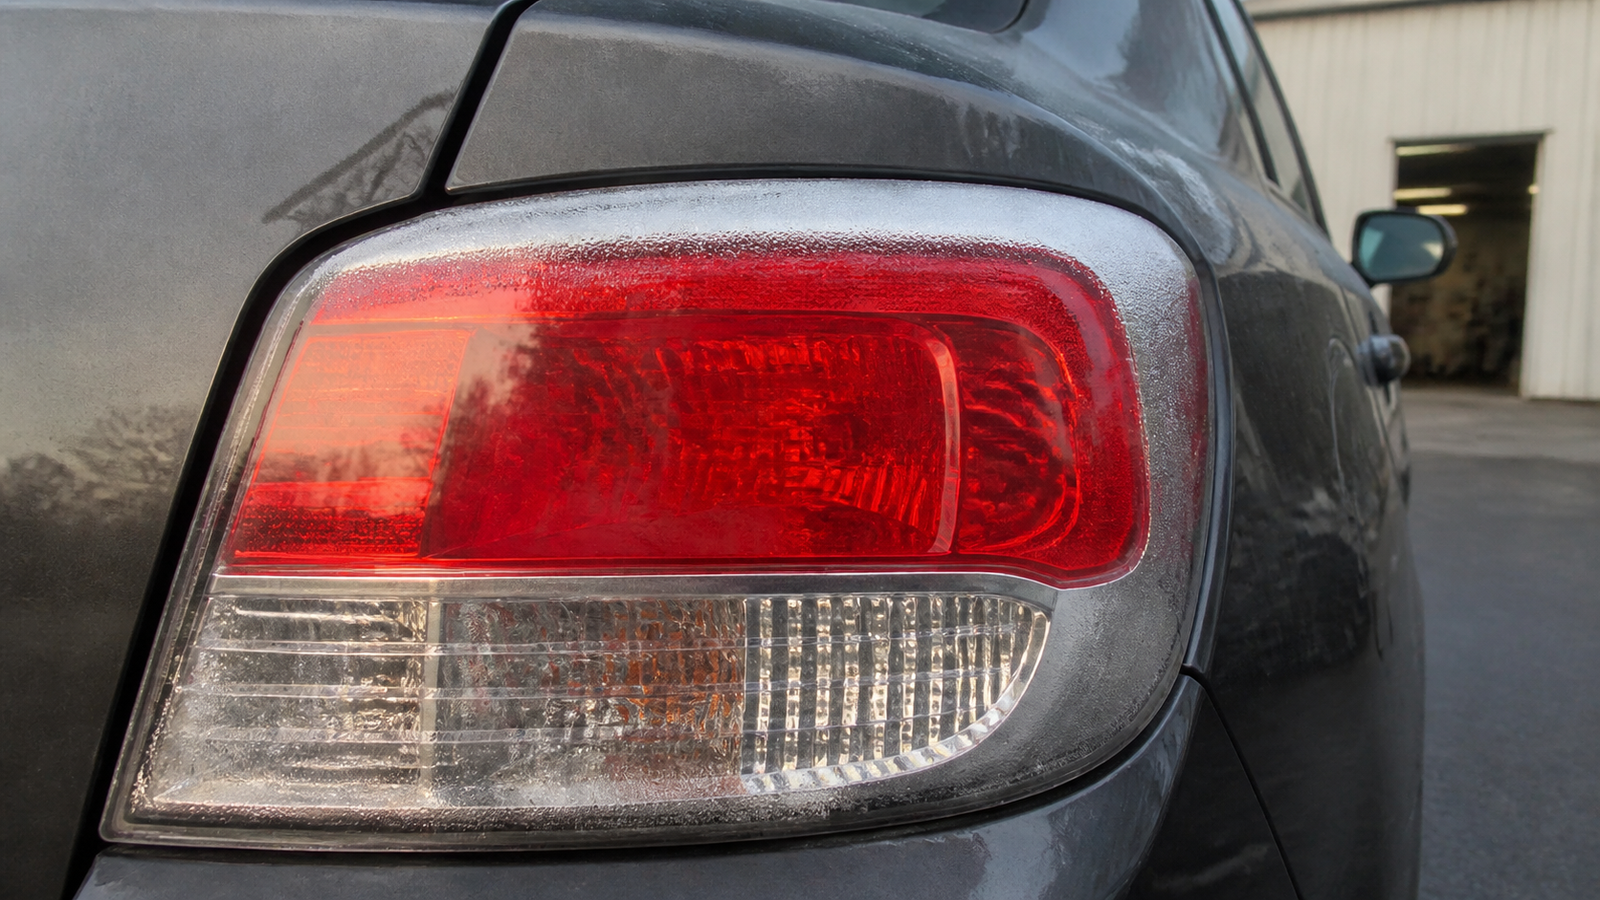
The appearance and behavior of the moisture are more useful than the simple fact that moisture is visible. Compare the lamp over time and under controlled conditions rather than making a decision from one photograph.
| Observation | More consistent with temporary condensation | More consistent with a leak or defect |
|---|---|---|
| Moisture pattern | Fine mist or very small droplets, often near lens edges | Large droplets across the lens or water collecting at the bottom |
| Change over time | Begins to clear with normal operation, airflow and suitable ambient conditions | Remains for long periods, returns quickly or becomes worse after rain or washing |
| Electrical condition | All functions work and connectors remain clean | Intermittent lamps, warnings, flickering, corrosion or damaged terminals |
| Physical condition | Lens, housing, covers, seals and vents appear intact | Crack, open seam, missing cover, displaced gasket or damaged vent |
There is no universal clearing time for every vehicle. Manufacturer procedures vary with lamp design and test conditions. A 2025 MINI service bulletin, for example, describes natural tail-lamp condensation that should dissipate through venting within 24 hours at specified workshop temperatures. A Stellantis service procedure uses a 60-minute operated-lamp evaluation and treats persistent moisture or large internal droplets as evidence that the seal may be compromised. Always use the procedure for the exact vehicle.
Common Ways Water Enters a Tail Light
1. A cracked lens or housing
A minor parking impact can create a hairline crack that is difficult to see when the lamp is dry. Stress can also damage a mounting tab or split the housing near a fastener. Water may enter only when rain or wash water reaches the crack from a certain direction.
2. A separated lens-to-housing seam
The clear or colored outer lens is bonded to the rear housing. Age, heat, previous collision repair or an attempted opening of the lamp can disturb this joint. A localized gap may allow water past the original adhesive or gasket.
3. A displaced body gasket
Many tail lamps seal against the vehicle body around studs, wiring openings or a large foam gasket. If the lamp was removed and the gasket was folded, torn, contaminated or compressed unevenly, water can enter the trunk area or reach the back of the lamp.
4. A loose bulb holder or rear cover
Bulb-access covers, twist-lock bulb holders and service caps must seat evenly. A damaged O-ring, trapped wire or incorrectly installed cover can create an entry path. The same check applies after a recent bulb replacement.
5. Blocked, missing or damaged vents
Breather vents are part of the lamp design. Dirt, sealant, paint or an incorrectly fitted membrane can prevent normal pressure and moisture exchange. Do not seal a vent because it looks like an opening, and do not drill an extra drain hole unless the vehicle manufacturer specifically instructs it.
6. Moisture traveling through wiring
Water can move along a damaged cable or poorly sealed splice by capillary action. HELLA specifically describes moisture traveling between the conductor strands and cable insulation when non-waterproof connections are exposed. Inspect wiring repairs and connectors, not only the lens seam.
A Practical Tail Light Moisture Diagnosis
Step 1: Record the condition before drying anything
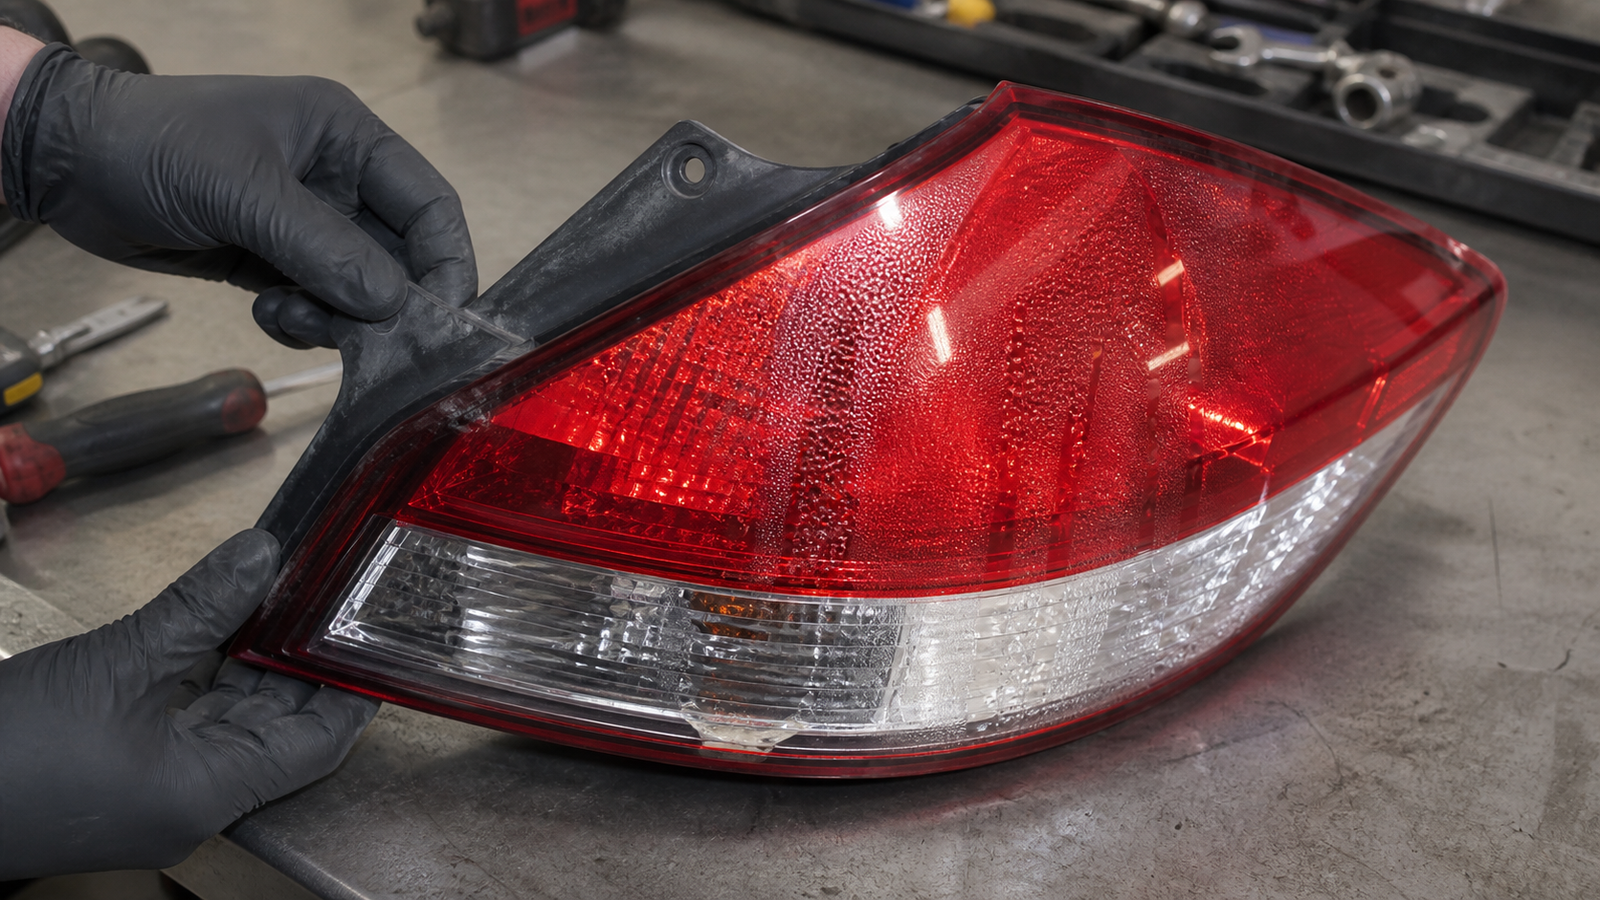
Photograph the moisture pattern, note the weather and ask when it appears. Check whether it follows rain, washing, a cold night or a recent bulb or body repair. Compare both sides of the vehicle, but remember that different exposure to sun, exhaust heat or airflow can make one lamp clear faster than the other.
Step 2: Test every lighting function
Operate the position light, brake light, turn signal, reverse light and rear fog light where fitted. Look for flickering, dim output, rapid turn-signal flashing or warning messages. LED assemblies may store diagnostic trouble codes even when some segments still illuminate.
Step 3: Inspect the exterior and mounting alignment
Dry the outside of the lens so surface water is not confused with internal moisture. Use a bright inspection lamp to look for cracks, chipped corners, impact marks, loose mounting points and an uneven gap between the tail lamp and adjacent body panels. A lamp forced against a bent body panel can distort the housing or gasket.
Step 4: Inspect the rear of the assembly
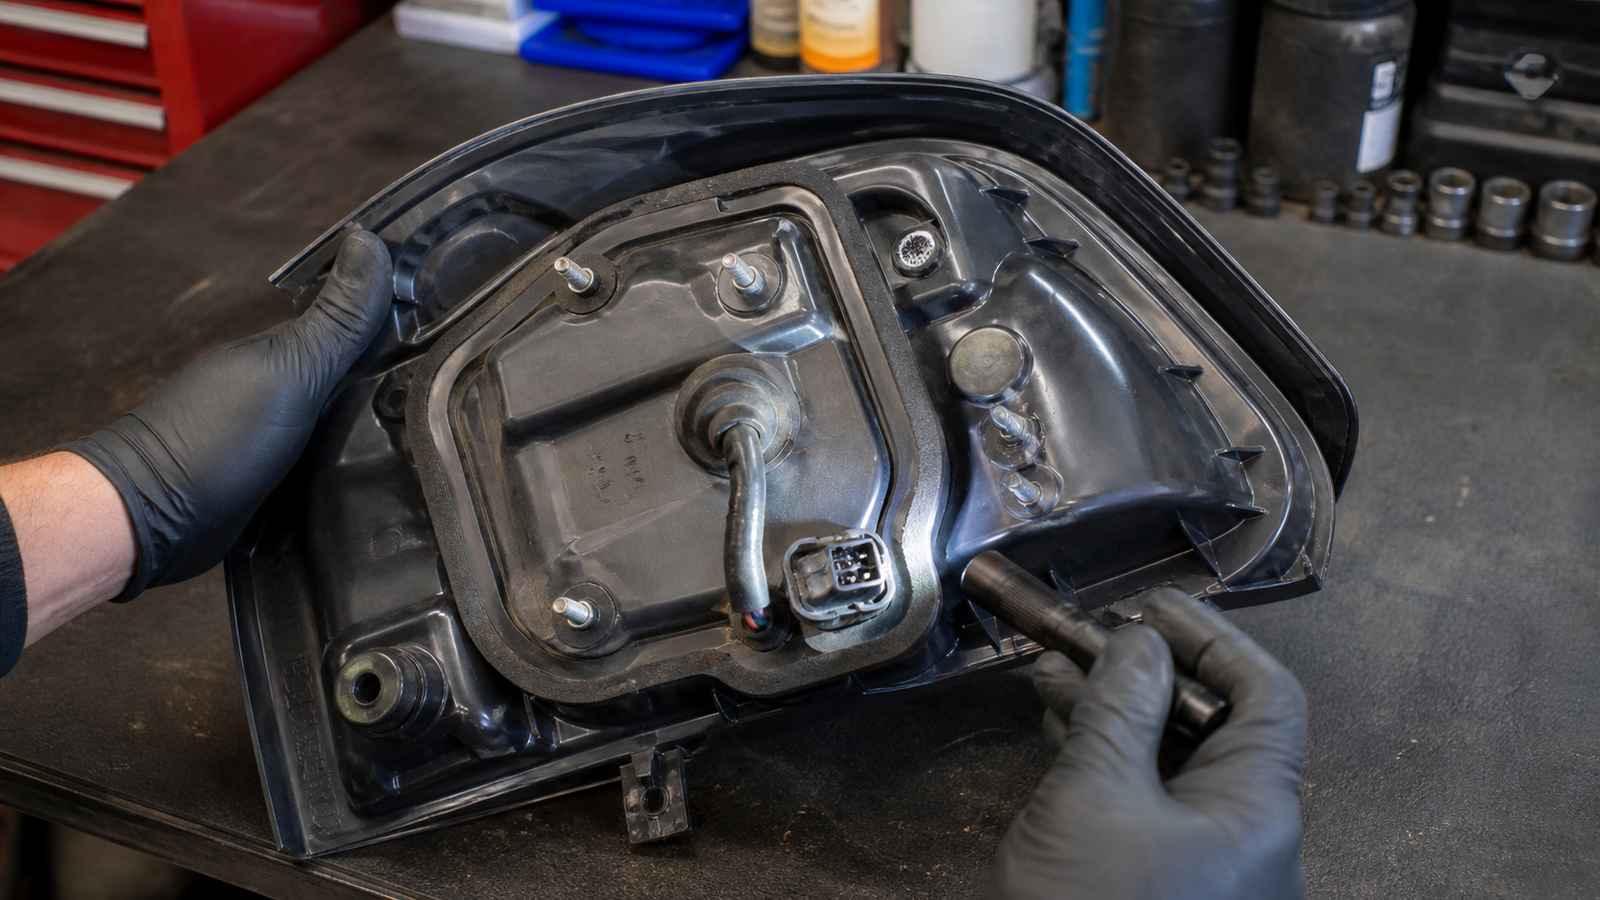
Follow the service instructions before removing trim or the lamp. Check bulb holders, service covers, O-rings, the body gasket, vents, wiring grommets and electrical connectors. Look for green or white corrosion, water tracks, mineral deposits and softened or swollen seals.
Step 5: Perform only the specified clearing or leak test
Use the manufacturer test for the exact model. Some procedures operate the vehicle lamps for a defined period and check whether the fogging begins to clear. If a controlled water test is specified, protect the electrical system and apply water in the stated direction and pressure. A high-pressure washer can create a leak that would not occur under normal rain.
Do not overheat the plastic with a heat gun. Do not apply uncontrolled compressed air that can damage vents or force contamination inside. If drying is permitted, use the temperature, airflow and disassembly method in the service information.
Step 6: Confirm the source before ordering parts
A wet trunk does not automatically mean the tail lamp itself leaks. Water can travel from a hatch seal, roof seam, body vent, spoiler mounting point or wiring grommet and appear near the lamp. Trace water marks upward and test one possible source at a time.
Can a Moist Tail Light Be Repaired?
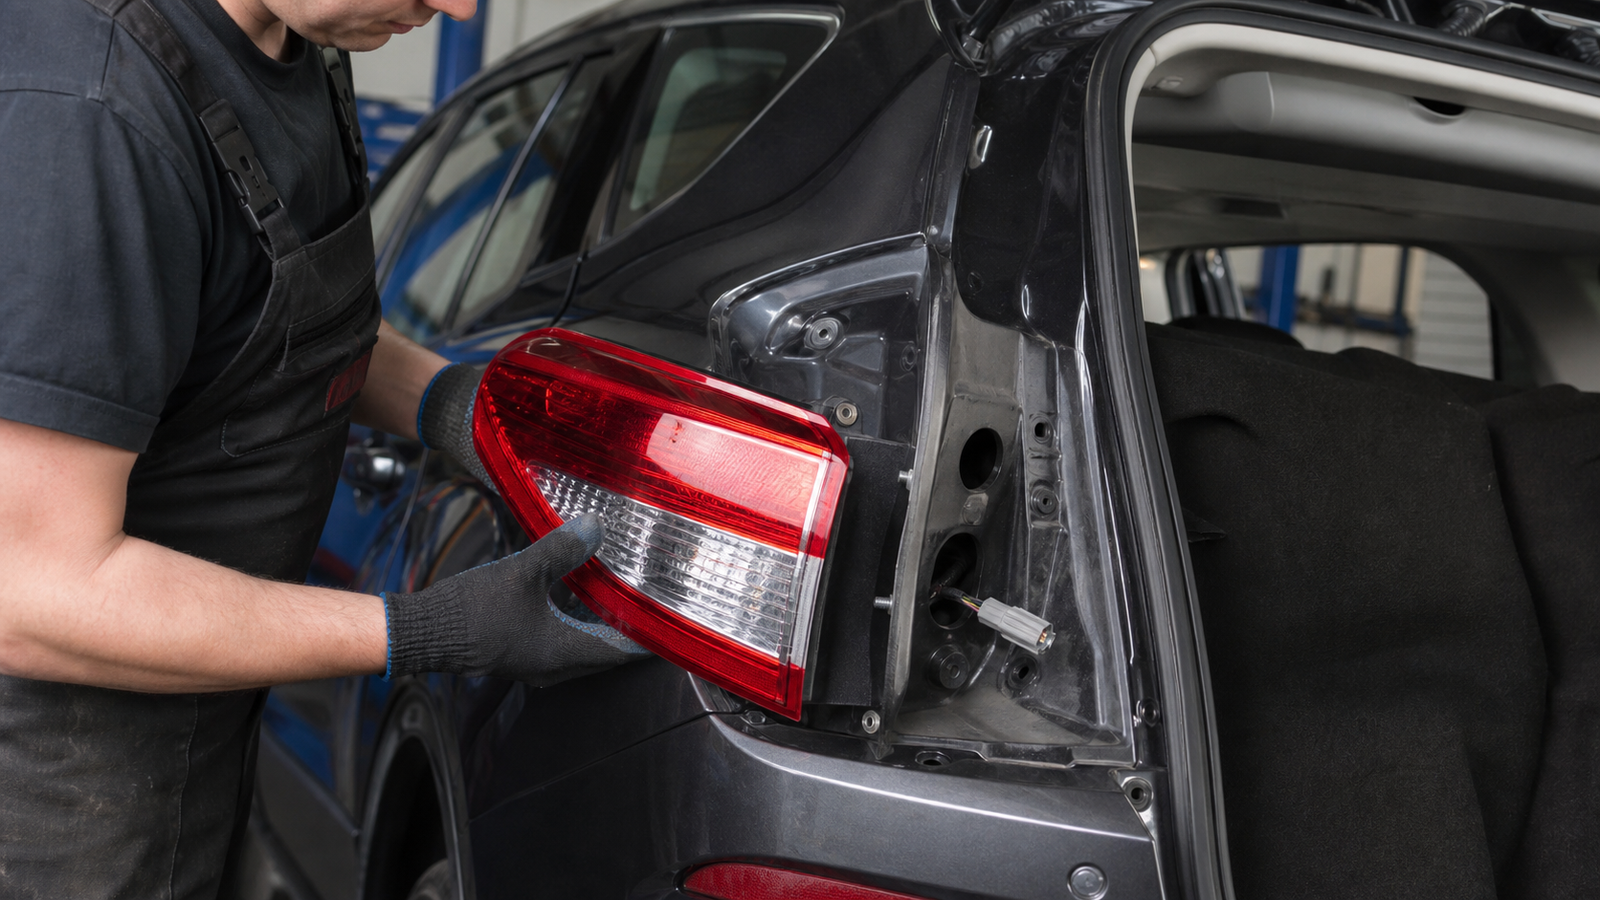
A serviceable bulb cover, bulb holder, O-ring, connector seal or body gasket may be replaceable when the lamp housing and lens joint remain undamaged. A blocked external vent may also be restored if the manufacturer provides a cleaning or replacement procedure. Electrical terminals with light surface contamination may be repairable using the approved connector method.
Replacement is usually the safer choice when:
- The lens or housing is cracked, warped or impact-damaged
- The bonded lens seam has separated and no approved resealing procedure exists
- Standing water returns after the specified drying and inspection process
- Reflective surfaces, LED optics or internal light guides are stained or damaged
- Bulb sockets, circuit boards, LED drivers or terminals have significant corrosion
- The lamp cannot pass the manufacturer condensation or leak evaluation
Applying household silicone around the outside may hide the entry path without restoring the intended venting, structural bond or appearance. It can also make later service more difficult. Use approved parts and procedures.
Choosing the Correct Replacement Tail Light
Tail lamps that look identical from the outside may have different functions, connectors, internal electronics, lens colors or destination-market approvals. Before ordering, record the VIN, production date, body style, left or right position, OE number and every lighting function.
For LED assemblies, confirm whether the control module is included or transferred from the original lamp. Compare the connector pin count, mounting studs, body gasket shape and whether the lamp is mounted on the body, trunk lid or tailgate. After installation, verify panel gaps, water sealing, all lamp functions and any required coding.
Frequently Asked Questions
Is a small amount of condensation inside a tail light normal?
A fine temporary mist can be normal in a vented lamp under certain temperature and humidity conditions. It should begin to clear according to the vehicle manufacturer’s evaluation procedure. Large droplets, standing water or moisture that never clears require further diagnosis.
Will turning on the lights remove the condensation?
Normal operation can help some lamps clear because of heat and airflow, but LED lamps produce less heat and designs vary. Use the specified test time and ambient conditions rather than assuming that every lamp must clear at the same rate.
Can I drill a drain hole in the bottom of the tail light?
Not unless the vehicle manufacturer provides a specific approved procedure. An added hole can admit dirt and water, alter ventilation and damage the lamp’s approval or durability.
Can moisture damage an LED tail light?
Yes. Persistent water can corrode terminals, circuit boards and control electronics, and it may stain optical surfaces. Disconnecting or probing LED electronics should follow the service information.
Why does the moisture keep returning after the lamp is dried?
Drying removes the symptom but not the entry path. Repeated moisture can result from a crack, separated seam, damaged gasket, loose service cover, blocked vent, leaking connector or water traveling from another body opening.
Request Tail Light Fitment Support
For an accurate replacement match, provide the VIN, OE number, vehicle production date, left or right side, connector photos and clear images of the original assembly. These details help confirm the correct housing, functions, mounting points and electronics before shipping.