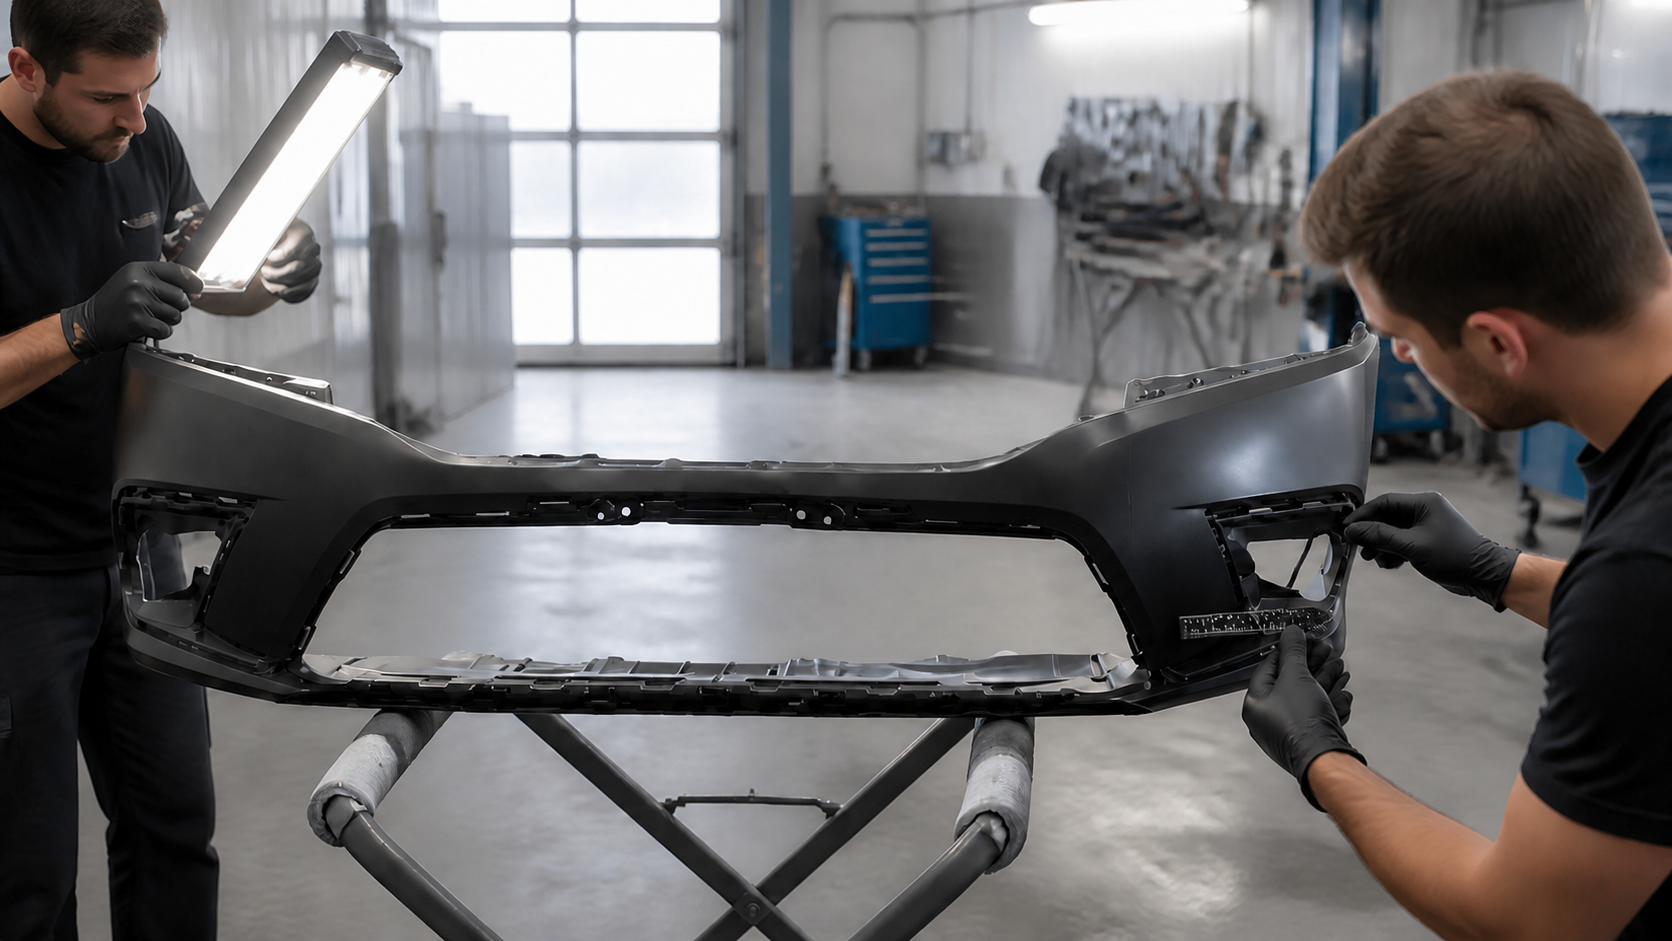
Front bumper damage can look simple from the outside, yet the best repair decision is rarely based on appearance alone. A shallow scuff may need only surface preparation and refinishing. A similar-looking impact can break mounting tabs, distort the bumper cover, compress the energy absorber, or move a sensor bracket behind it.
The practical question is not simply, “Is the bumper cracked?” It is: Can the complete bumper system be restored to its correct shape, attachment, finish, and function? This guide explains seven signs that replacement may be the better choice, when repair is reasonable, and what to inspect before ordering a new bumper cover.
Repair or Replace? A Quick Comparison
| Damage or condition | Repair may be reasonable | Replacement or deeper inspection |
|---|---|---|
| Paint scuff or shallow scratch | Usually, if the plastic is intact | If distortion or hidden impact damage is present |
| Small localized crack | Sometimes, with the correct two-sided process | If branching, edge damage, missing material, or poor access makes a durable repair unlikely |
| Broken mounting tab | An isolated tab may be repairable | Multiple, critical, or previously repaired mounts often favor replacement |
| Warped cover or uneven panel gaps | Only if correct shape and fit can be restored | Replace the cover and inspect brackets, absorber, and reinforcement |
| Damage near ADAS sensors | Only when the OEM procedure permits it | Inspect brackets and perform required aiming or calibration |
What Counts as Minor Bumper Damage?
Minor damage normally means the bumper cover retains its shape, mounts securely, and has no evidence of damage behind it. Typical examples include paint transfer, light scratches, a shallow gouge, or a small localized defect that does not affect a critical mounting or sensor area.
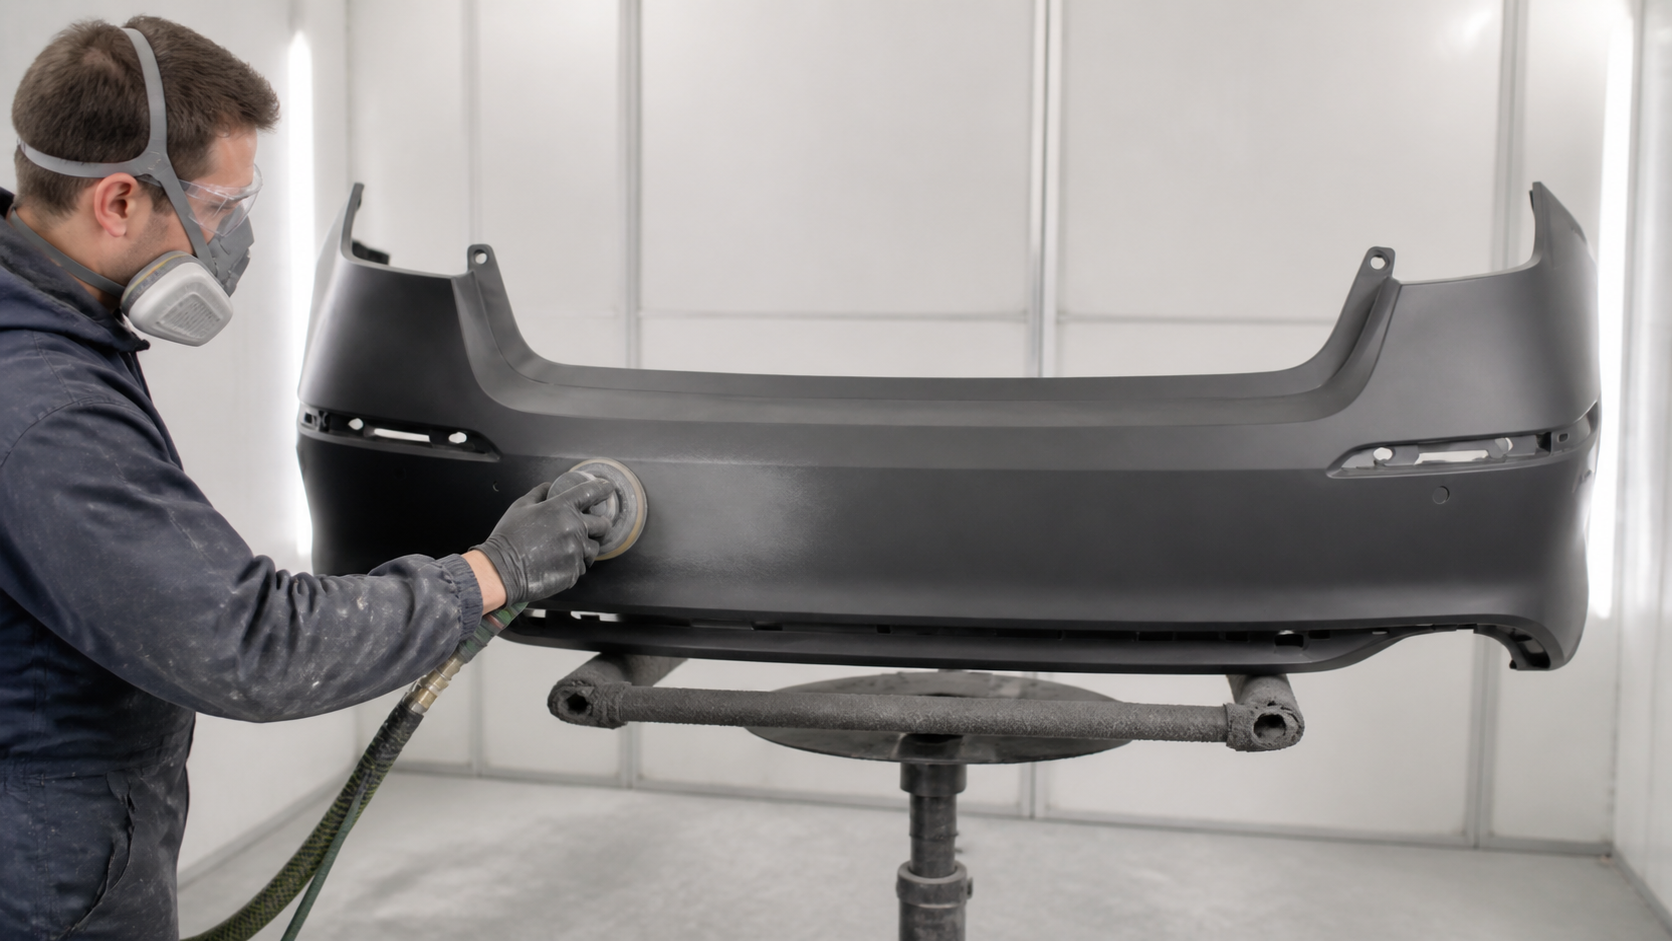
A professional repair still depends on identifying the plastic, cleaning it correctly, selecting compatible materials, and checking both sides of the cover. 3M’s flexible bumper repair procedure distinguishes cosmetic defects from penetrating damage and calls for a two-sided process when a crack passes through the plastic.
7 Signs You May Need a New Front Bumper
1. The crack is long, branching, or reaches an edge
A small crack does not automatically make a bumper unusable. However, a long or branching crack distributes stress across a larger area. If it reaches the edge, a grille opening, or a thin molded section, normal vibration and temperature changes can challenge the repair. Replacement becomes more attractive when the technician cannot restore both sides properly or when the required labor approaches the cost of a suitable replacement cover.
2. Mounting tabs, retainers, or side guides are badly damaged
The bumper must attach securely at the fenders, upper support, lower shields, and side guides. One cleanly broken tab may be repairable with an approved method. Multiple torn tabs, missing plastic, elongated holes, or brittle previous repairs can prevent consistent panel gaps and allow the bumper to move at speed.
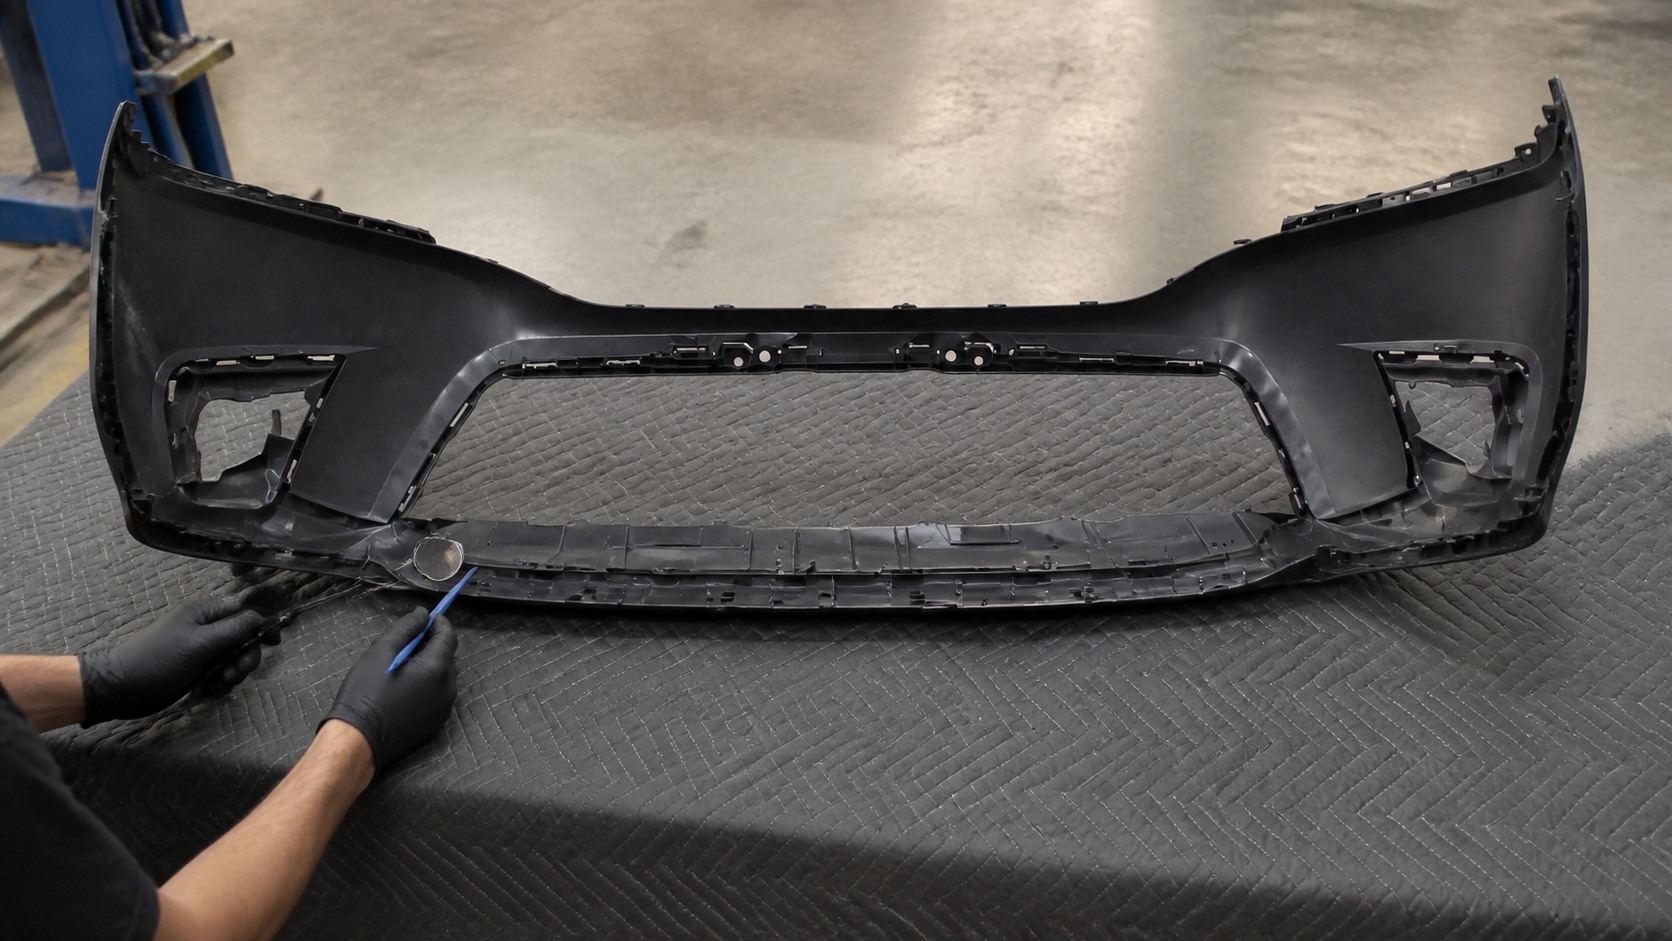
Plastic tab repair is a recognized operation in the right situation, as shown in 3M’s bumper and plastic repair resources. The decision should consider the number, location, material condition, and load carried by the damaged tabs.
3. The cover is warped and will not hold its original shape
Heat and careful reshaping can sometimes correct a localized deformation, but a cover that springs back, twists, or produces uneven gaps may have permanent material distortion. Do not force a distorted bumper into place with fasteners. That can load the tabs and neighboring panels, leading to premature failure or a visibly poor fit.
4. There is a puncture, missing plastic, or more than one old repair
A large puncture removes material and complicates contour restoration. The same applies when part of an edge or mounting area is missing. Also look for old filler, mesh, welds, or thick paint on the back of the cover. A second repair over an unknown first repair may add excessive labor and may not provide a reliable base for refinishing.
5. The absorber, reinforcement, or brackets behind it are damaged
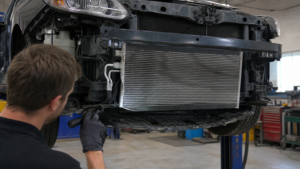
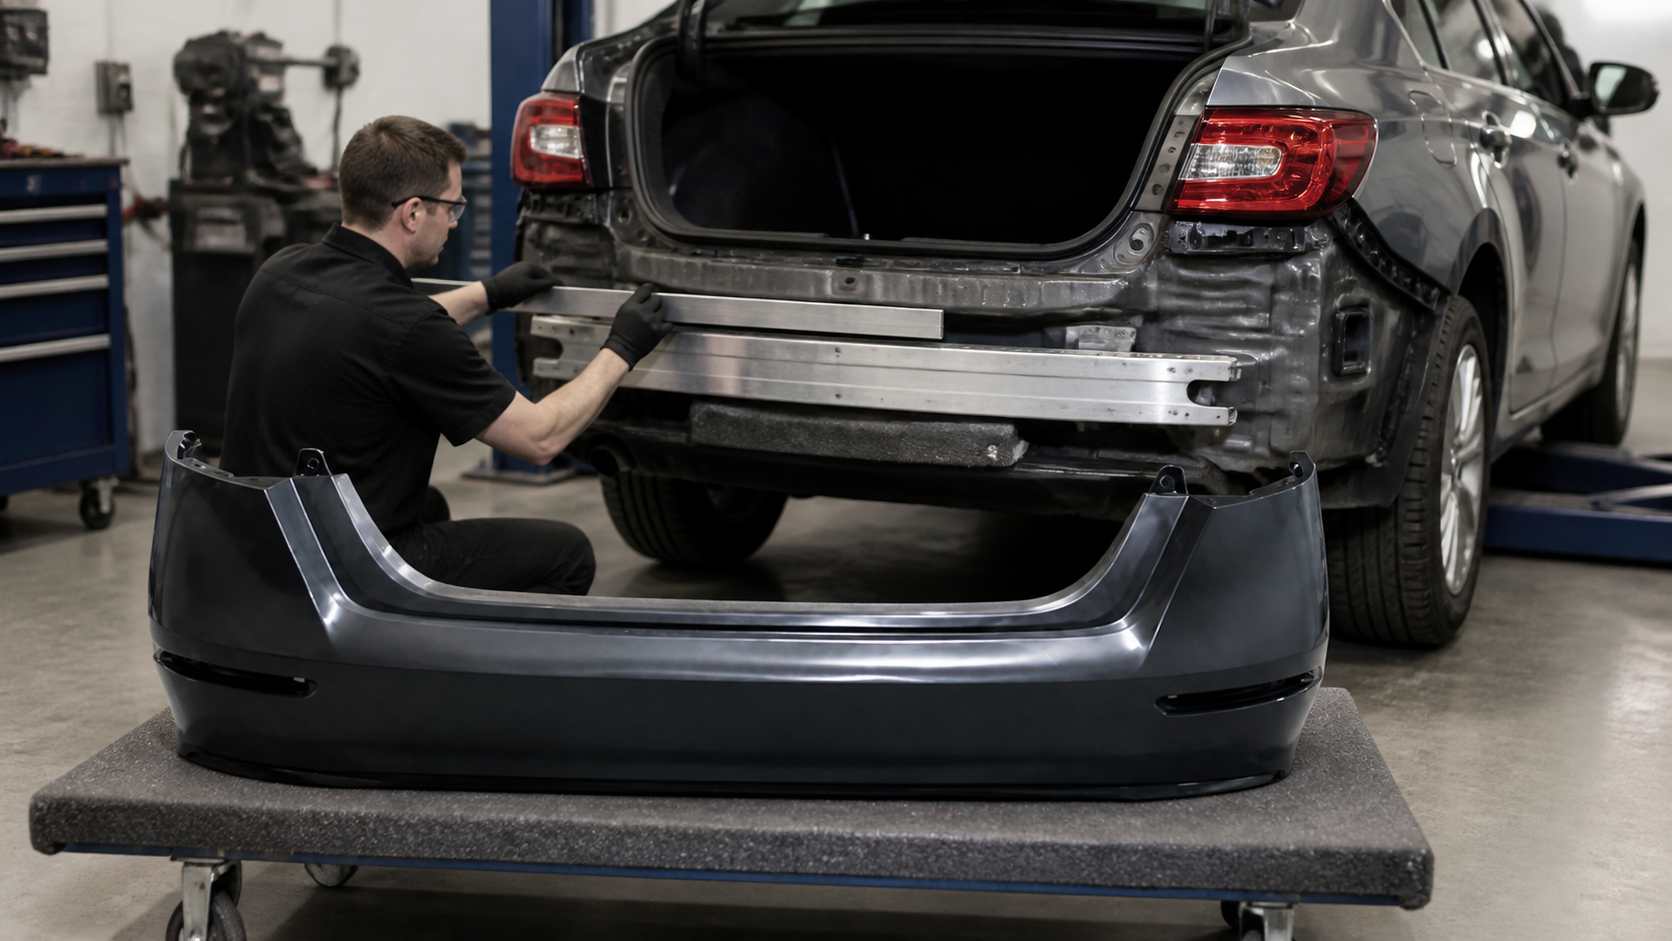
The cover can flex back after an impact and hide what happened underneath. Remove or loosen it as required to inspect the foam or plastic energy absorber, reinforcement beam, side brackets, wiring supports, and nearby cooling components. A compressed absorber, bent beam, or displaced bracket needs the correct part-specific remedy; replacing the outer cover alone does not correct hidden damage.
6. The impact affected a sensor or its mounting area
Many modern front bumpers integrate parking sensors, cameras, radar units, washer nozzles, and wiring. Their location, angle, attachment, and surrounding material can be tightly controlled. Filling, repairing, repainting, or substituting material in a restricted sensor field may interfere with operation.
An OEM technical article hosted by NHTSA explains that even a minor front impact can misalign the reinforcement or radar brackets and calls for inspection, correction, and calibration. Requirements vary by vehicle, so use the exact OEM procedure and perform any required pre-scan, post-scan, aiming, or calibration.
7. The total repair cost is close to replacement
Compare complete totals, not only the price of an unpainted cover. Repair cost can include removal, cleaning, plastic work, materials, reshaping, refinishing, reassembly, and calibration. Replacement cost can include the cover, shipping, preparation, paint, transferred trim, clips, brackets, and the same diagnostic or calibration steps.
If extensive labor still leaves uncertainty about shape, attachment, or finish, replacement may provide better value. If the original cover can be restored correctly with a focused repair, keeping it may be more economical and reduce material waste.
When Is Bumper Repair a Good Option?
Repair is often sensible for surface scratches, paint transfer, shallow scuffs, small gouges, and certain localized cracks or isolated tabs. The cover should fit normally, the plastic should not be brittle or stretched beyond recovery, and the impact should not have compromised hidden components or a restricted sensor area.
The repair method must match the plastic and the defect. A cosmetic surface procedure is not a substitute for structural reinforcement on a penetrating crack. Likewise, a strong plastic repair cannot correct a bent bracket or compressed absorber behind the cover.
A Practical Front Bumper Diagnostic Checklist
- Document the impact. Note the direction, height, and contact area before disassembly.
- Check fit and movement. Compare panel gaps and gently check whether corners or lower sections are loose.
- Inspect both sides. Look for cracks, stress whitening, torn tabs, missing material, heat damage, and previous repairs.
- Identify the material. Use the molded plastic code and a compatible repair system.
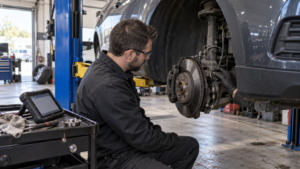
- Inspect hidden components. Check the absorber, reinforcement, brackets, shields, cooling parts, wiring, and connectors.
- Check electronic systems. Scan and inspect sensors, cameras, radar units, and their mounts as applicable.
- Compare complete estimates. Include paint, trim transfer, clips, diagnostics, and calibration in both repair and replacement totals.
How to Choose the Correct Replacement Bumper
A replacement cover must match more than the vehicle name. Verify the VIN or OE reference, model year range, body style, trim level, and front or rear position. Compare openings for the grille, fog lights, parking sensors, camera, radar, headlamp washers, tow hook, side markers, and decorative trim. Confirm the mounting points, lower lip design, material, and whether the part is primed.
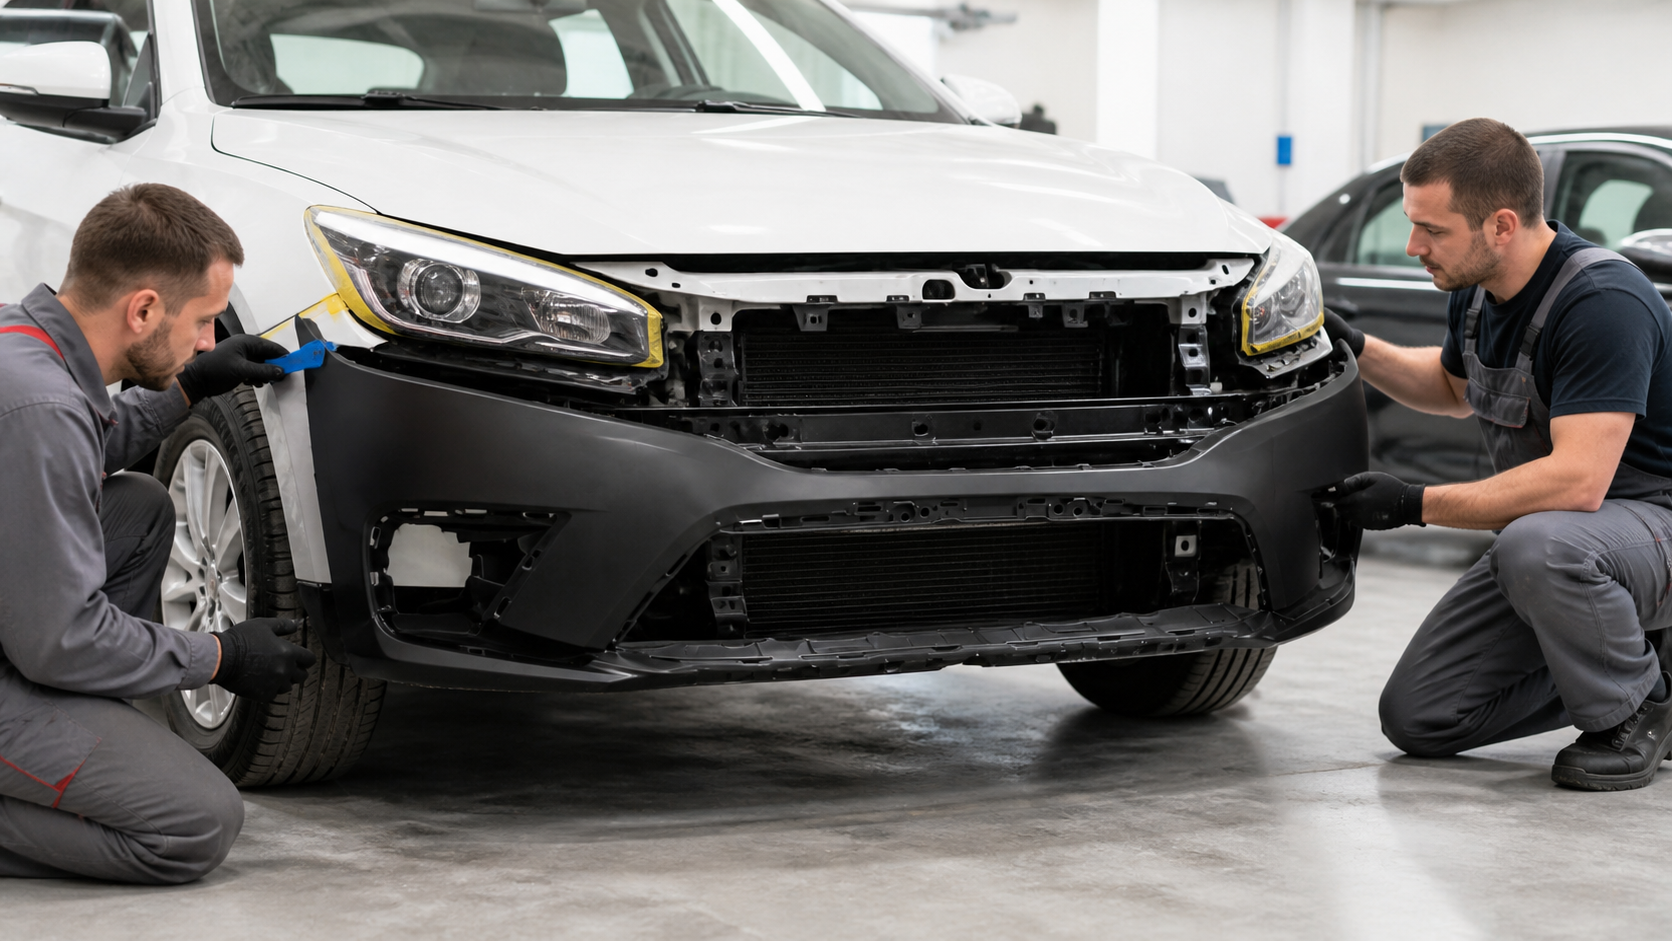
Pre-fit the cover before refinishing. Install the main guides and fasteners, then verify alignment with the hood, fenders, lamps, grille, splash shields, and undertray. This step catches a fitment mismatch before paint and final assembly.
Frequently Asked Questions
Can a cracked plastic bumper be repaired?
Yes, many localized cracks can be repaired when the plastic is suitable, both sides are accessible, and the correct material-specific process is used. Long branching cracks, missing material, damaged critical mounts, or an uneconomical labor total may make replacement the better option.
Is the bumper cover a structural part?
The cover is the visible outer fascia, but it works around energy-absorbing and supporting components. The cover’s condition alone cannot confirm whether the absorber, reinforcement beam, or brackets remain undamaged.
Can I drive with a cracked bumper?
It depends on the damage. A loose section can detach, sharp edges can create a hazard, and hidden impact damage may affect cooling parts, lamps, or driver-assistance sensors. If the bumper is loose, badly distorted, or involved in a collision, arrange a prompt professional inspection.
Does a bumper replacement require sensor calibration?
Some vehicles require inspection, aiming, initialization, or calibration after bumper or bracket work; others do not. The answer depends on the equipment and OEM procedure. Never assume that a warning light will appear if a sensor is misaligned.
Find the Right Bumper for Your Repair
A durable result starts with an accurate diagnosis and the correct-fit part. Compare the damaged cover carefully, confirm all equipment openings and mounting points, and test-fit before paint.