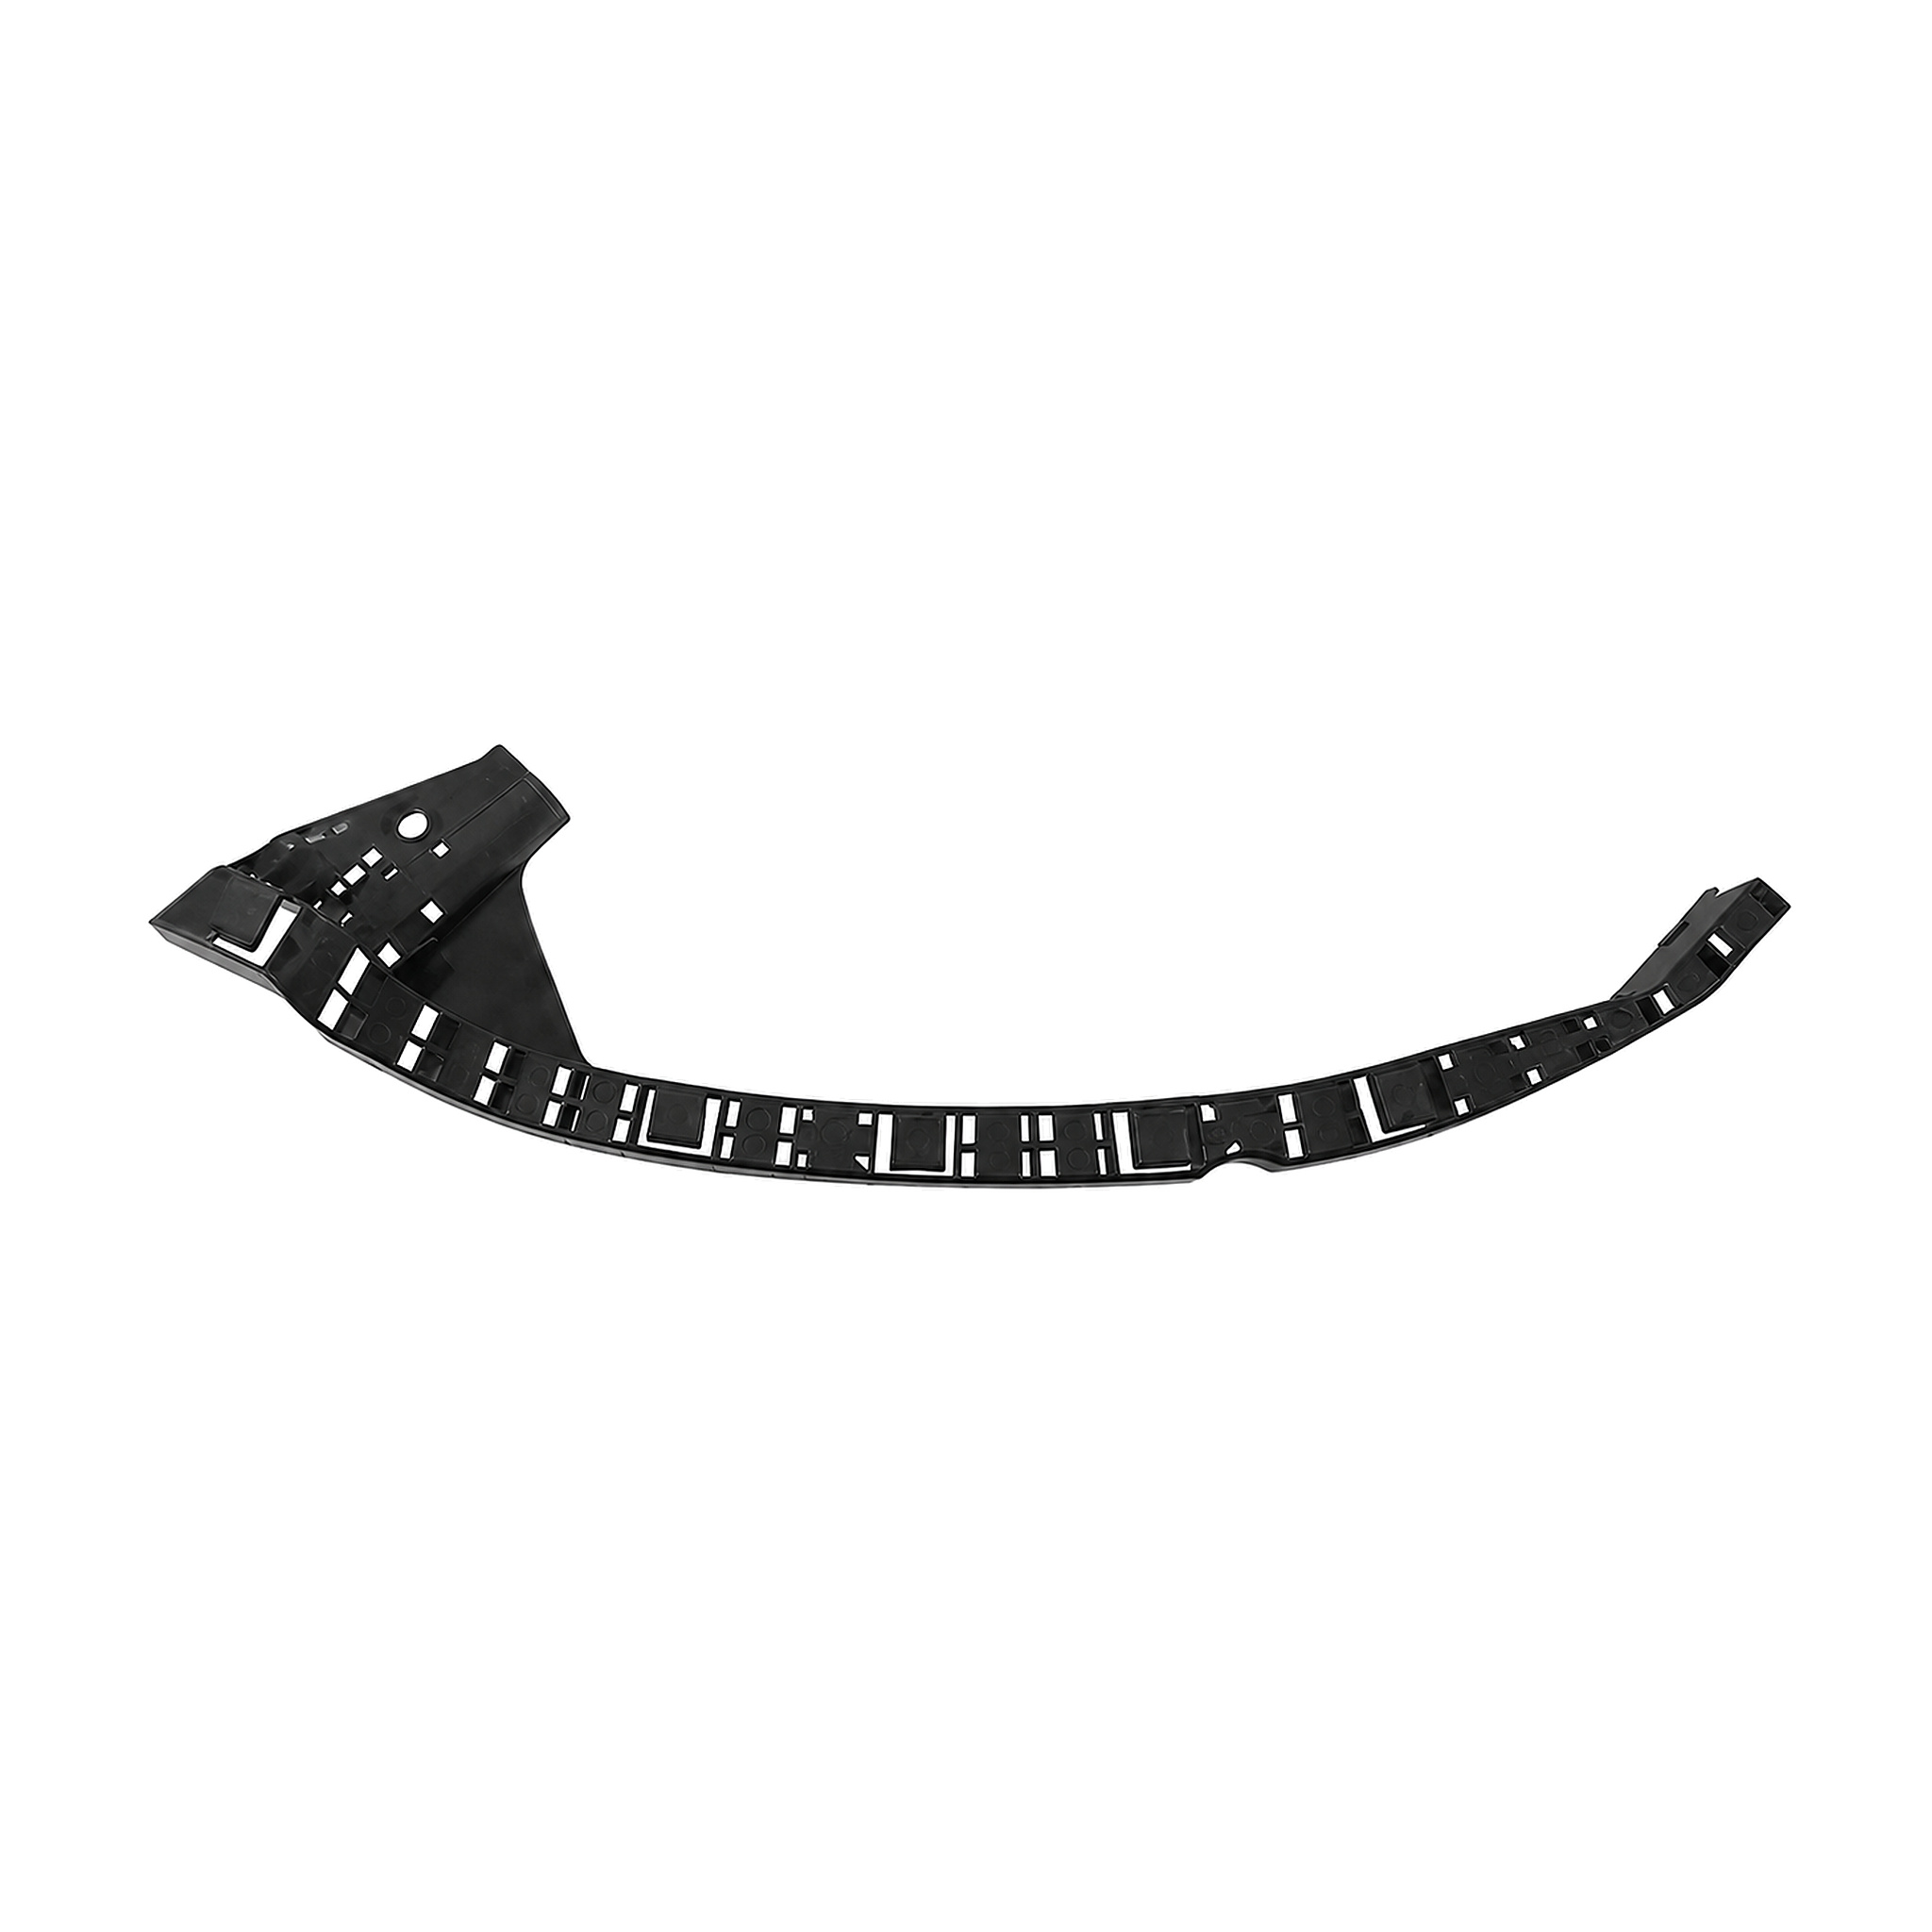
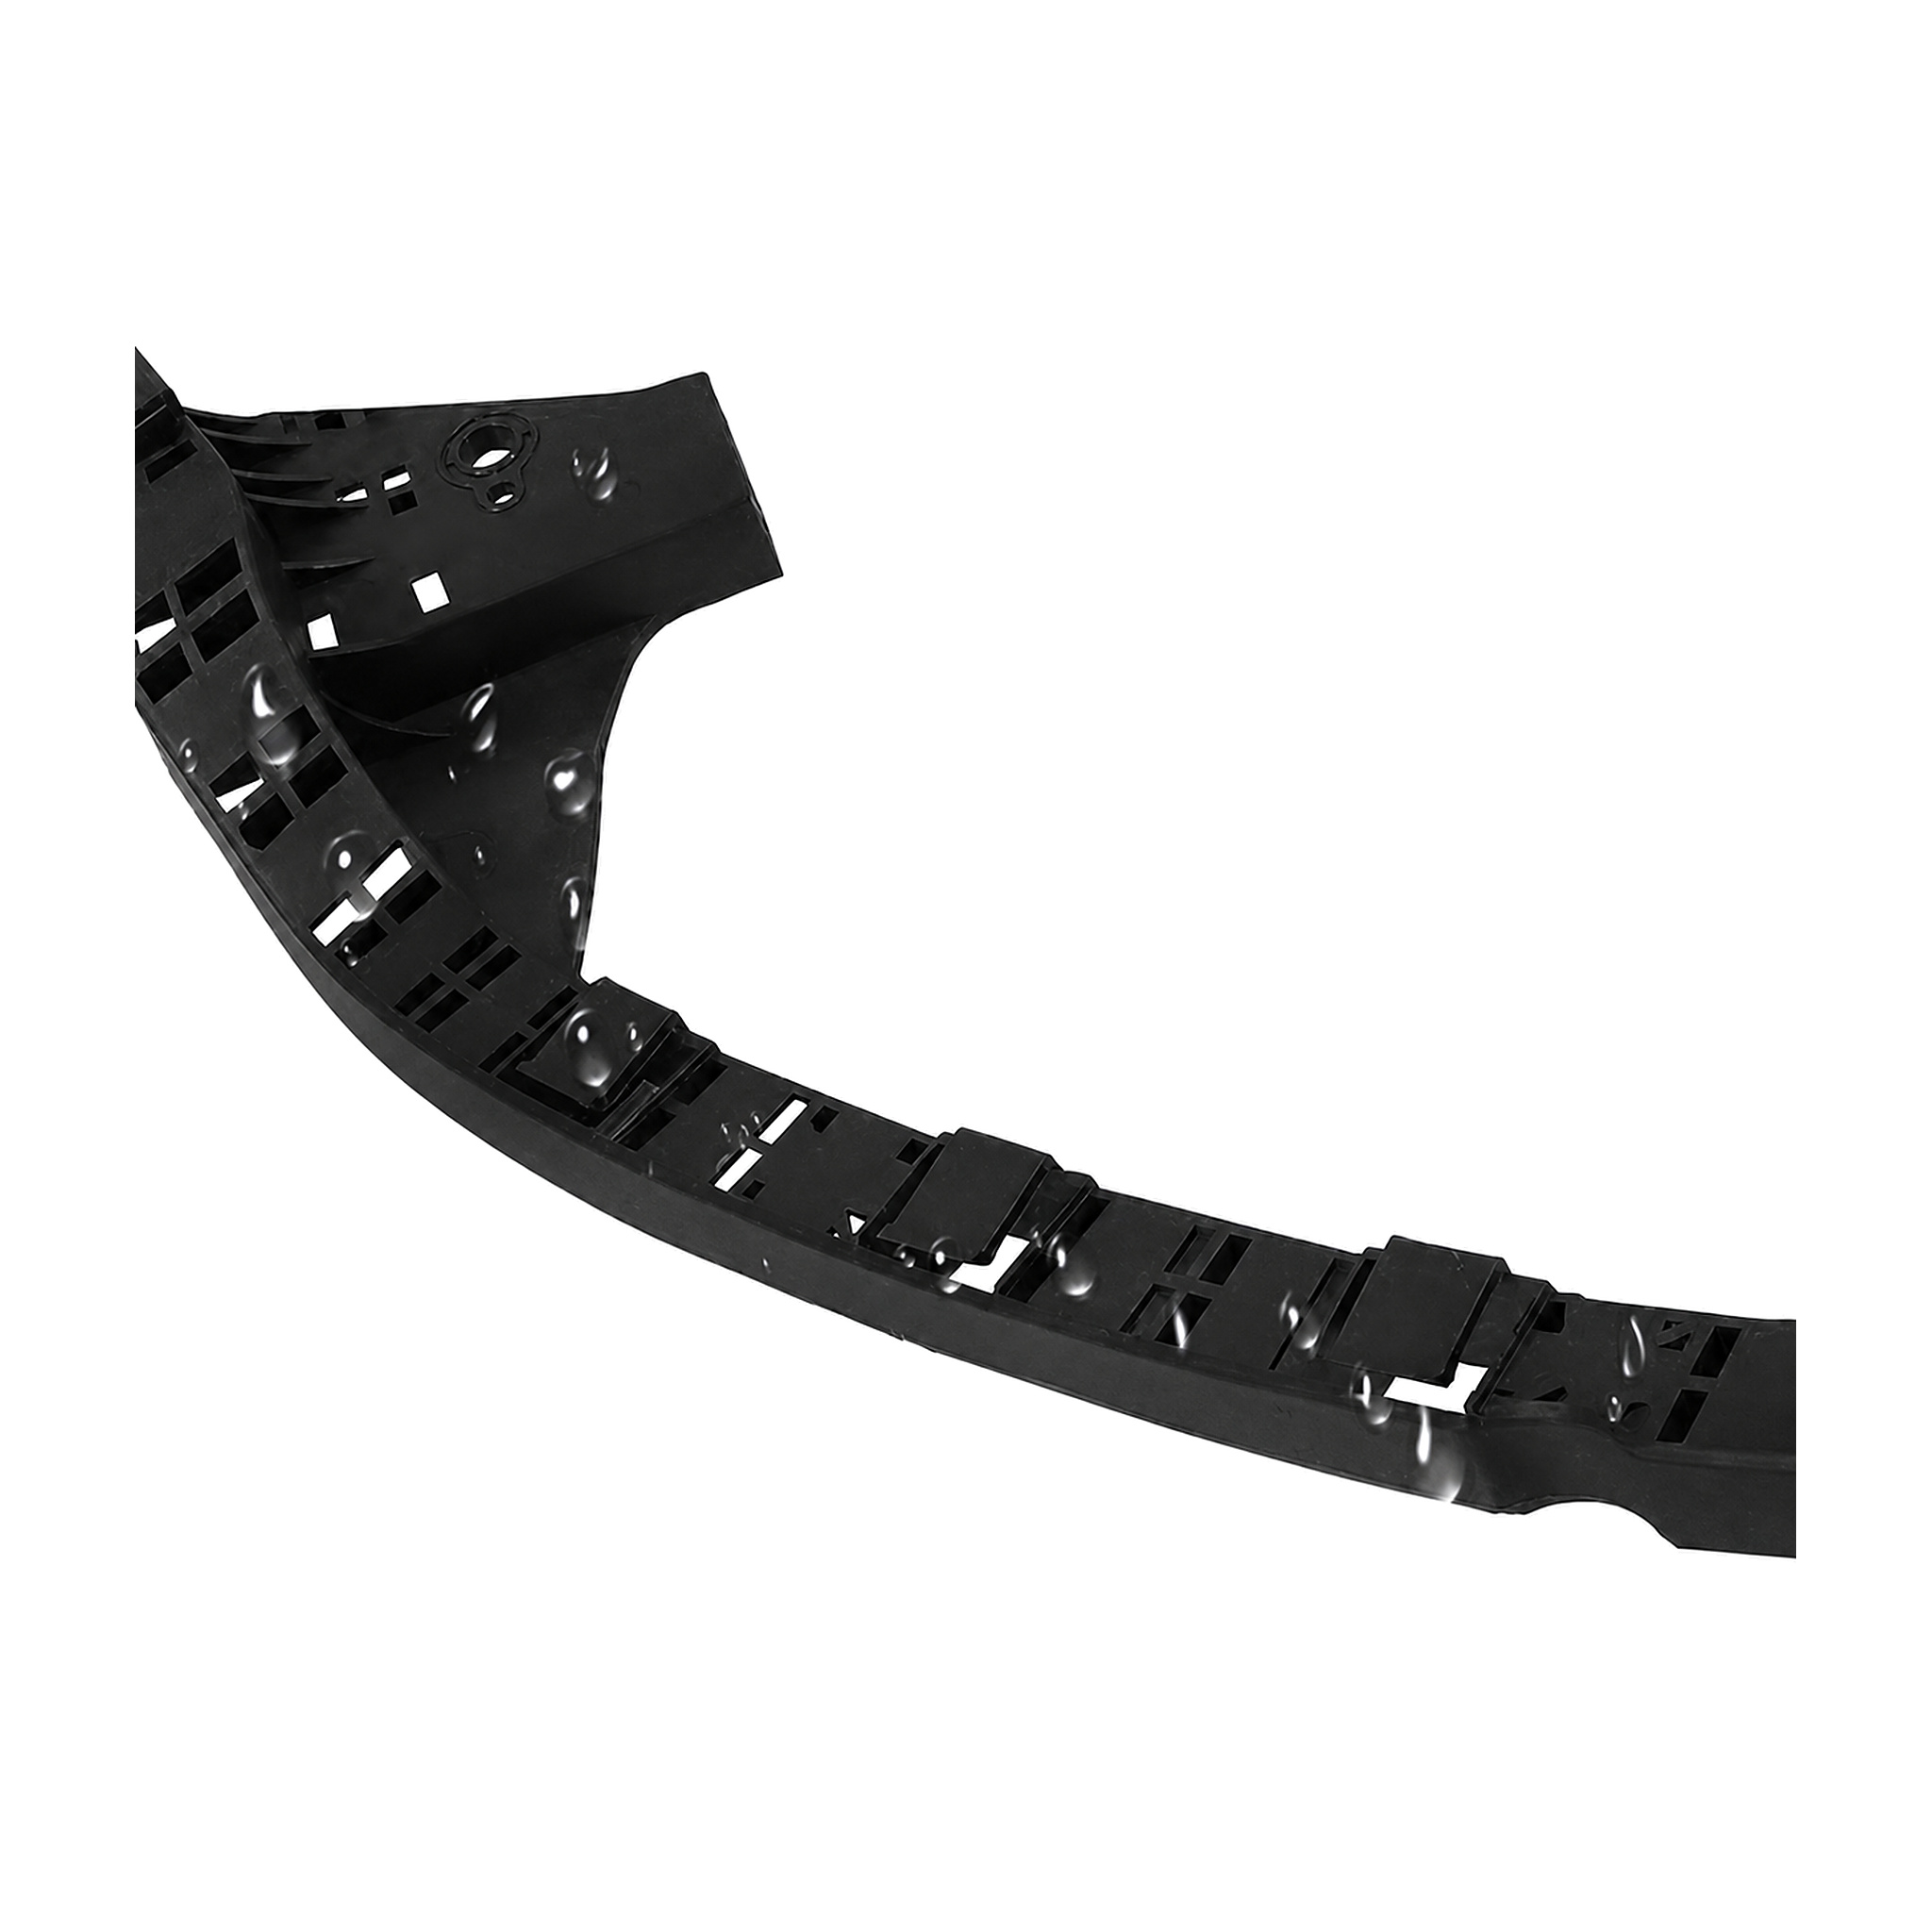
71190-TL0-G01 Front Left Headlight Mounting Bracket for HONDA Spirior 2009
Primary OE reference: 71190-TL0-G01
Cross-reference number 1: 71190-TL0-G01
Cross-reference number 2: 71190TL0G01
Product: Front Left Headlight Mounting Bracket
Applicable vehicle: HONDA Spirior 2009
Installation position: Front
Side / orientation: Left
Brand: HONDA
Model: Spirior
Model year: 2009
Internal item code: HD02009-027
Application check: 71190-TL0-G01: check the relationship with the lamp housing; HD02009-027: review headlamp shape changes between production phases; HONDA Spirior 2009: compare adjacent bumper and grille sections
Part geometry: HD02009-027: inspect the back-side support structure; 71190-TL0-G01: confirm decorative surface details; Left: inspect reinforcement features behind the part
Fitting guidance: HONDA Spirior 2009: support adjacent body panels evenly; HD02009-027: trial-fit the component without force; 71190-TL0-G01: inspect the surrounding guides
Buyer details: 71190-TL0-G01: agree the acceptable delivery window; HD02009-027: protect projecting locator tabs; HONDA: request a packing-list breakdown by item code
71190-TL0-G01 Front Left Headlight Mounting Bracket Product Overview
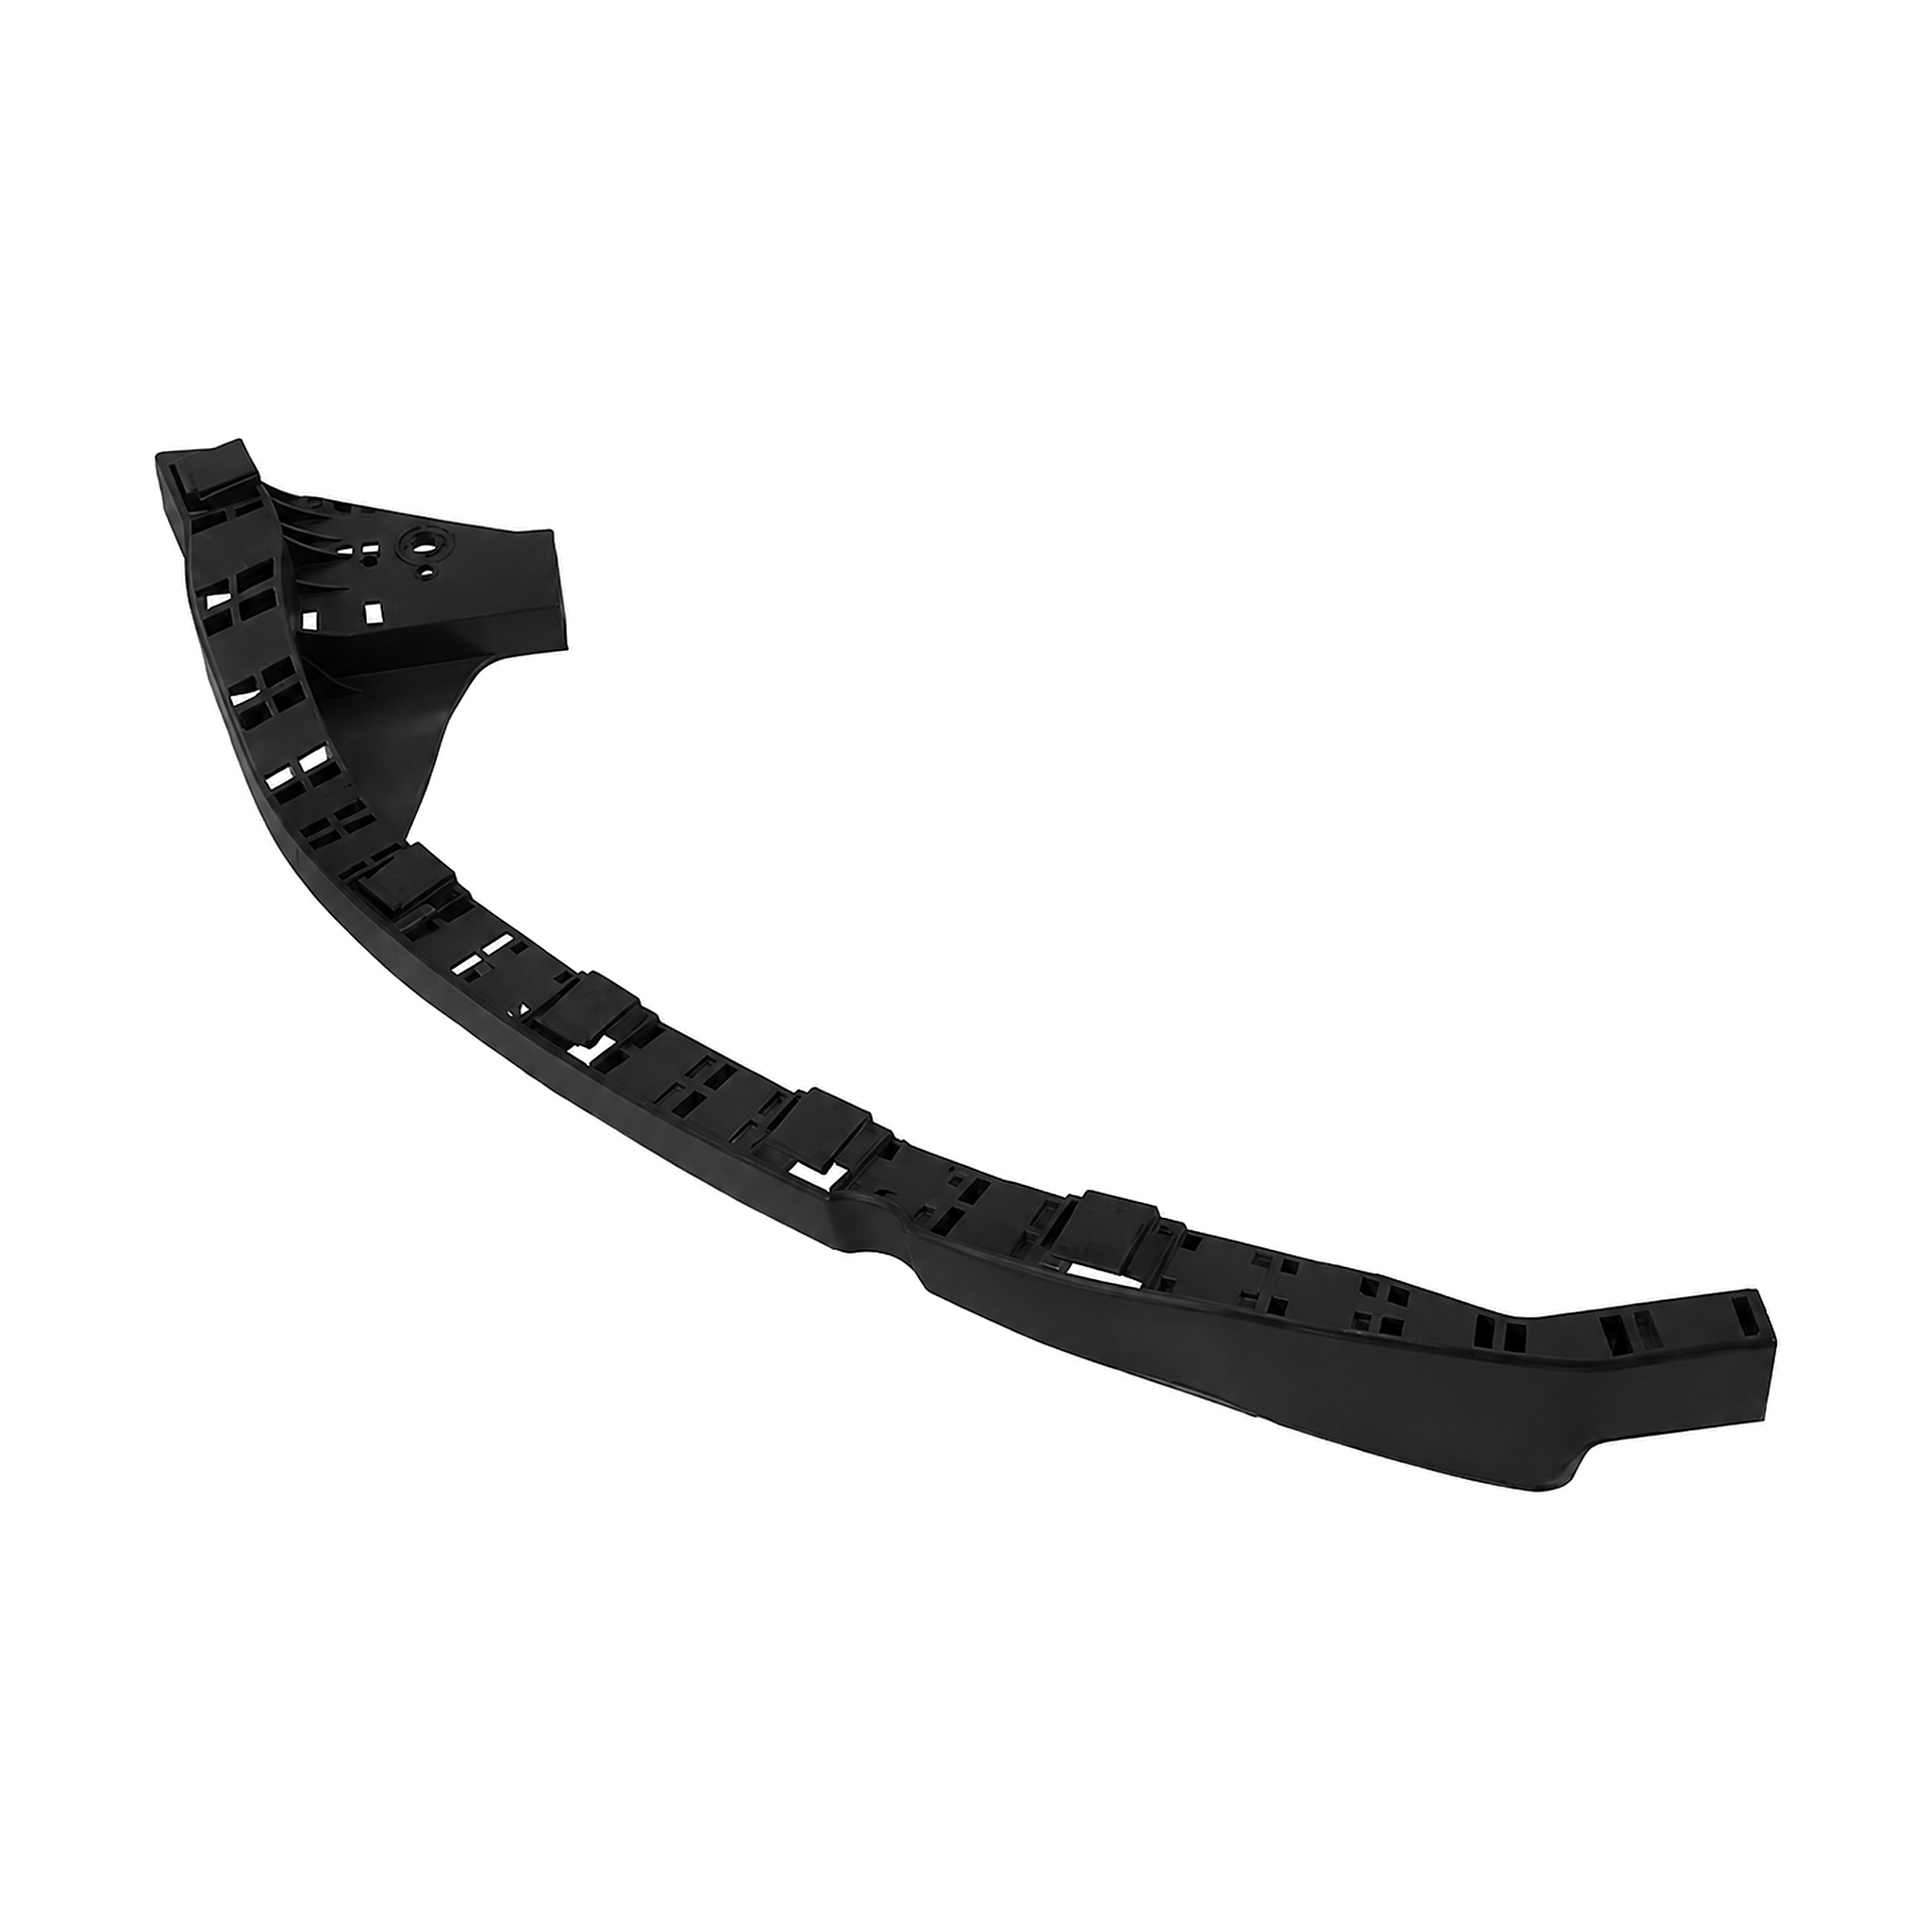
The component shown under 71190-TL0-G01 is a front left headlight mounting bracket intended for HONDA Spirior 2009. Confirm the left orientation, lamp-side contour, mounting geometry against the original vehicle part.
Fitment and Application for Spirior
Before the original trim or bracket is discarded, review regional specification differences, compare every locating point and screw opening, and review facelift and pre-facelift styling. When organizing mixed-OE inventory, compare adjacent bumper and grille sections, check nearby body-panel interfaces, and confirm the destination-market version.
For HONDA Spirior 2009, review facelift and pre-facelift styling, check whether the original part is mirrored, and compare every locating point and screw opening. While reviewing the supplied photographs, inspect the original lamp-support geometry, review regional specification differences, and match the locator-slot arrangement.
When preparing a Spirior body repair, check nearby body-panel interfaces, check the relationship with the lamp housing, and verify that the grille design matches the stated application. Before final installation, compare the headlight outline at both ends, compare adjacent bumper and grille sections, and verify the left or right mounting side.
Headlight Mounting Bracket Design and Replacement Notes
When comparing 71190-TL0-G01 with the removed component, inspect reinforcement features behind the part, inspect the overall frame width, and check the depth of the moulded locator channels. When checking the headlamp opening, inspect both end geometries, inspect the back-side support structure, and inspect moulded corners before installation.
For the listed 2009 application, check the interface with the lamp housing, check the curvature beside the headlamp, and check mirrored geometry against the required side. Before the carton is sealed, review narrow tips for transport damage, review the distance between fastening points, and compare mounting-hole height.
Before the original trim or bracket is discarded, compare surrounding grille openings, review the thickness around each mounting boss, and check the depth of the moulded locator channels. Before clips or hardware are transferred, inspect the visible face for transport scuffing, review the direction of the locating tabs, and inspect both end geometries.
Application-Specific Identification
For an export quotation with 71190-TL0-G01 on the Spirior 2009: compare the installation direction. The HD02009-027 sample for the left side should confirm decorative surface details. Before installation, trial-fit the component without force; for a quotation, request corner protection for long moulded parts.
A trim-level comparison requires with 71190-TL0-G01 on the Spirior 2009: check nearby body-panel interfaces. The HD02009-027 sample for the left side should inspect the moulded front face and rear ribs. Before installation, replace distorted clips before final assembly; for a quotation, state whether left and right pairs should be bundled.
When the headlamp outline is reviewed with 71190-TL0-G01 on the Spirior 2009: confirm the destination-market version. The HD02009-027 sample for the left side should inspect the overall frame width. Before installation, inspect the surrounding guides; for a quotation, support long trim sections during transit.
Installation Guidance
Before confirming this headlight accessory, check the adjoining panel gaps, compare the installed height with the opposite side, and align the headlamp edge before fastening. Before the quotation is confirmed, verify that the headlamp remains centred, support adjacent body panels evenly, and review completed left-to-right alignment.
For a body-shop order covering HONDA, confirm the correct fitting direction, protect exposed edges during removal, and review whether separate hardware is needed. Before packing the confirmed item, check the final perimeter around the lamp, confirm an evenly seated fit, and review completed left-to-right alignment.
When comparing 71190-TL0-G01 with the removed component, inspect the surrounding guides, reinstall removed seals in their original positions, and clean the lamp and bumper mounting area. For an application-specific order, avoid bending narrow moulded tabs, review completed left-to-right alignment, and check that no locator is trapped behind the bumper.
Product Technical Specifications
| Product type | Front Left Headlight Mounting Bracket |
|---|---|
| Primary OE reference | 71190-TL0-G01 |
| Cross-reference numbers | 71190-TL0-G01 71190TL0G01 |
| Internal item code | HD02009-027 |
| Vehicle brand | HONDA |
| Vehicle model | Spirior |
| Model year | 2009 |
| Installation position | Front |
| Side / orientation | Left |
| Applicable vehicle | HONDA Spirior 2009 |
Wholesale Supply and Packing
When reviewing the visible finish on HD02009-027, retain the product and carton labels, confirm the preferred incoterm, and confirm sample-order requirements. Before final installation, list every OE reference on the purchase order, state the target vehicle application, and request moisture protection for sea freight.
Before sourcing this front left headlight mounting bracket, check the ordered mounting side, separate left and right items in the packing list, and ask for carton dimensions before freight booking. At the workshop preparation stage, confirm the nominated freight forwarder, send photographs of the removed component, and retain the product and carton labels.
Before confirming this headlight accessory, request protective inner wrapping, check sample approval before mass shipment, and compare the supplied product photographs. For a repeat wholesale purchase, list every OE reference on the purchase order, support long trim sections during transit, and specify whether the order is for service stock or a project.
Frequently Asked Questions
Does 71190-TL0-G01 include a complete headlamp assembly?
No. This page covers the pictured front left headlight mounting bracket. Lamps, bulbs, wiring, modules and separate fasteners are not included unless visibly shown in the product photographs. For Spirior, review regional specification differences; compare mounting-hole height; confirm an evenly seated fit; and ask for carton dimensions before freight booking before fitting or quotation.
Are clips and screws supplied with 71190-TL0-G01?
The supply scope follows the photographs. Reusable clips, screws, retainers or separate brackets should be confirmed before the order is finalized. For Spirior, verify that the grille design matches the stated application; check the curvature beside the headlamp; keep the removed part nearby for comparison; and protect projecting locator tabs before fitting or quotation.
Which side uses 71190-TL0-G01?
This front left headlight mounting bracket is catalogued for the left front headlamp area. Opposite-side parts normally use mirrored geometry and a different reference. For Spirior, review headlamp shape changes between production phases; confirm decorative surface details; trial-fit the component without force; and specify whether the order is for service stock or a project before fitting or quotation.
What should be inspected when 71190-TL0-G01 arrives?
Check the item label, contour, finish, locating features, mounting points and carton condition before fitting or discarding the packaging. For Spirior, compare the headlight outline at both ends; review fastening slots and clip seats; check the finish for tool marks before delivery; and provide the destination country before fitting or quotation.
Which vehicle application is listed for 71190-TL0-G01?
71190-TL0-G01 is listed for HONDA Spirior 2009. The complete OE reference, production year, body specification and mounting side should agree with the removed component. For Spirior, match the locator-slot arrangement; inspect moulded corners before installation; route nearby wiring away from sharp edges; and state the destination port or city before fitting or quotation.
Request a Quote
Send the complete OE reference 71190-TL0-G01, vehicle details, installation side, required quantity and delivery destination. Yongshang Auto can review the application before preparing a product-specific export quotation.