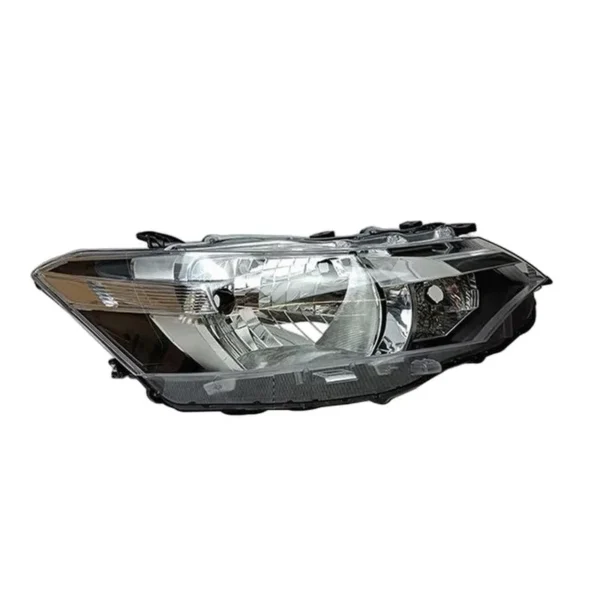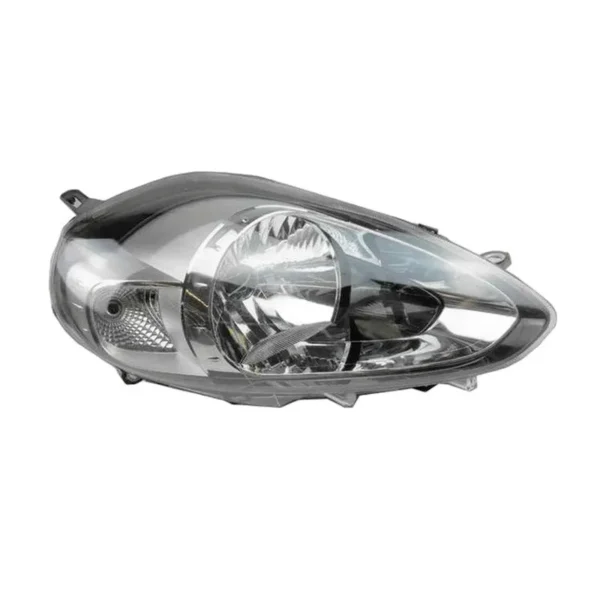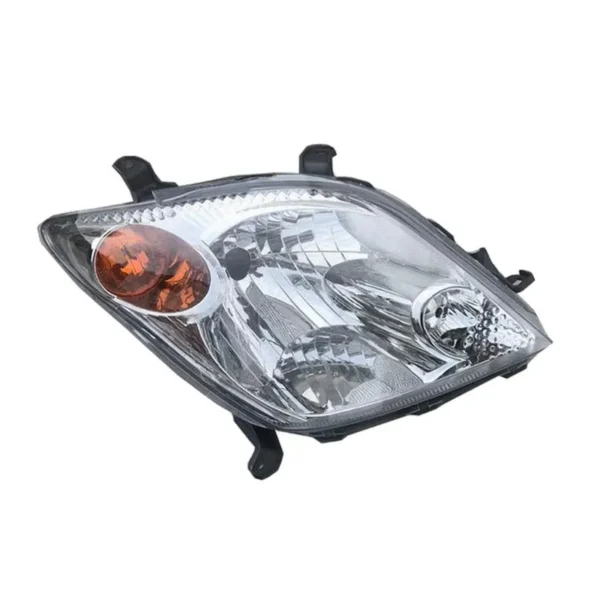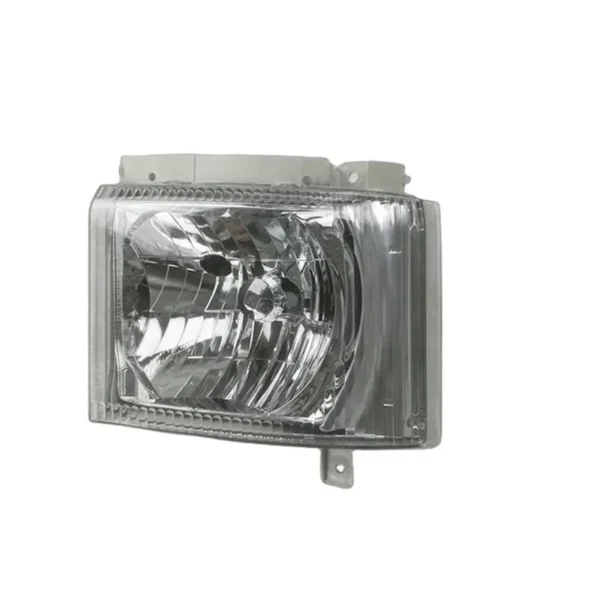
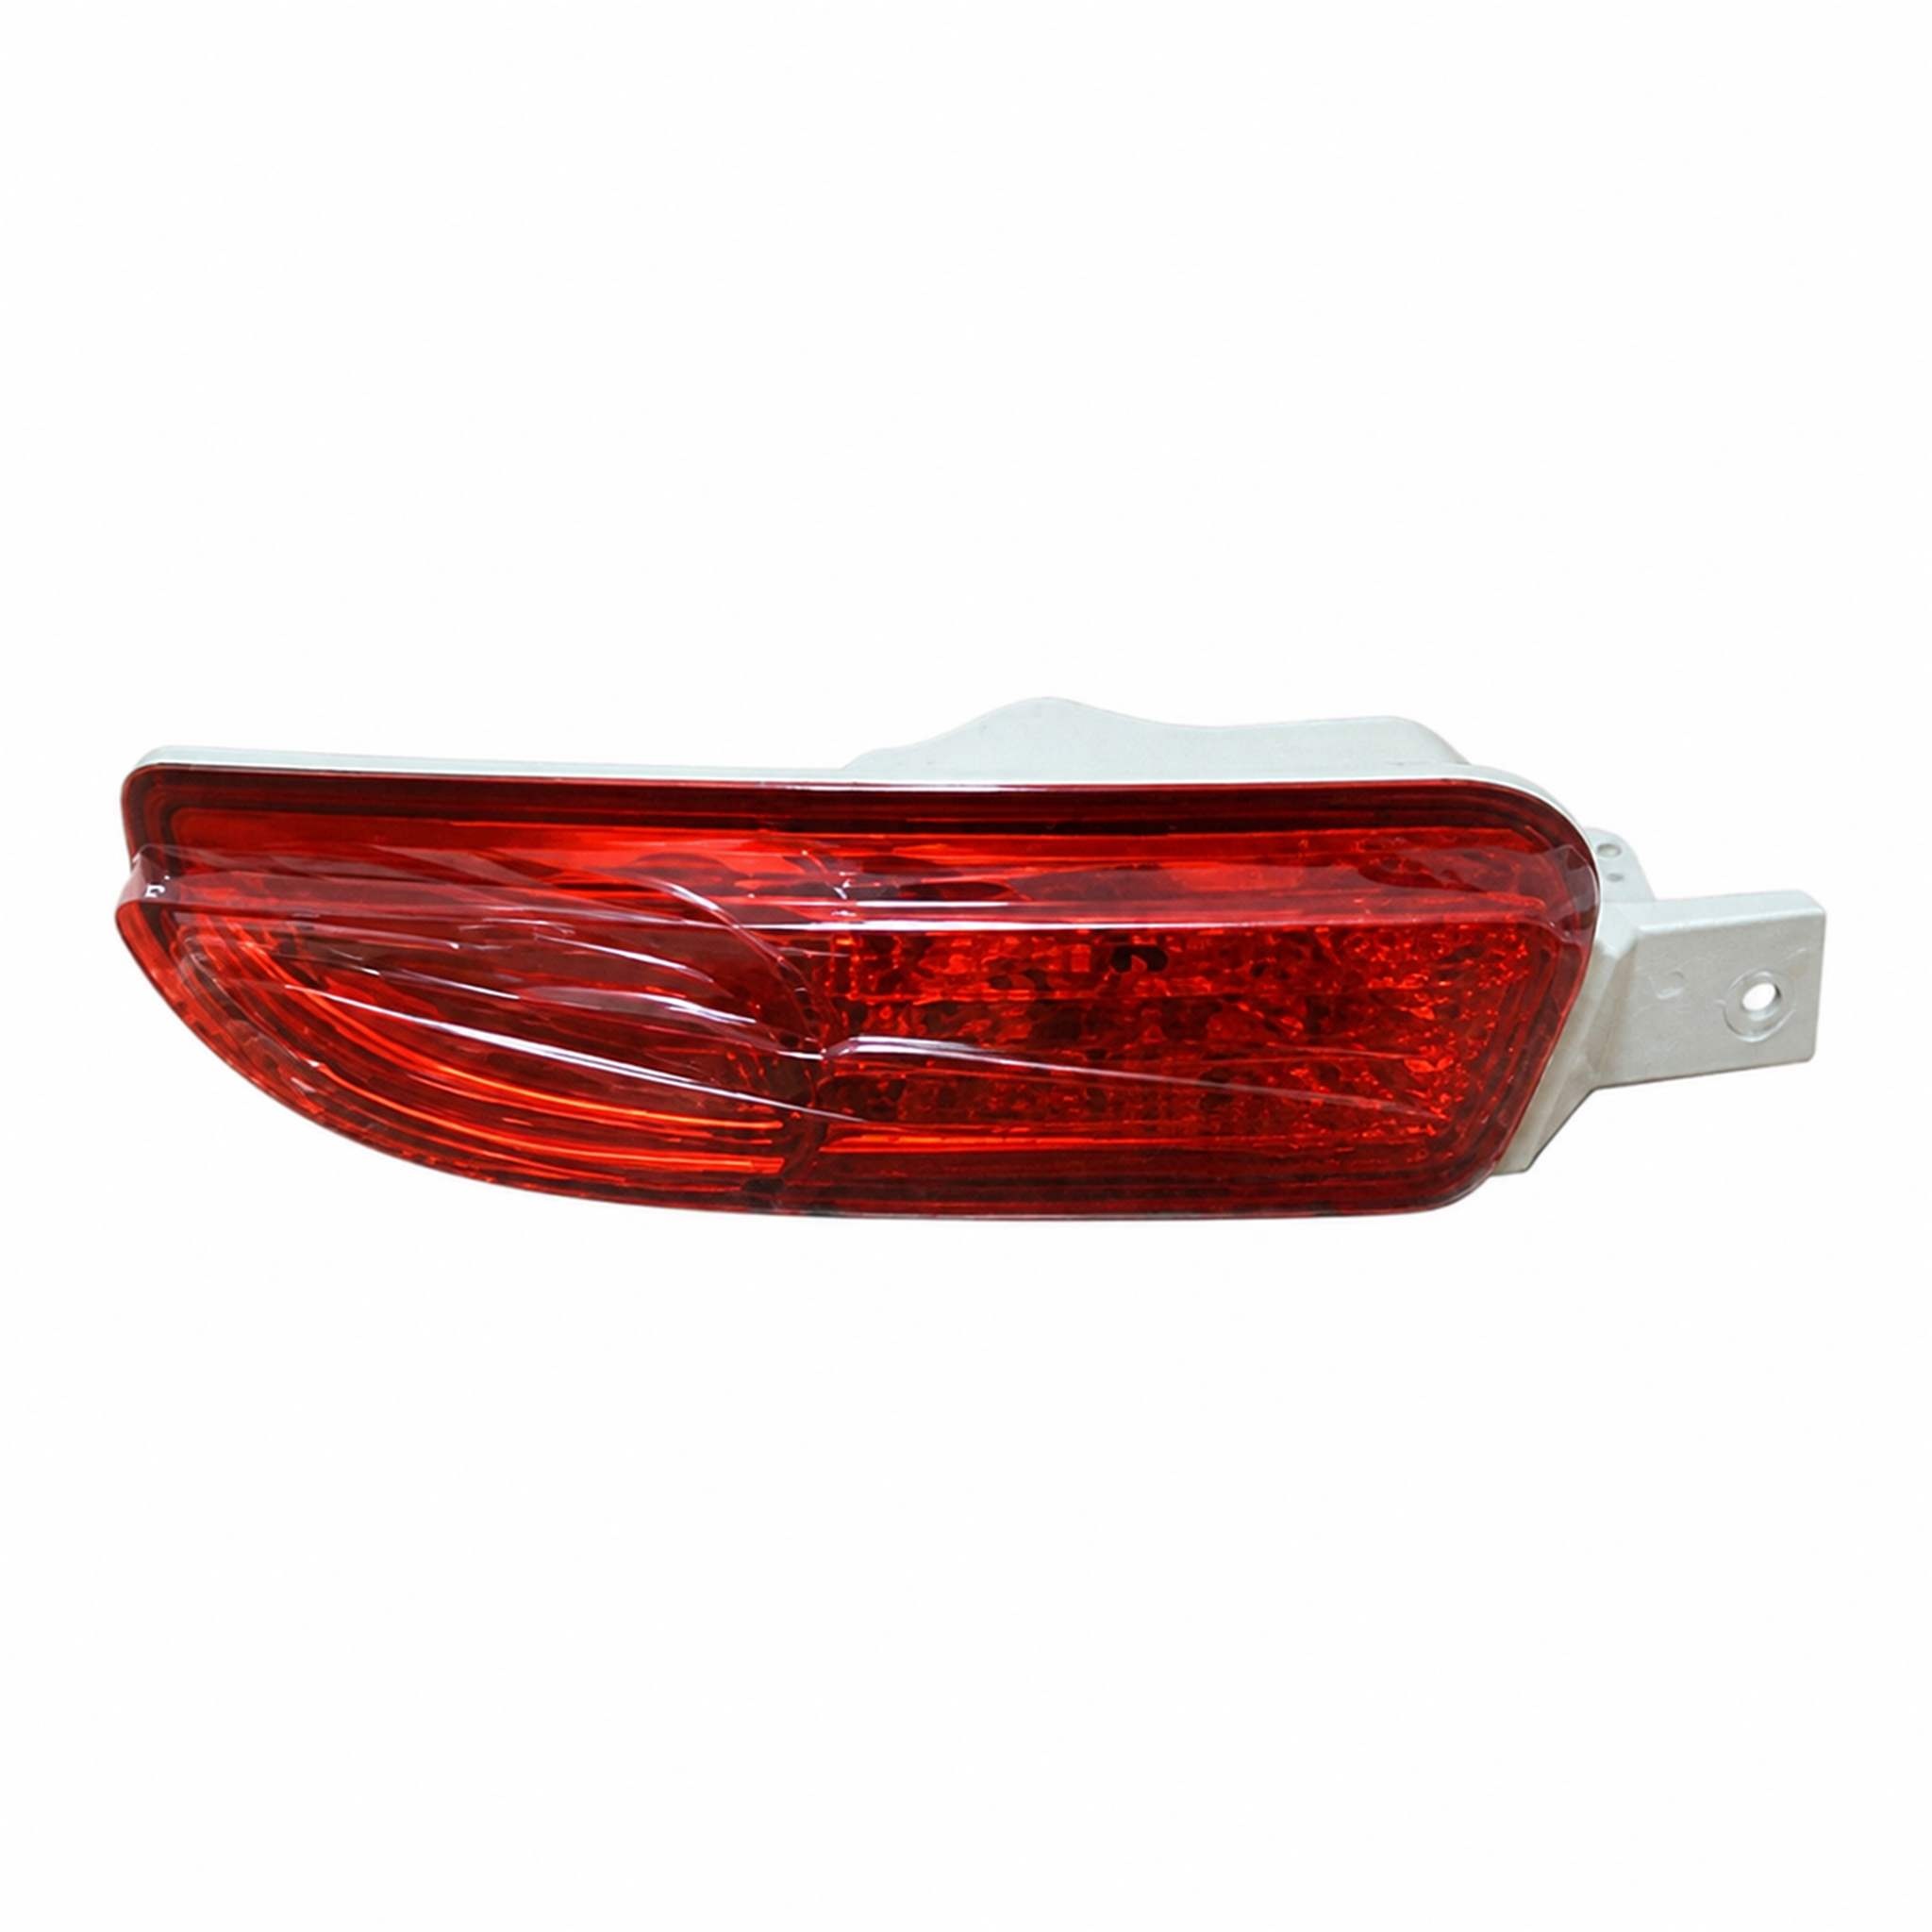
34500-T0A-H01 Rear Bumper Light for HONDA CR-V 2012 Right
Primary OE reference: 34500-T0A-H01
Product type: Rear Bumper Light
Applicable vehicle: HONDA CR-V 2012
Installation position: Rear bumper / reflector opening
Side / orientation: Right
Brand: HONDA
Model: CR-V
Vehicle year: 2012
Fitment evidence: Confirm that the body sits flush in the bumper aperture and that every guide tab faces the correct direction.
Optical configuration: This component completes the rear bumper lighting area and must match the correct side, lens type and vehicle trim.
Electrical interface: For lamp versions, the connector must lock without force and the harness should route clear of the exhaust and sharp edges.
Final alignment: Clean the bumper opening, inspect reusable clips and verify an even edge gap before final fastening.
Selection context: Production date and regional bumper specification should be reviewed when several near-identical versions are available.
Post-fit check: Photograph the completed fit for repeat-order records when the vehicle uses an uncommon market specification.
Bulk supply: Confirm the required quantity and packaging method; exposed lens faces and projecting tabs need separate protection.
Packing reference: The visible face should remain separated from tape, staples and loose hardware throughout transport.
34500-T0A-H01 Rear Bumper Light Overview
This product is listed for HONDA CR-V 2012 at the right rear-bumper position. Powered variants work with the vehicle harness; non-powered variants depend on the correct reflective lens and mounting angle.
A correct vehicle name is only the starting point; market trim and facelift details can change the reflector opening.
While the HONDA bumper opening is accessible, compare the outer lens edge with the moulded bumper recess to verify that the photographed configuration matches the vehicle in the workshop.
Vehicle Fitment and Bumper Interface
Review the corner radius, edge return and rear fastening points against the original bumper opening.
Use the removed component as the physical reference for outer shape, housing projection and clip location.
During comparison of the HONDA rear component, inspect the lower valance and nearby exhaust trim for adequate operating clearance to avoid contact with wiring, body edges or hot exhaust components.
For a repeat order of the right version, check the rear housing projection against the space behind the bumper skin to keep the optical face level with the surrounding painted surface.
Reflector, Lens and Electrical Configuration
For lamp versions, the connector must lock without force and the harness should route clear of the exhaust and sharp edges.
Protect the exposed face from tools and fasteners while the bumper liner is open for access.
On the 2012 CR-V bumper layout, compare the bumper corner radius with the product face from more than one viewing angle before any modification is made to the bumper or replacement part.
At the workshop selection stage for CR-V, align each locating tab with the matching slot before applying hand pressure before deciding whether original hardware is suitable for reuse.
Installation and Functional Check
Clean the bumper opening, inspect reusable clips and verify an even edge gap before final fastening.
Once seated, inspect the perimeter gap and verify that the bumper surface remains relaxed rather than distorted.
At the right rear-bumper position, check whether the original component uses a separate retainer or an integral locking tab because facelift bumpers can retain the same vehicle name with different apertures.
When reviewing the 2012 vehicle, verify the fastener direction and the shape of the concealed support frame so left- and right-hand stock cannot be mixed during consolidation.
Automotive Lighting Product Specifications
| Product type | Rear Bumper Light |
|---|---|
| Primary OE reference | 34500-T0A-H01 |
| Cross-reference numbers | 34500-T0A-H01 |
| Internal item code | HD04004-073 |
| Vehicle brand | HONDA |
| Vehicle model | CR-V |
| Model year | 2012 |
| Installation position | Rear bumper / reflector opening |
| Side / orientation | Right |
| Configuration | Match the photographed reflector or powered-lamp version |
Wholesale Supply and Protective Packing
For a wholesale quotation, provide vehicle details, required side, quantity, destination and a photograph of the removed part.
Powered versions benefit from a clean connector cover, while reflector versions need firm support around the rear frame.
For the HONDA CR-V application, protect the visible surface until the full perimeter gap has been accepted so the approved product can be picked consistently in a mixed wholesale order.
For this CR-V body configuration, review the reflector texture and lens colour in neutral workshop light so hidden brackets are not loaded or bent during installation.
Frequently Asked Questions
When should photographs be supplied?
Send front, rear and bumper-opening images when the original marking is unclear or several versions share the vehicle name.
Can appearance alone confirm compatibility?
No. A similar colour and outline can hide different clips, housing depth, wiring or side orientation.
What if the bumper opening differs?
Stop the installation and compare market version, trim level and hidden mounting geometry before modifying any part.
How should the visible lens be packed?
Keep it isolated from carton pressure, loose hardware and neighbouring products with separate support for tabs.
What details help with a wholesale quote?
Provide vehicle, year, side, quantity, destination and clear photographs of the removed component.
Request a Product-Specific Quote
For mixed shipments, send a line-by-line quantity list so each rear-bumper position is quoted independently.