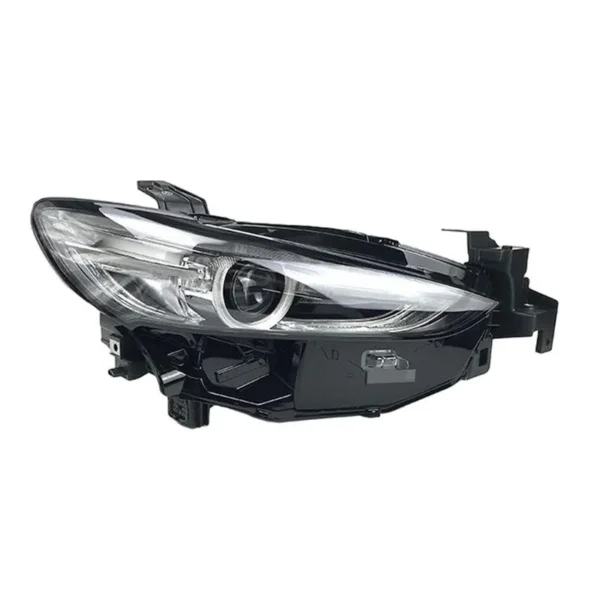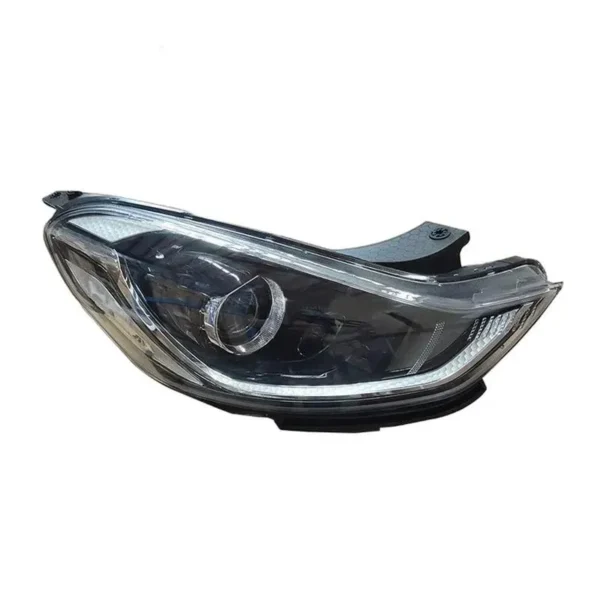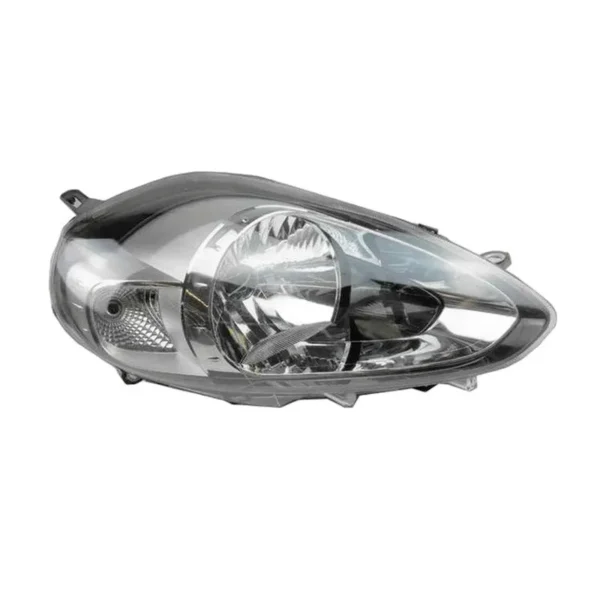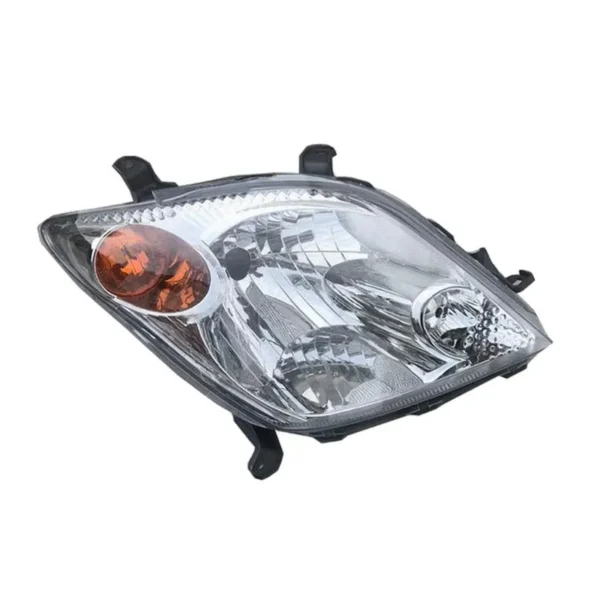
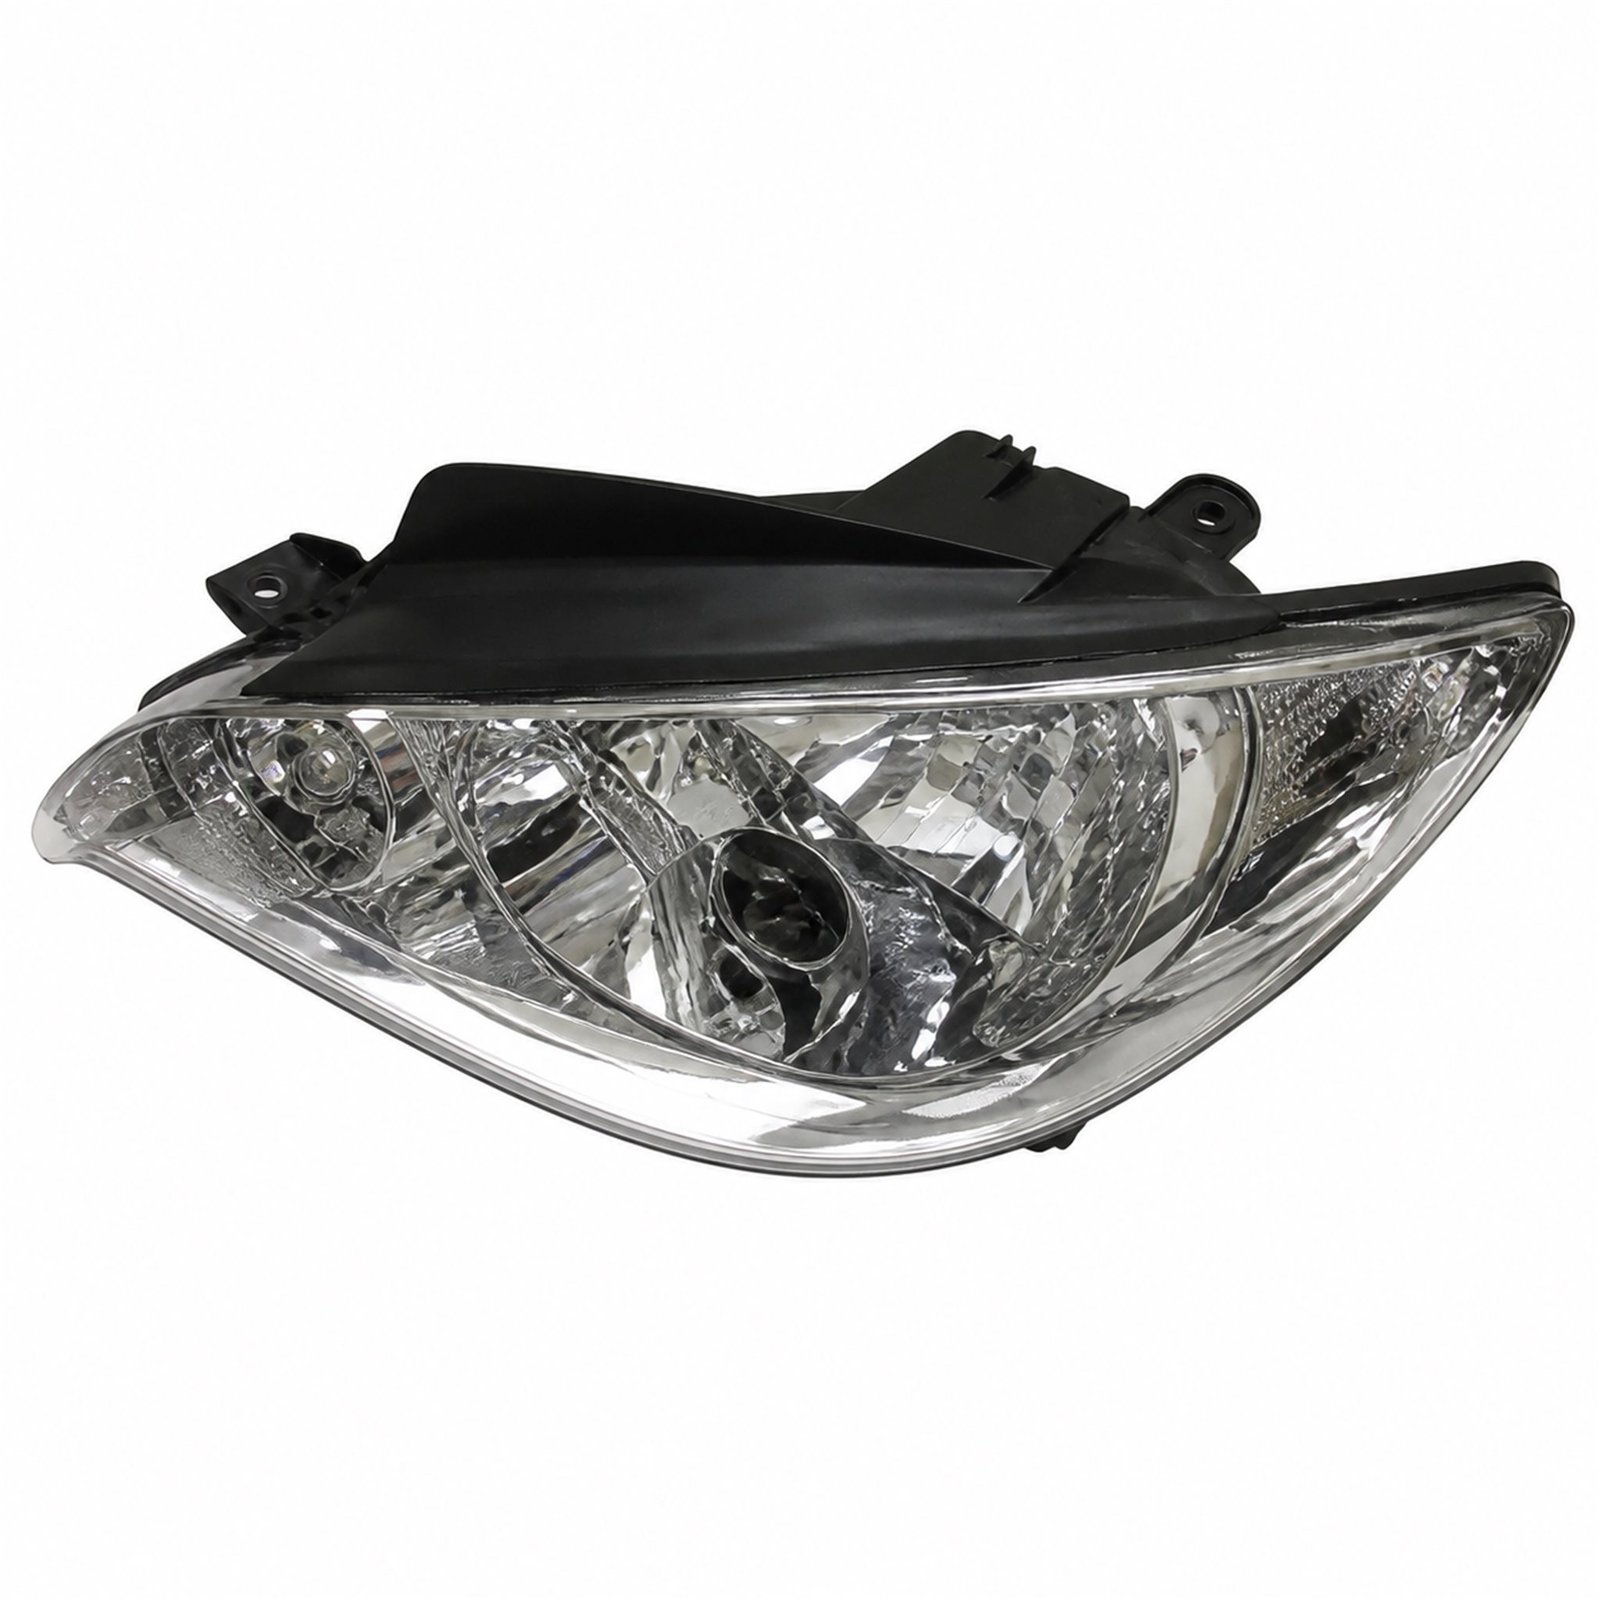
92101-3X050 Head Light for HYUNDAI Elantra 2011 Left
Primary OE reference: 92101-3X050
Cross-reference number 1: 92101-3X050
Product type: Head Light Assembly
Applicable vehicle: HYUNDAI Elantra 2011
Installation position: Left front headlamp position
Brand: HYUNDAI
Model: Elantra
Vehicle year: 2011
Lighting configuration: power-adjustment version
Housing comparison: Lay the replacement beside the removed unit and cross-check overall depth, edge returns, vent locations and rear-cover clearance.
Optical system: Verify that the beam system and visible lamp signature correspond to the vehicle trim rather than selecting by exterior outline alone.
Electrical interface: Verify compatibility with the vehicle’s lighting controls, especially where automatic levelling or daytime-running-light functions are fitted.
Mounting points: Shield projecting tabs during handling and verify that each locating feature enters the correct body-side slot during the dry fit.
Installation guidance: After the housing is secured, reconnect the lighting circuit, test every function and carry out professional beam aiming before road use.
Wholesale packing: Mixed orders should establish vehicle application and side clearly, with protective packing around the optical face and electrical connections.
Application-specific focus: For the left HYUNDAI Elantra application with power-adjustment version, establish whether the original lighting system uses a reflector, projector, halogen bulb, xenon burner or integrated led light source.
Head Light Assembly Overview
The listed unit is designed for the stated vehicle position and should be matched to the removed headlamp before installation. It is catalogued under OE reference 92101-3X050 for HYUNDAI Elantra 2011, with the left position identified in the source record.
The observable lens, internal optical layout, rear casing and attachment points should be reviewed as one system. A close-looking lamp from another trim or market can differ behind the body opening.
Lighting Function and Optical Configuration
Verify that the beam system and photographed lamp signature correspond to the vehicle trim rather than selecting by exterior outline alone.
For the Elantra application, verify the lighting package fitted to the vehicle. Standard, projector, xenon and LED versions can use non-matching internal modules, beam controls and daytime-light signatures.
Vehicle Fitment and Body Interface
Lay the replacement beside the removed unit and review overall depth, edge returns, vent locations and rear-cover clearance.
Safeguard projecting tabs during handling and verify that each locating feature enters the correct body-side slot during the dry fit.
Connector and Control Hardware
Align with the connector key, pin arrangement, latch direction and cable exit; LED or xenon versions may also require compatible control hardware.
Verify the supply scope shown in the product photographs. Bulbs, rear caps, levelling motors, ballasts, LED drivers and auxiliary brackets may vary between versions and should be checked separately.
Installation and Beam Alignment
Tighten the fasteners evenly, restore neighbouring covers only after functional testing, and inspect bonnet and bumper clearances one final time.
A qualified workshop should look over surrounding supports for damage, complete the electrical tests and set the headlamp beam according to local requirements after installation.
Automotive Lighting Product Specifications
| Product type | Head Light Assembly |
|---|---|
| Primary OE reference | 92101-3X050 |
| Cross-reference numbers | 92101-3X050 |
| Internal item code | HY04001-117 |
| Vehicle brand | HYUNDAI |
| Vehicle model | Elantra |
| Model year | 2011 |
| Installation position | Left front |
| Lighting configuration | power-adjustment version |
Wholesale Supply and Protective Packing
For repeat orders, keep the approved product photographs and application record so the same optical and mounting version is specified.
When requesting a quotation, supply the vehicle application, production period, required side, lighting technology, quantity and destination. Original-lamp photographs are useful when several versions exist.
Application-Specific Comparison Notes
For this left HYUNDAI Elantra headlamp, the power-adjustment version specification should be assessed together with the 2011 body application. Lay the replacement beside the removed unit and review overall depth, edge returns, vent locations and rear-cover clearance.
The left Elantra lighting package should remain the reference during electrical review. Review every plug and socket with the original unit and verify whether the levelling motor, ballast or LED driver is included or transferred.
When fitting the HYUNDAI Elantra unit at the left front position, preserve even body gaps and the intended beam orientation. After the housing is secured, reconnect the lighting circuit, test every function and carry out professional beam aiming before road use.
Frequently Asked Questions
Are bulbs and electronic modules included?
The included components are those observable in the product photographs. Inspect bulbs, caps, motors, ballasts and LED modules separately.
How should the lamp be protected during shipping?
The lens needs isolation from carton pressure, while the rear housing and projecting tabs require stable internal support.
What information supports a wholesale quotation?
State the HYUNDAI Elantra application, production year, left side, lighting version, quantity and delivery country.
When is professional beam aiming required?
Beam alignment should be checked after the unit is secured and every lighting function has been tested.
How should headlamp fitment be confirmed?
For the left Elantra lamp, review the body outline, mounting tabs, connector and lighting technology with the removed unit. Model year alone may not distinguish every trim.