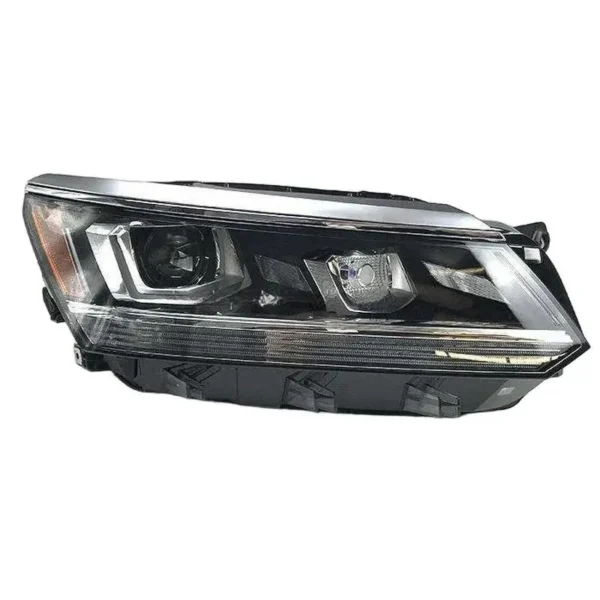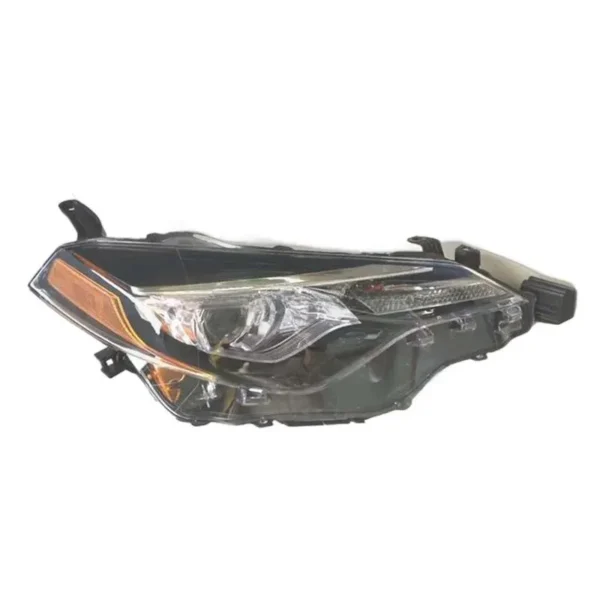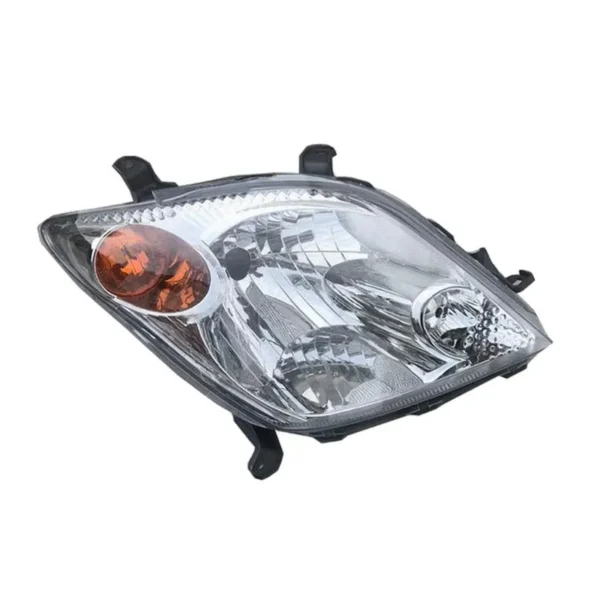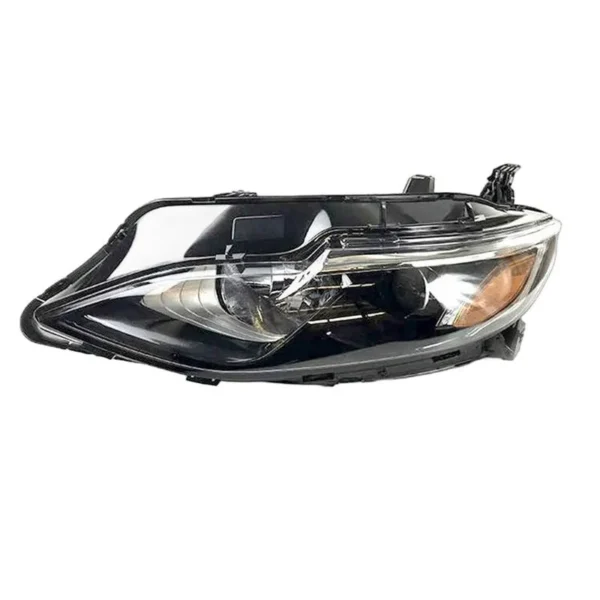
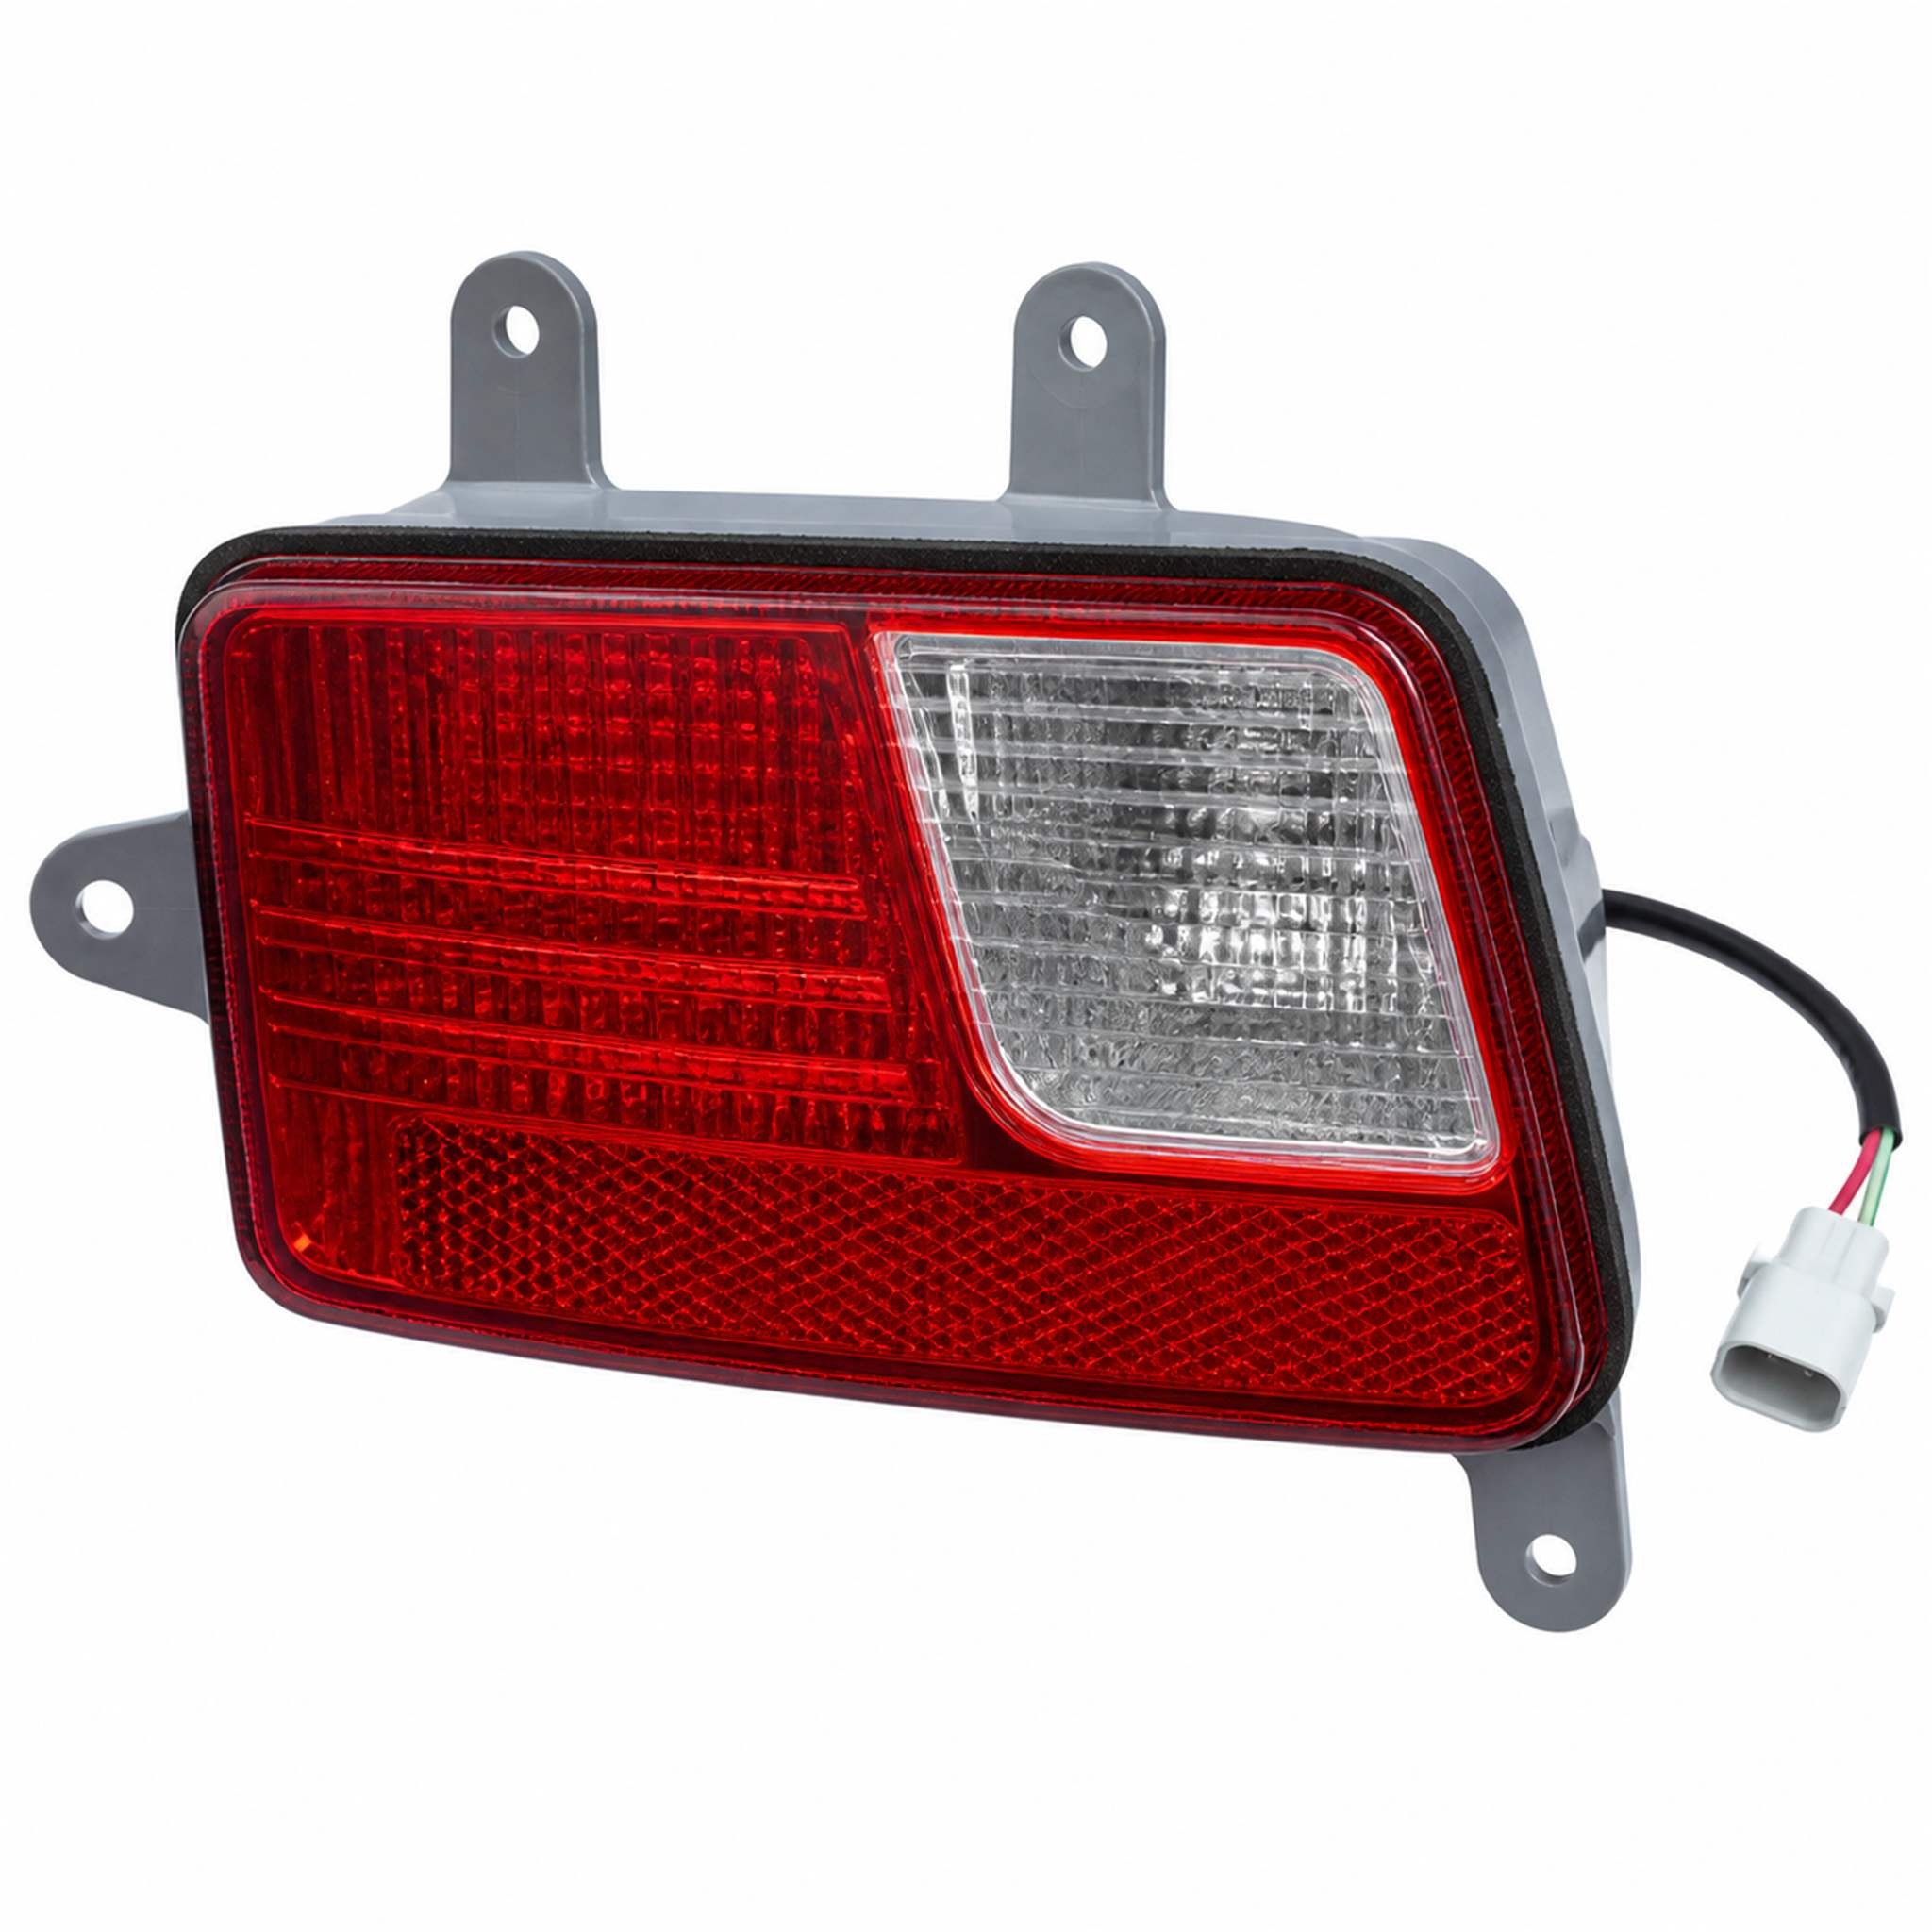
92406-1G000 Rear Bumper Light for KIA Rio 2005 Right
Primary OE reference: 92406-1G000
Product type: Rear Bumper Light
Applicable vehicle: KIA Rio 2005
Installation position: Rear bumper / reflector opening
Side / orientation: Right
Brand: KIA
Model: Rio
Vehicle year: 2005
Fitment evidence: Match the lens perimeter and rear support geometry rather than relying on colour or overall appearance alone.
Optical configuration: Rear-bumper lighting improves low-mounted vehicle visibility; reflector-only versions return light without an electrical connection.
Electrical interface: If the original unit is powered, compare the socket, terminal count, cable exit and locking tab before installation.
Final alignment: After fitting, inspect flushness from several angles and test the lamp where an electrical function is present.
Selection context: Compare both the visible surface and the rear attachment geometry to avoid selecting a cosmetic look-alike.
Post-fit check: For reflector types, confirm correct orientation; for powered types, test the circuit before closing access panels.
Bulk supply: Trade enquiries should include the vehicle year, model, bumper position and destination market for accurate picking.
Packing reference: The visible face should remain separated from tape, staples and loose hardware throughout transport.
92406-1G000 Rear Bumper Light Overview
This product is listed for KIA Rio 2005 at the right rear-bumper position. The part occupies a vehicle-specific bumper opening and may function as a reflector, rear fog lamp or auxiliary marker.
Bumper designs can change during a model cycle, so verify the lens face and hidden support points together.
Before approving the Rio part for packing, confirm that the cable exit, where fitted, clears the bumper reinforcement so left- and right-hand stock cannot be mixed during consolidation.
Application and Rear-Bumper Position
Check the bumper recess, outer contour and clip orientation; similar reflectors can use different hidden mounts.
Production date and regional bumper specification should be reviewed when several near-identical versions are available.
Before fitting the right unit, confirm that any connector seal remains square when the housing is fully seated so the approved product can be picked consistently in a mixed wholesale order.
While the KIA bumper opening is accessible, use the opposite-side component only as an alignment reference, not as an interchange part so hidden brackets are not loaded or bent during installation.
Optical Face and Connector Review
If the original unit is powered, compare the socket, terminal count, cable exit and locking tab before installation.
Do not polish or modify the lens before fitment confirmation; altered parts are harder to compare accurately.
During comparison of the KIA rear component, compare the outer lens edge with the moulded bumper recess to preserve access for a final electrical test where a lamp circuit is present.
For a repeat order of the right version, inspect the lower valance and nearby exhaust trim for adequate operating clearance to reduce clip damage during a no-force trial installation.
Workshop Fitting Sequence
After fitting, inspect flushness from several angles and test the lamp where an electrical function is present.
After installation, confirm the lens is level with nearby trim and that no retaining tab has backed out.
On the 2005 Rio bumper layout, check the rear housing projection against the space behind the bumper skin to prevent a visually similar version from sitting proud of the bumper.
At the workshop selection stage for Rio, compare the bumper corner radius with the product face from more than one viewing angle before the packaging and carton marking are finalized.
Automotive Lighting Product Specifications
| Product type | Rear Bumper Light |
|---|---|
| Primary OE reference | 92406-1G000 |
| Cross-reference numbers | 92406-1G000 |
| Internal item code | KA04004-028 |
| Vehicle brand | KIA |
| Vehicle model | Rio |
| Model year | 2005 |
| Installation position | Rear bumper / reflector opening |
| Side / orientation | Right |
| Configuration | Match the photographed reflector or powered-lamp version |
Wholesale Supply and Protective Packing
Confirm the required quantity and packaging method; exposed lens faces and projecting tabs need separate protection.
Powered versions benefit from a clean connector cover, while reflector versions need firm support around the rear frame.
At the right rear-bumper position, align each locating tab with the matching slot before applying hand pressure before inner liners make the rear attachment points difficult to inspect.
When reviewing the 2005 vehicle, check whether the original component uses a separate retainer or an integral locking tab so the visible gap remains even after every retaining point is engaged.
Frequently Asked Questions
What if the bumper opening differs?
Stop the installation and compare market version, trim level and hidden mounting geometry before modifying any part.
Should original clips be reused?
Reuse hardware only when it is undamaged and correct for the photographed housing; replace distorted retainers.
When should photographs be supplied?
Send front, rear and bumper-opening images when the original marking is unclear or several versions share the vehicle name.
How is a passive reflector checked?
Confirm the lens orientation, reflective face and flush fit without adding wiring that was not present originally.
Can the opposite side use the same part?
Do not assume interchangeability; lens angle, contour, clips and bumper recess are normally side-specific.
Request a Product-Specific Quote
The sales team can check whether accessories shown in the photograph are part of the requested scope.