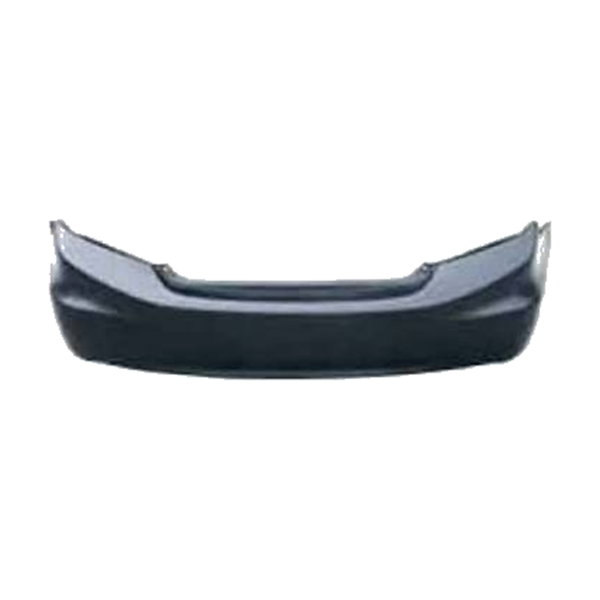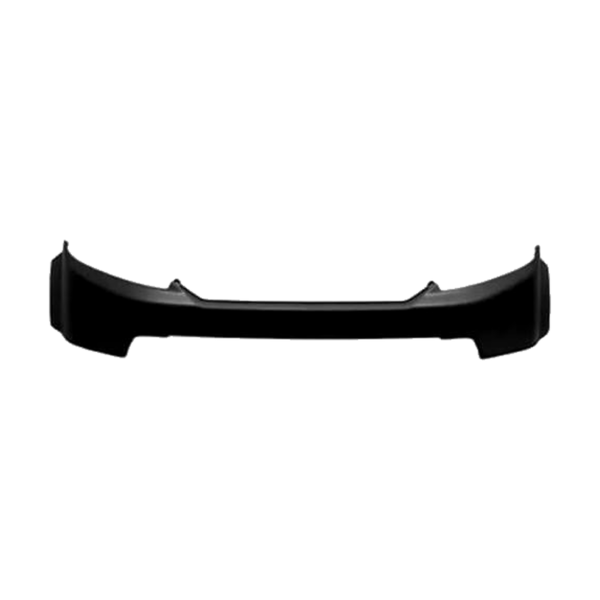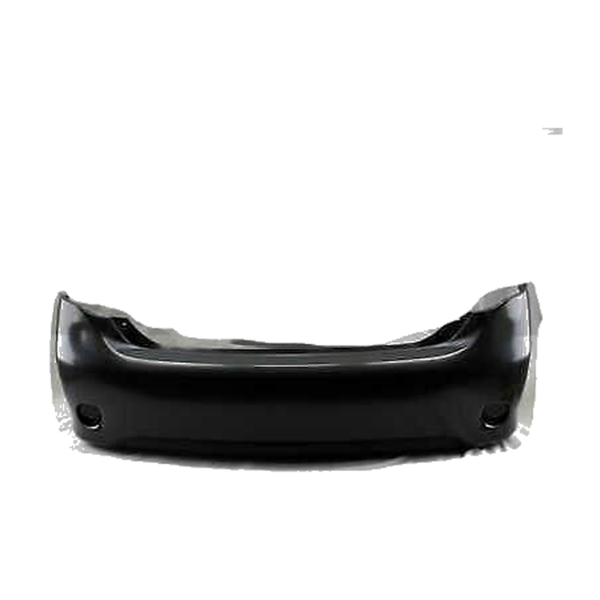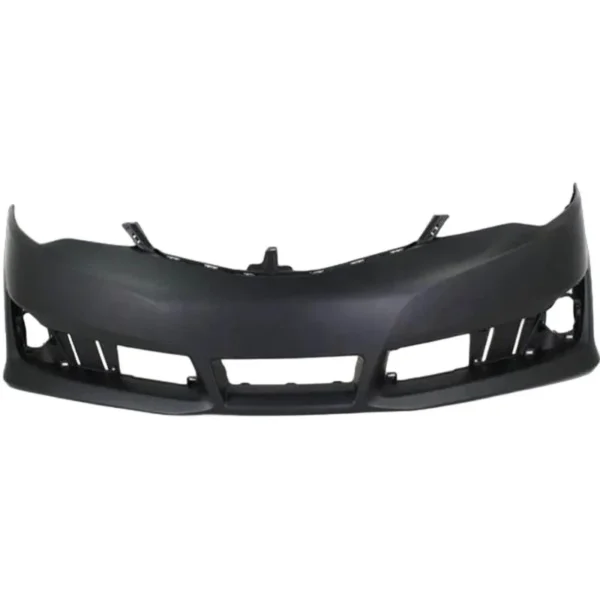
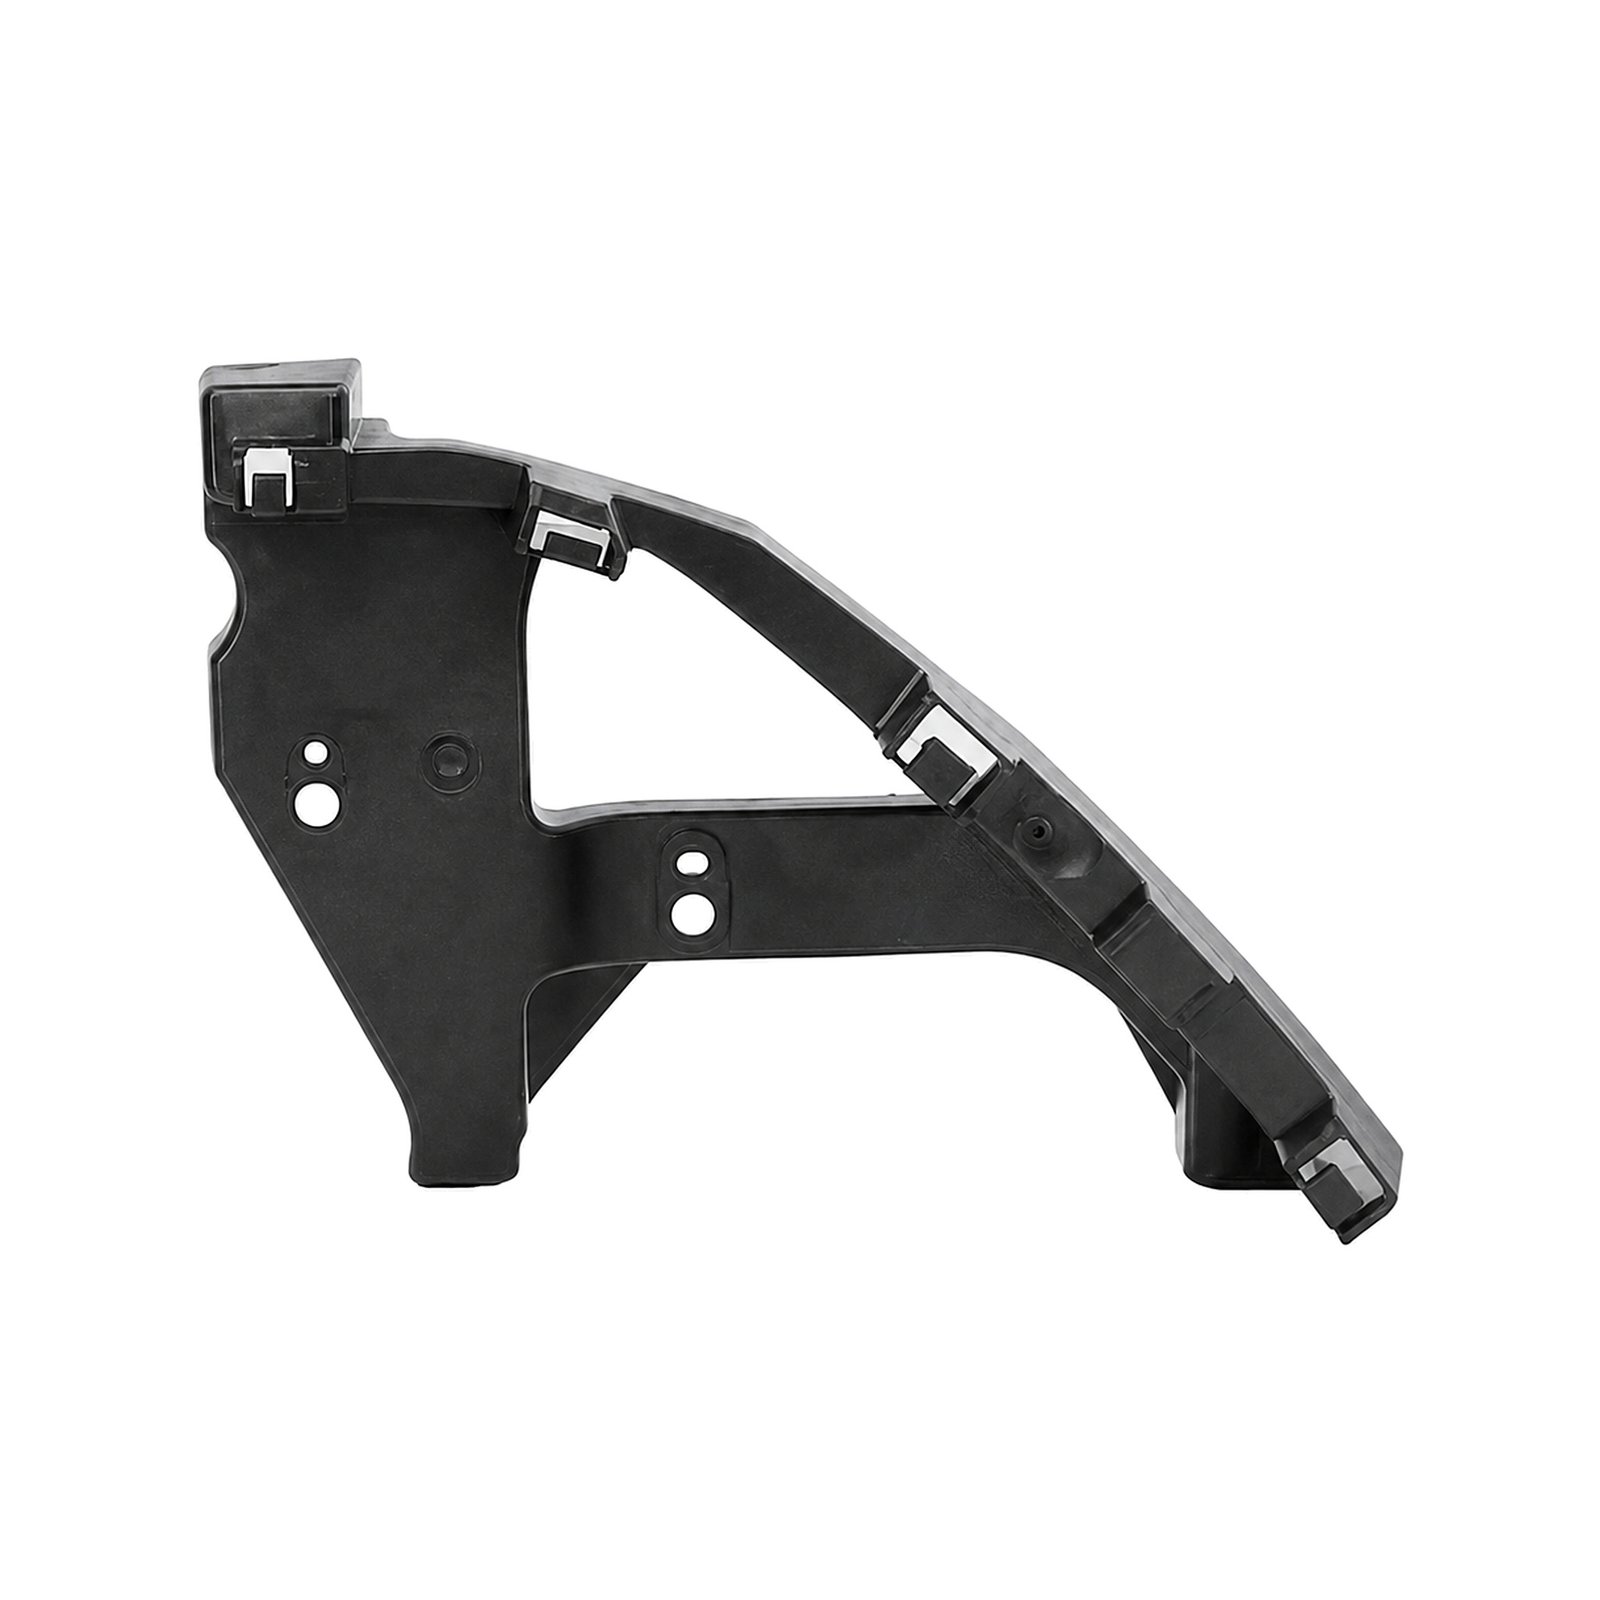
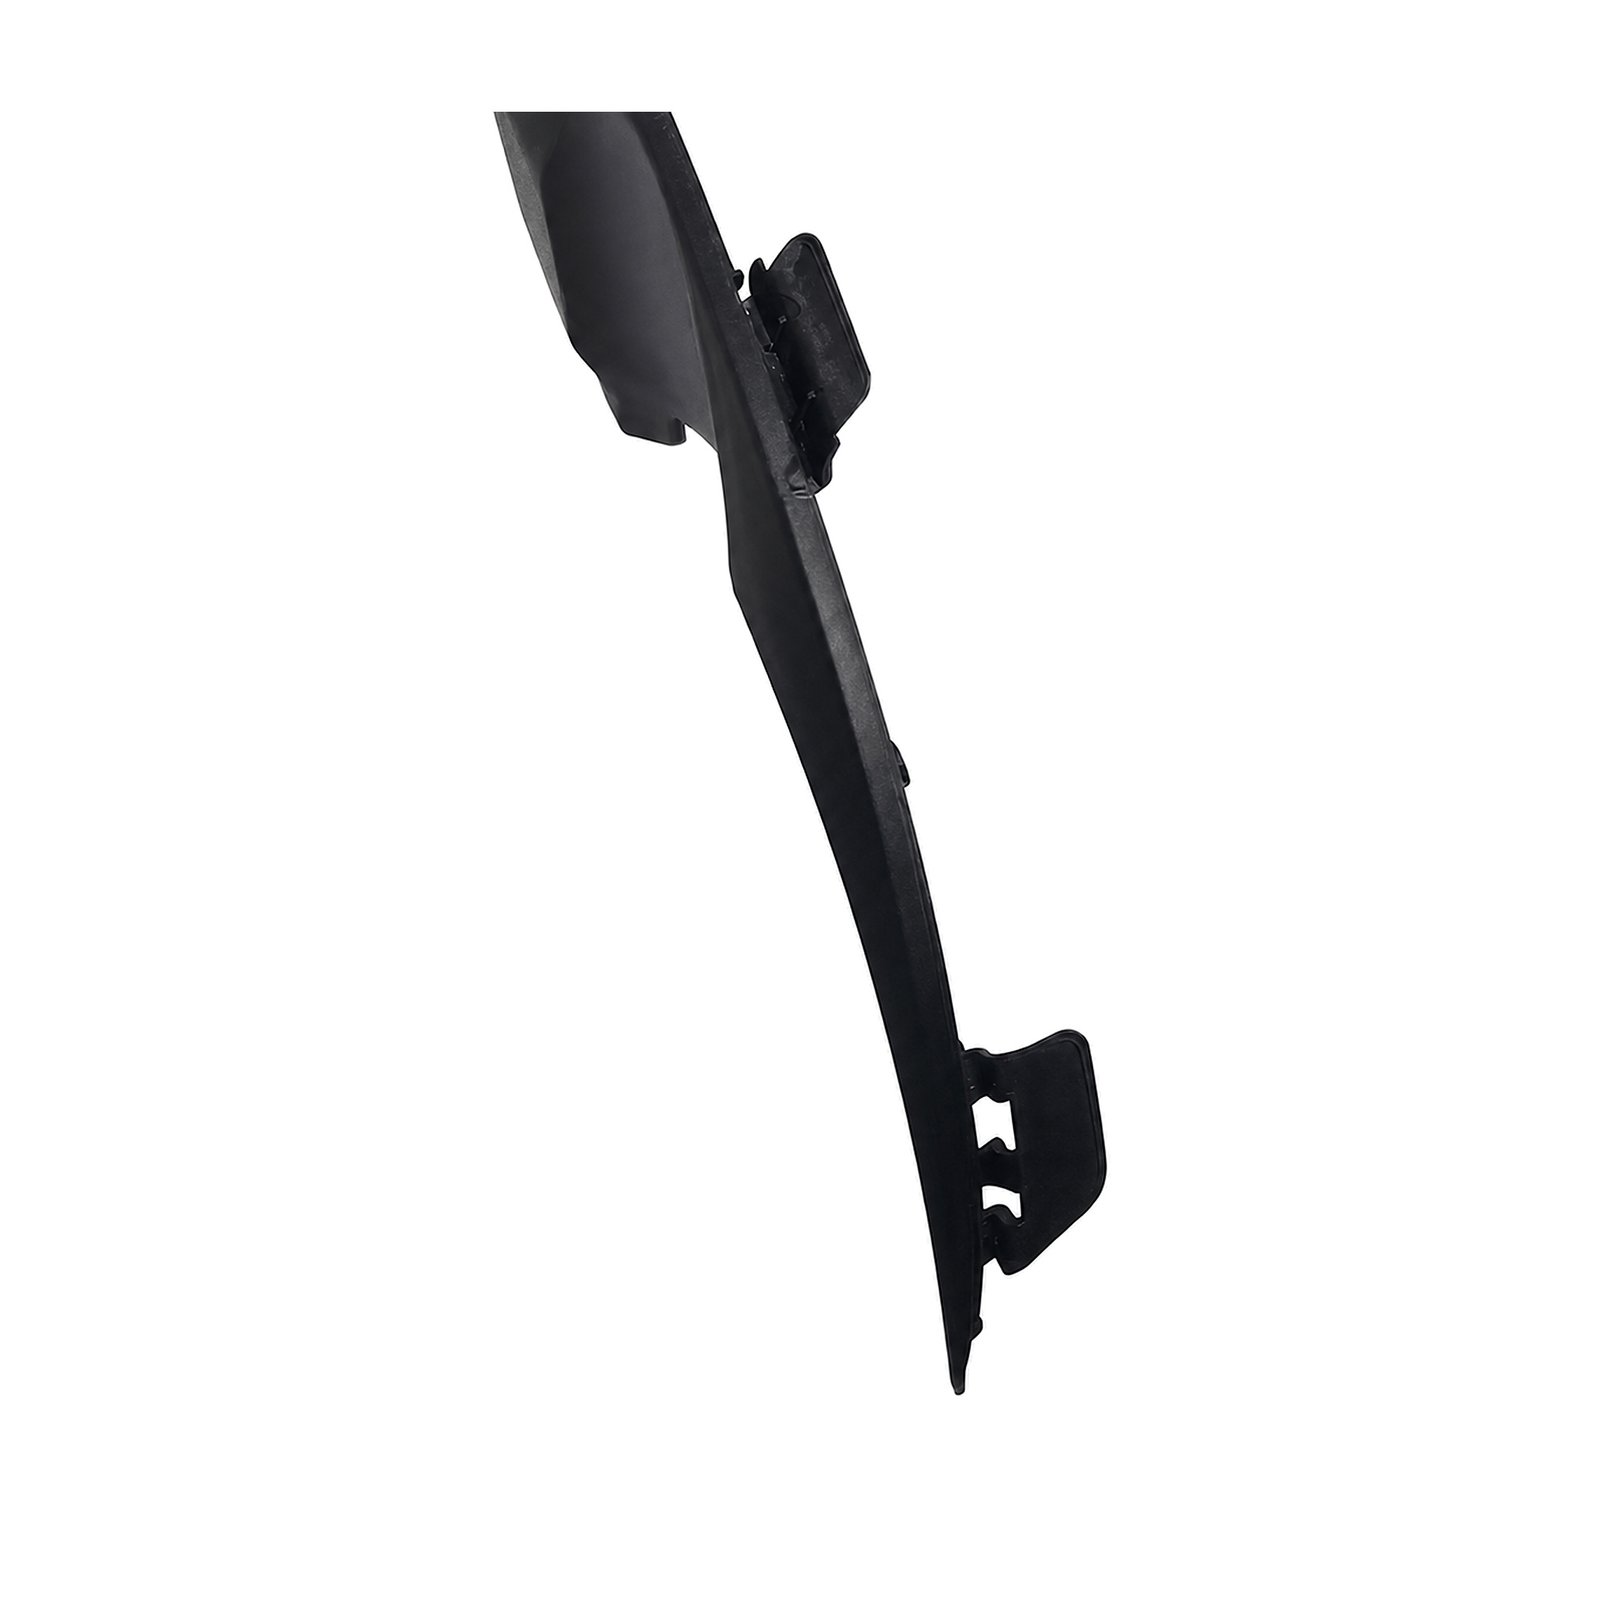
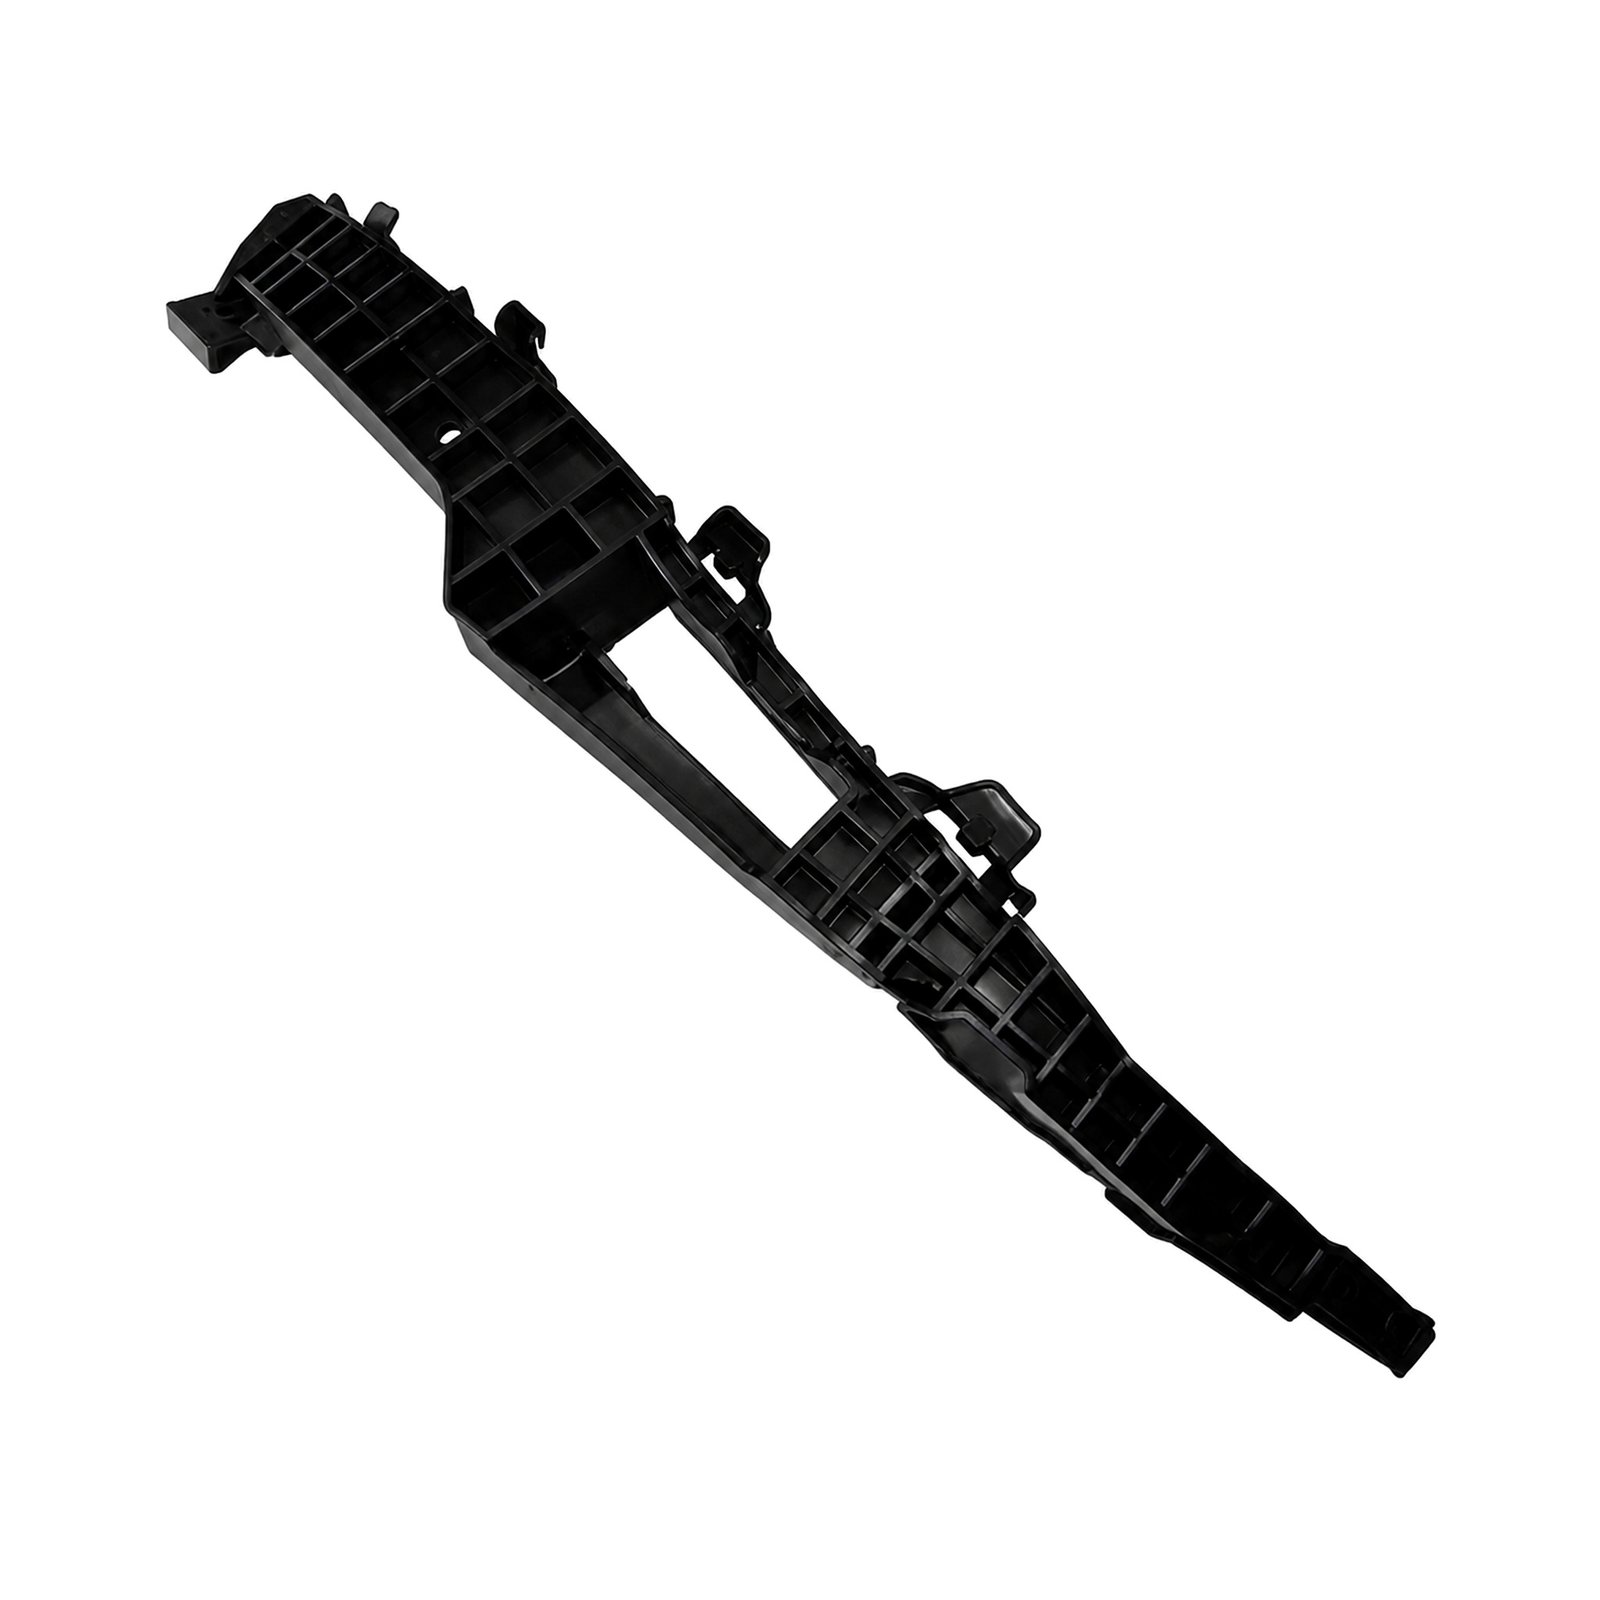
71140-T6L-H01 Front Right Headlight Mounting Bracket for HONDA Spirior 2015
Primary OE reference: 71140-T6L-H01
Cross-reference number 1: 71140-T6L-H01
Cross-reference number 2: 71140T6LH01
Product: Front Right Headlight Mounting Bracket
Applicable vehicle: HONDA Spirior 2015
Installation position: Front
Side / orientation: Right
Brand: HONDA
Model: Spirior
Model year: 2015
Internal item code: HD02009-036
Application note: 71140-T6L-H01: compare the stamped or moulded reference; HD02009-036: compare the installation direction; HONDA Spirior 2015: check the vehicle production date where available
Surface and shape: HD02009-036: check the depth of the moulded locator channels; 71140-T6L-H01: compare the profile below the lamp lens; Right: compare the visible texture and finish
Replacement guidance: HONDA Spirior 2015: avoid bending narrow moulded tabs; HD02009-036: review whether separate hardware is needed; 71140-T6L-H01: route nearby wiring away from sharp edges
Quotation details: 71140-T6L-H01: send photographs of the removed component; HD02009-036: identify mixed-OE orders clearly; HONDA: support long trim sections during transit
71140-T6L-H01 Front Right Headlight Mounting Bracket Product Overview
The component shown under 71140-T6L-H01 is a front right headlight mounting bracket intended for HONDA Spirior 2015. Confirm the right orientation, lamp-side contour, mounting geometry against the original vehicle part.
Fitment and Application for Spirior
During left-versus-right inventory selection, review headlamp shape changes between production phases, confirm the front installation position, and verify the trim package named in the application. During receiving inspection, retain the original component for a direct comparison, confirm the destination-market version, and match the body style and equipment grade.
For replacement in the right front headlamp area, confirm the exact model year before placing the order, check whether the original part is mirrored, and confirm the decorative finish or painted surface. When organizing mixed-OE inventory, compare every locating point and screw opening, check the lamp manufacturer where multiple units were fitted, and inspect the original lamp-support geometry.
When separating nearby Spirior variants, check the relationship with the lamp housing, confirm the decorative finish or painted surface, and verify the trim package named in the application. While reviewing the supplied photographs, verify that the grille design matches the stated application, compare every locating point and screw opening, and review the orientation of the moulded bracket.
Headlight Mounting Bracket Design and Replacement Notes
During an OE-led review for HD02009-036, inspect the visible face for transport scuffing, inspect the overall frame width, and review fastening slots and clip seats. During the physical comparison, compare the profile below the lamp lens, measure the removed part where references are unclear, and compare the original edge profile.
For wholesale selection of 71140-T6L-H01, inspect both end geometries, compare the visible texture and finish, and check the adjoining panel gap. When checking the headlamp opening, inspect the back-side support structure, compare mounting-hole height, and confirm decorative surface details.
During left-versus-right inventory selection, check the adjoining panel gap, review the thickness around each mounting boss, and review fastening slots and clip seats. Before the carton is sealed, review the outer-edge shape, compare the original edge profile, and inspect the back-side support structure.
Application-Specific Identification
Before workshop installation with 71140-T6L-H01 on the Spirior 2015: compare adjacent bumper and grille sections. The HD02009-036 sample for the right side should review the outer-edge shape. Before installation, protect painted and chrome surfaces; for a quotation, confirm barcode or private-label requirements.
For side-specific inventory control with 71140-T6L-H01 on the Spirior 2015: review the orientation of the moulded bracket. The HD02009-036 sample for the right side should review the direction of the locating tabs. Before installation, check that no locator is trapped behind the bumper; for a quotation, request moisture protection for sea freight.
A vehicle-side comparison starts with 71140-T6L-H01 on the Spirior 2015: inspect the original lamp-support geometry. The HD02009-036 sample for the right side should inspect moulded corners before installation. Before installation, compare the installed height with the opposite side; for a quotation, compare the supplied product photographs.
Installation Guidance
During comparison with the original lamp surround, reinstall removed seals in their original positions, confirm that the hood and fender clearances remain even, and use hand pressure only during the initial engagement. While checking adjacent body parts, inspect the lamp aim after surrounding parts are refitted, verify that no fastener is cross-threaded, and check the finish for tool marks before delivery.
Before confirming export packing for 71140-T6L-H01, reconfirm the OE reference after the trial fit, transfer reusable clips carefully, and review whether separate hardware is needed. Before the quotation is confirmed, compare the installed height with the opposite side, check the finish for tool marks before delivery, and inspect broken vehicle-side mounts.
During an OE-led review for HD02009-036, trial-fit the component without force, tighten hardware only after alignment, and align the headlamp edge before fastening. Before packing the confirmed item, complete a visual check under even lighting, inspect broken vehicle-side mounts, and compare the installed height with the opposite side.
Product Technical Specifications
| Product type | Front Right Headlight Mounting Bracket |
|---|---|
| Primary OE reference | 71140-T6L-H01 |
| Cross-reference numbers | 71140-T6L-H01 71140T6LH01 |
| Internal item code | HD02009-036 |
| Vehicle brand | HONDA |
| Vehicle model | Spirior |
| Model year | 2015 |
| Installation position | Front |
| Side / orientation | Right |
| Applicable vehicle | HONDA Spirior 2015 |
Wholesale Supply and Packing
For HONDA Spirior 2015, confirm the preferred incoterm, request a packing-list breakdown by item code, and include the complete OE reference. While reviewing the supplied photographs, confirm sample-order requirements, request the applicable export terms, and specify whether the order is for service stock or a project.
When preparing a Spirior body repair, confirm the nominated freight forwarder, review edge protection inside the carton, and ask for carton dimensions before freight booking. Before final installation, request supported export-carton packing, separate left and right items in the packing list, and agree the acceptable delivery window.
During comparison with the original lamp surround, provide the destination country, send photographs of the removed component, and include the complete OE reference. At the workshop preparation stage, confirm the required finish, request supported export-carton packing, and protect projecting locator tabs.
Frequently Asked Questions
Can photographs alone confirm 71140-T6L-H01 compatibility?
Photographs are useful for visual comparison, but the OE reference, model year, side, trim level and mounting geometry should also match. For Spirior, verify the trim package named in the application; inspect the junction with the fender edge; confirm a consistent bumper gap; and provide the consignee contact information before fitting or quotation.
Can 71140-T6L-H01 fit every Spirior model year?
No. Styling updates and market versions can change the mounting layout. Use the listed year and OE number as the starting point for confirmation. For Spirior, inspect the original lamp-support geometry; review narrow tips for transport damage; ensure that all removed hardware is accounted for; and identify mixed-OE orders clearly before fitting or quotation.
Is workshop installation recommended for 71140-T6L-H01?
Yes. A body or lighting workshop can inspect damaged mounts on the Spirior, align adjoining panels and avoid forcing a part intended for another version. For Spirior, compare the installation direction; compare the profile below the lamp lens; review whether separate hardware is needed; and state the destination port or city before fitting or quotation.
Why must left and right versions of 71140-T6L-H01 be distinguished?
Headlight-area accessories are usually side-specific. Their curves, holes and locator positions should not be assumed interchangeable. For Spirior, check nearby body-panel interfaces; inspect reinforcement features behind the part; inspect the lamp aim after surrounding parts are refitted; and check the ordered mounting side before fitting or quotation.
How should 71140-T6L-H01 be checked before installation?
Compare the OE number, overall outline, locating tabs, screw points, surface finish and lamp-side contour with the removed part before hardware is tightened. For Spirior, review the orientation of the moulded bracket; review the thickness around each mounting boss; keep the removed part nearby for comparison; and state the target vehicle application before fitting or quotation.
Request a Quote
Send the complete OE reference 71140-T6L-H01, vehicle details, installation side, required quantity and delivery destination. Yongshang Auto can review the application before preparing a product-specific export quotation.